

You’ll repair asphalt effectively through three systematic steps: First, clean and prepare the surface by removing all debris, contaminants, and loose material while documenting damage patterns. Second, apply your patch material in controlled lifts, 1.5, 2 inches for cold mix or up to 4 inches for hot mix, compacting each layer with a vibratory plate to guarantee air pockets are eliminated. Third, seal the repair with climate-appropriate sealant applied in thin, even coats between 50, 90°F. Following these industry-standard protocols safeguards structural integrity matching professional installations, and there’s specific guidance below on material selection and application techniques.
Prepare and Clean the Damaged Asphalt Surface Thoroughly
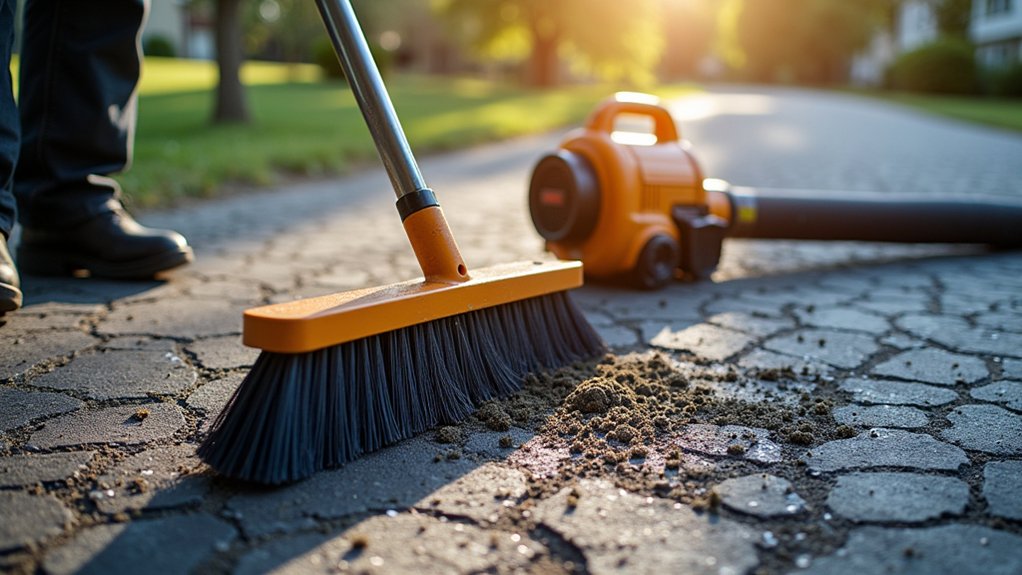
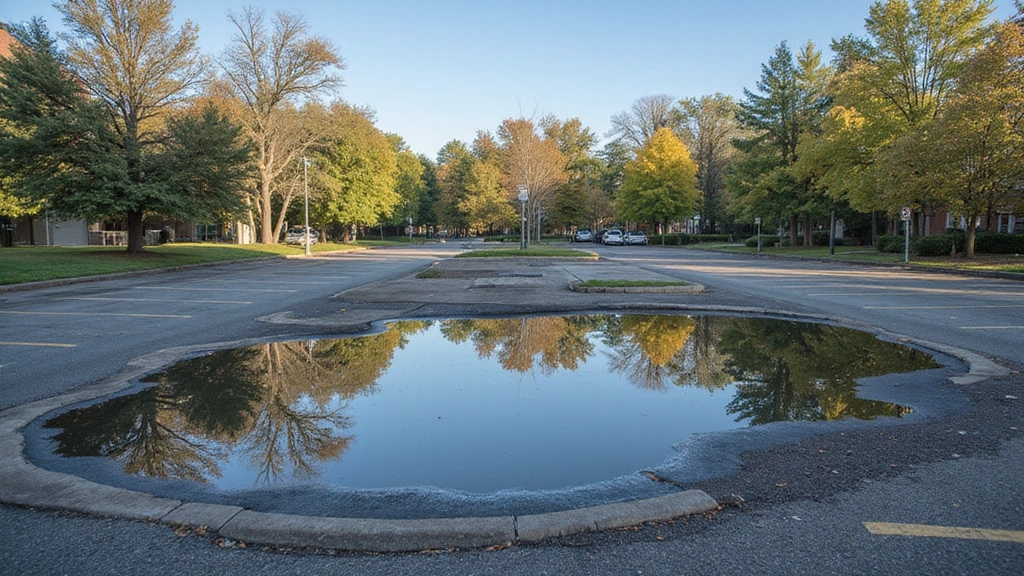
Before you apply any repair material, you must systematically evaluate the asphalt surface to identify the full scope of deterioration. Inspect for cracks, potholes, and surface irregularities while documenting measurements and locations for accurate material preparation. Assess drainage patterns to confirm water won’t pool and accelerate post-repair damage. Identify contaminants such as oil, grease, and vegetation that compromise adhesion.
Remove all debris using mechanical sweepers and gas-powered blowers, then extract weeds from cracks with gardening tools. Apply degreasing agents to contaminated zones and pressure-wash heavily soiled sections. Allow the surface to dry for 24 hours minimum. Trapped moisture can result in bubbling or peeling after the repair is complete. Perform a final high-powered blower sweep immediately before repair, ensuring the area is completely dry with well-defined damage edges and zero moisture present. Use compressed air to eliminate any remaining fine particles and dust from the prepared surface. Proper surface prep ensures a strong bond between the existing pavement and new repair materials.
Apply and Compact Your Patch Material in Layers
How do you guarantee your asphalt patch achieves maximum structural integrity and durability? Apply material in multiple lifts following strict layer thickness guidelines: cold mix shouldn’t exceed 1.5, 2 inches per lift, while hot mix allows up to 4 inches. Level each layer with trowels or rakes, eliminating air pockets before compaction.
Use vibratory plate compactors or rollers to densify each lift, maintaining hot mix above 93°C (200°F) for ideal results. Standard repairs require two to three layers, with minimum total depth of 3 inches. Apply tack coat at 0.1, 0.2 gallons per square yard between hot mix lifts, similar to seal coat application bonding principles.
Overfill the final lift by 1/8, 1/4 inch to accommodate settling. Inspect each layer for uniform density before proceeding. Allow 24-hour curing for cold patch before heavy traffic exposure. Before applying any asphalt mix, ensure proper surface preparation by removing all loose material and debris from the damaged area. This entire depth replacement approach ensures repairs withstand the demands of high-traffic areas like roads, driveways, and parking lots where surface-only fixes often fail prematurely. Compact each layer thoroughly with a tamper to eliminate air spaces, which can compromise the structural integrity and longevity of your repair.
Seal and Finish for a Professional-Looking Result
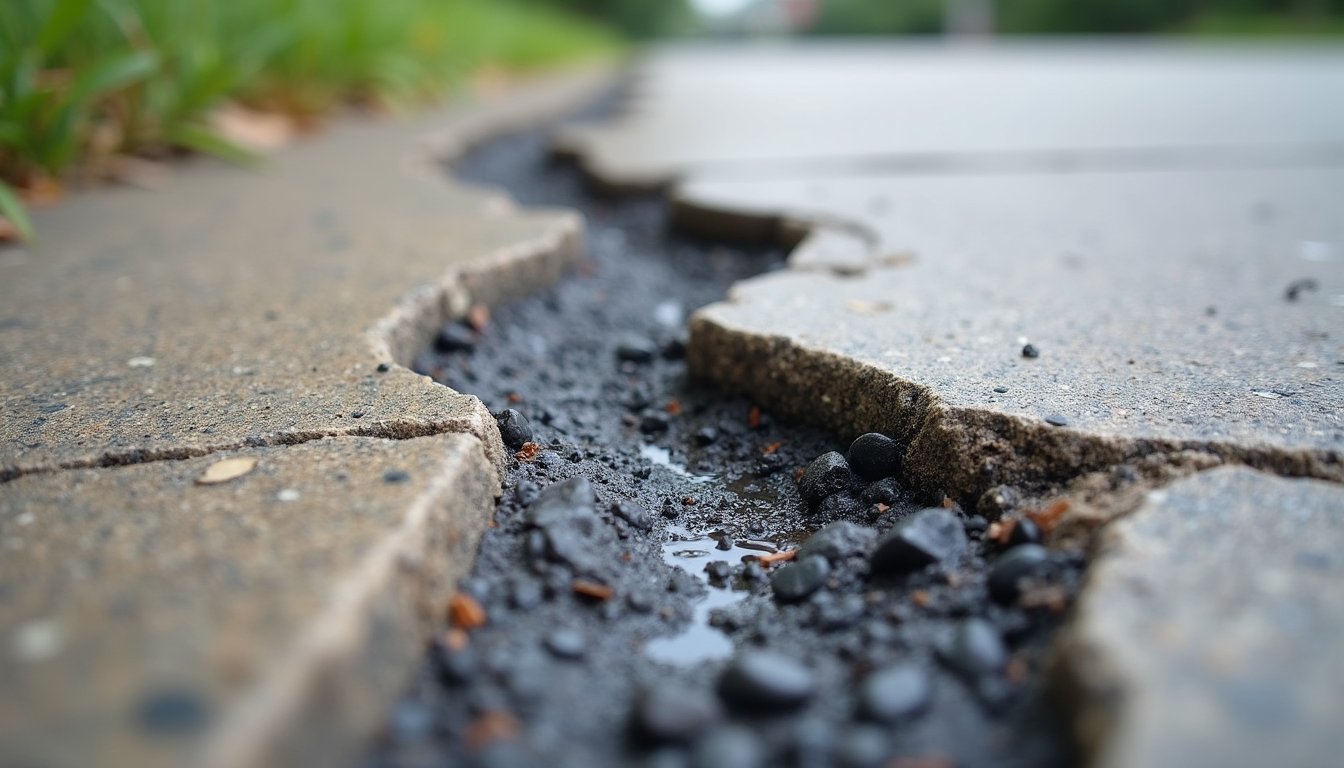
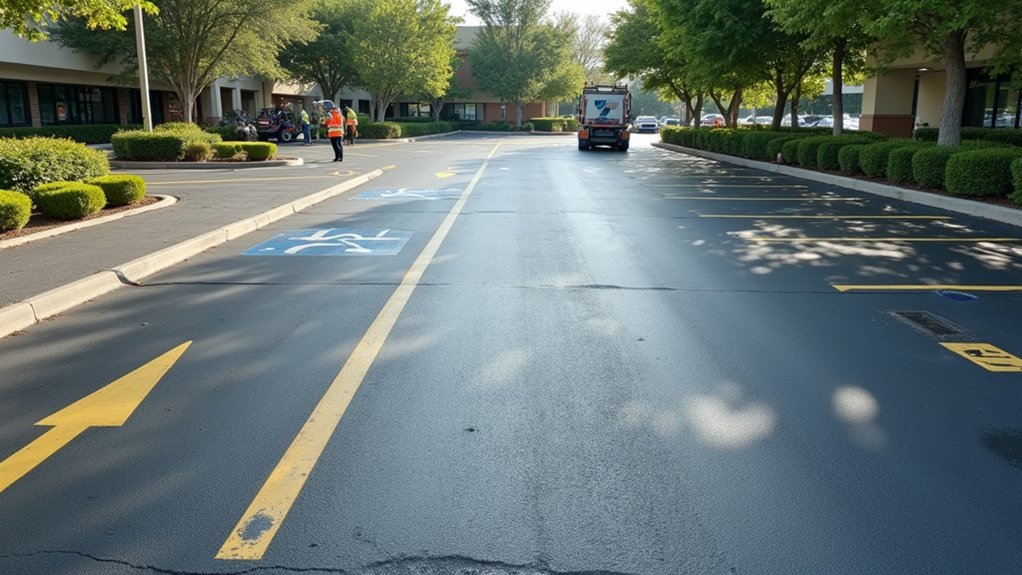
Once your asphalt patch has cured, proper sealing transforms a functional repair into a weatherproof surface matching your existing pavement. Choose suitable sealant based on climate conditions, traffic load, and local regulations, asphalt-based formulas offer reliable adhesion for most residential repairs, while acrylic sealants provide superior UV protection.
| Application Method | Coverage Quality | Best Use Case |
|---|---|---|
| Spray application | Uniform, thin layers | Large patched areas |
| Squeegee technique | Controlled thickness | Edge blending |
| Brush finishing | Detailed coverage | Small repairs, crevices |
Apply thin, even coats using perpendicular passes to achieve uniform coverage. Maintain temperatures between 50, 90°F during application, ensuring 24-hour rain-free conditions. Multiple layers outperform single thick applications, delivering professional-grade protection against water infiltration, UV damage, and chemical deterioration. This protective barrier prevents water penetration that would otherwise compromise the structural integrity of your repair and lead to more extensive damage over time. The sealant also fills small imperfections, creating a smoother surface that enhances both the appearance and durability of your repair. Brushing allows you to push sealant deeper into any remaining cracks, ensuring complete coverage and maximum protection.
Frequently Asked Questions
What Tools Are Needed to Chisel and Cut Pothole Edges Properly?
You’ll need an asphalt saw or angle grinder with masonry blades for proper edge trimming, creating clean vertical cuts. Follow with a hammer and cold chisel for beveled edge preparation at 45-degree angles. Use a wire broom and air compressor to remove debris, ensuring adhesion surfaces meet ASTM D6433 standards. Apply tack coat with a sprayer for ideal bonding. Always wear safety goggles and hearing protection during cutting operations to maintain OSHA compliance.
How Long Should Each Layer Dry Before Applying Additional Material?
You’ll need to wait 48, 72 hours of drying duration between asphalt layers before applying additional material. This initial period allows proper stabilization and prevents soft spots. While functional drying occurs in 2, 3 days, remember that full curing time extends 6, 12 months for maximum hardness. Ambient conditions, temperature, sunlight, and humidity, directly impact these timelines. For sealcoating, you must wait at least 30 days post-installation to allow necessary oxidation before application.
Can I Repair Asphalt in Cold Weather or Rainy Conditions?
You can repair asphalt in cold weather using cold mix products, but favorable weather conditions are temperatures above 40°F and dry surfaces. Rainy conditions compromise adhesion and curing. Proper surface preparation, removing all standing water and debris, is critical for patch durability. Cold mix works for emergency repairs below 50°F when hot mix isn’t viable, but expect slower curing (24, 48 hours) and potential reapplication needs. Schedule permanent fixes during warmer, dry periods for best results.
What Is the Difference Between Hot Pour and Cold Pour Crack Fillers?
Hot pour requires heating to 380, 400°F and differential application techniques using specialized melting equipment, while cold pour arrives pre-mixed for direct use. Hot pour bonds deeper, lasts up to 10 years, and shows 43% treatment effectiveness versus cold pour’s 0.52%. You’ll need proper storage requirements: hot pour as solid blocks in dry conditions, cold pour as liquid protected from freezing. Hot pour costs more upfront but delivers permanent repairs; cold pour offers temporary 1, 2 year fixes for minor cracks.
How Do I Know if My Base Needs Complete Restoration?
You’ll know your base needs complete restoration when you assess existing subgrade conditions and find extensive alligator cracking, persistent pooling water, or recurring potholes despite repairs. Examine surrounding asphalt integrity; if you’re seeing warping, sinkholes, or rapid crack propagation, the foundation’s compromised. Structural indicators like rutting, edge crumbling, and undermining confirm base failure. When surface treatments fail repeatedly and depressions worsen, data shows incremental repairs won’t suffice, full reconstruction’s required to meet pavement standards.