


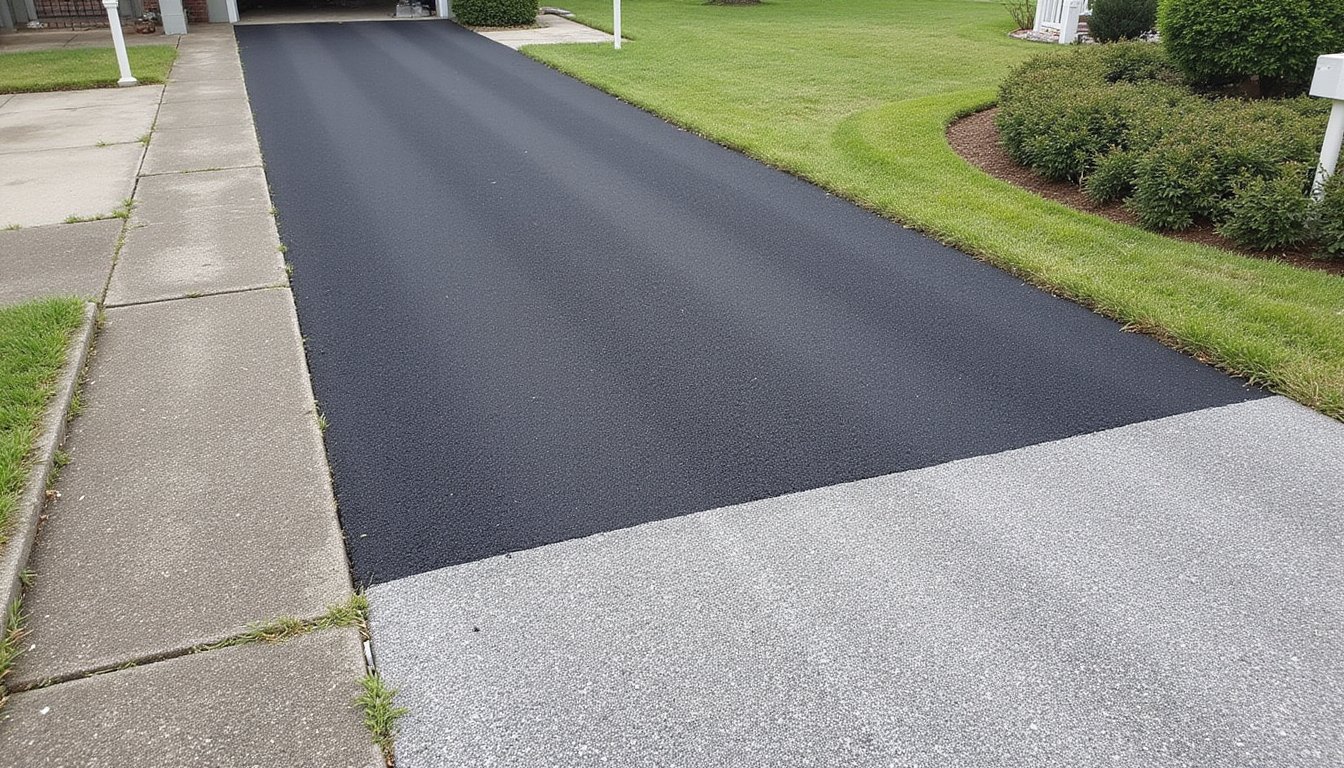
To install an asphalt overlay on concrete, you’ll first assess the slab’s flexural stiffness and joint condition, then clean and patch all defects before applying a tack coat at 0.030, 0.050 gal/sq yd residual rate. You’ll spread the hot mix in 50, 100 mm lifts, compact with vibratory rollers, and seal joints to reduce water infiltration by up to 64%. Each phase below breaks down the exact specifications you’ll need to get it right.
Check if Your Concrete Can Handle an Asphalt Overlay
Before placing asphalt over concrete, you’ll need to verify that your existing slab can structurally support an overlay without premature failure. Evaluate three critical criteria: surface profile, condition survey (including distress index and failure rate), and deflection measurements for structural soundness.
Remember that 1 inch of concrete equals approximately 2 inches of asphalt in structural efficiency. Your concrete base asphalt overlay system won’t gain significant capacity from thin overlays, they primarily restore ride quality.
Assess joint spacing, slab thickness, flexural stiffness, creep modulus, and thermal coefficient. Confirm the concrete’s flexural stiffness exceeds the asphalt’s to prevent cracking. Check load transfer across joints, since poor transfer increases reflection cracking risk. Proper asphalt overlay adhesion techniques depend entirely on accurate pre-assessment data. Identifying issues like cracks, minor potholes, or ponding water during this phase is critical, since small issues can escalate into costly full-depth repairs if not addressed before the overlay is applied.
Clean, Patch, and Prime the Surface for Overlay
Strip away every contaminant, defect, and surface irregularity before your overlay goes down, skipping this step is the fastest route to premature de-bonding and reflective cracking. Surface cleaning and contaminant removal demands you eliminate dust, curing agents, oil, and grease completely. Use water jetting for general substances, then apply chemical spot treatment for diesel or oil stains. Compressed air cleaning after sweeping prevents re-contamination.
Test for laitance, that white, powdery film blocks adhesion entirely. If water beads on concrete, you’ve got oil or sealant requiring removal before proceeding. Conduct rigorous testing for moisture using plastic film testing to confirm the surface is ready for overlay application.
Cut failed areas back to sound material with vertical sides, then patch and level. For any asphalt overlay over concrete pavement, apply tack coat evenly across the prepared surface to secure bonding between layers. Before overlay installation, milling the existing surface helps reduce reflective cracking and maintains proper elevation near curbs and drainage features.
Pick the Right Asphalt Overlay Method

How do you determine whether a bonded or unbonded overlay best fits your project? Start with a thorough condition assessment for method selection by evaluating your existing surface’s deterioration level.
If your pavement shows moderate to good condition, you’ll select a bonded overlay. This requires roughening the surface via sandblasting to achieve mechanical adhesion, using a 2, 5 inch concrete layer that delivers 5, 15 years of service life.
For extensively damaged pavements, you’ll choose an unbonded method. During the asphalt overlay construction process, you’ll place a separation layer, typically asphalt fabric, before installing the overlay. This approach yields 20, 30 years of service life. Industry data confirms 75% of overlays on concrete bases use the unbonded method, reflecting its proven long-term performance.
Apply the Tack Coat to Bond Asphalt to Concrete
You’ll need to select the right bonding agent and application method to guarantee your asphalt overlay adheres properly to the existing concrete surface. Asphalt emulsion remains the standard tack coat material for concrete substrates, with rapid-set options like RS-1h or CRS-1h requiring a minimum residual asphalt content of 55%, 60% to achieve full bond. Apply the tack coat at a residual rate of 0.030 to 0.050 gallons per square yard using calibrated spray equipment to ensure uniform coverage across the entire concrete surface.
Tack Coat Application Methods
A proper tack coat serves as the critical bonding agent between the existing concrete surface and the new asphalt overlay, and selecting the right material directly impacts long-term layer adhesion. Among tack coat application methods, you’ll use either emulsified asphalt (60, 65% binder content) or undiluted asphalt cement like PG 64-22. For Portland cement concrete, apply 0.030, 0.050 gsy residual rate.
You should use a computer-controlled asphalt distributor for uniform coverage. Set your spray bar at the correct height to guarantee proper nozzle overlap with identical nozzles at the specified angle. Minimize hand spraying, it produces inconsistent coverage that compromises asphalt overlay durability on concrete. Spray paver systems like the Vögele Spray Jet deliver superior single-pass application. Allow the emulsion to break fully before placing hot mix to prevent delamination.
Bonding Agent Selection Tips
When selecting a bonding agent to secure your asphalt overlay to an existing concrete surface, you’ll need to match the product chemistry to the specific interface conditions and performance requirements. For your asphalt binder layer on concrete, high-viscosity epoxy agents (2,000, 6,000 cps) applied at 15 mils minimum thickness deliver structural-grade adhesion qualifying under ASTM C881 Type II and V standards.
Before application, you must remove all contaminants, oil, grease, tar, paint, and curing compounds, then roughen the surface to expose clean aggregate per ASTM D5258. Achieve saturated surface dry conditions via misting without pooling. For reflective cracking prevention asphalt overlay systems, latex-modified emulsions like INTRALOK enhance bond durability between dissimilar substrates. On lightweight or porous concrete, apply a second epoxy coat to guarantee complete coverage and long-term bond integrity.
Lay and Compact Your Asphalt Overlay
Spread the asphalt mix evenly across the prepared concrete surface using a paver or distribution truck, maintaining a consistent lift thickness of 50, 100 mm to match the target elevation. Before placement, raise utility covers and monuments by 2 inches using riser rings. You’ll want to install a fiberglass-reinforced mat over the tack coat to increase tensile strength and delay reflective cracking in your asphalt overlay on rigid pavement.
Apply compaction techniques immediately after placement using plate compactors for confined areas and vibratory rollers for larger sections. Achieve target density through uniform passes, eliminating surface imperfections. Keep asphalt temperature below 120°F to prevent shrinkage cracking. Finish with a surface course using smaller aggregates for ideal smoothness, verifying grade and cross-slope alignment throughout.
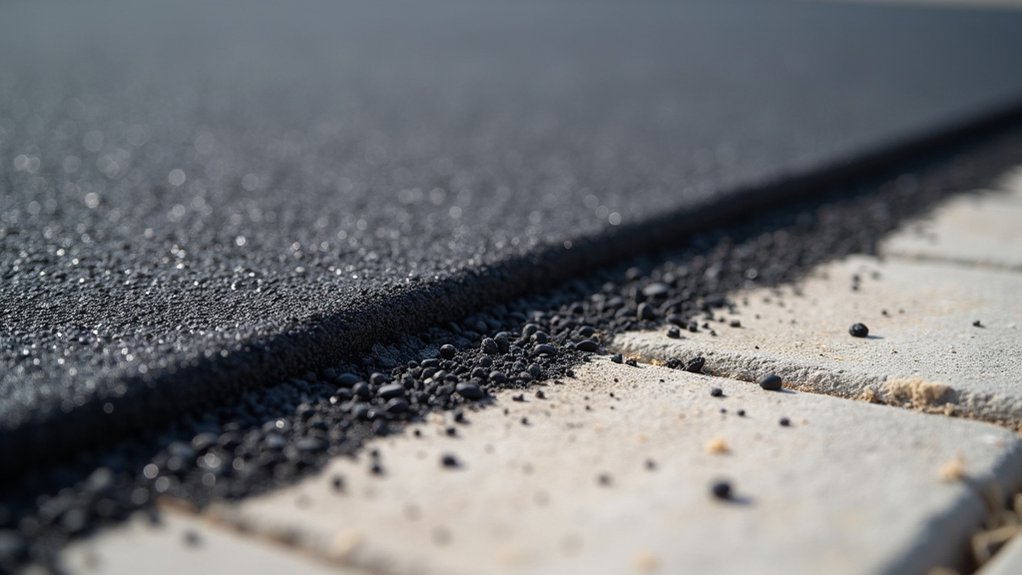
Finish the Edges, Joints, and Final Surface
Once your overlay is compacted to uniform thickness, you’ll need to seal all joints with a tack coat adhesive and guarantee the sealer penetrates fully for continuous, seamless protection against moisture infiltration. For edge compaction, use loop rakes to blend imperfections and pull shoulder material up to asphalt height, creating a strong boundary that supports vehicle weight and prevents edge failure. Complete the process with final surface rolling to achieve even compaction across the entire overlay, verifying uniform density before applying a UV-resistant sealant in two even coats.
Sealing Joints Properly
Two critical factors determine whether your joint sealant performs or fails: proper material selection and precise reservoir geometry. In asphalt over concrete resurfacing, choosing the right joint sealant materials directly impacts long-term durability. Hot-poured rubberized asphalt sealants rely on adhesion to joint faces, while preformed compression seals depend on lateral rebound.
Control the shape factor to limit sealant strain and prevent adhesive or cohesive failure. Follow these specifications:
- Sawcut joints to a minimum width of 1/4 in. (6 mm) to create an adequate reservoir
- Remove all old sealant and debris before installation for proper adhesion
- Create a 10 mm wide by 15 mm deep reservoir for peak sealing performance
- Recess silicone sealants to achieve the correct shape factor design
Proper sealing reduces water infiltration and improves transverse cracking resistance by 64%.
Edge Compaction Techniques
Edge compaction determines whether your asphalt overlay achieves uniform density or develops premature failures along joint lines and pavement margins. You’ll overlap cold and hot panels by 75 to 100 millimeters, though unsupported edges require your first pass 150 to 200 millimeters from the edge to prevent lateral shoving.
Begin breakdown rolling from pavement edges, advancing toward the center with each pass overlapping at least half the roller width. Proper edge compaction techniques reduce air voids and enhance load-bearing capacity at the critical pavement engineering asphalt concrete interface. Each lift improves smoothness by approximately 50% when you execute edge passes correctly. Stiffer mixes tolerate closer edge proximity, reducing setback requirements. Slower roller speeds at margins minimize bump formation while maintaining temperature consistency across the compaction zone.
Final Surface Rolling
Three distinct rolling phases, breakdown, intermediate, and finish, must reach completion before your asphalt overlay achieves specification-grade density and smoothness. During final surface rolling, you’ll deploy a static steel wheel roller (typically 8 tons) to eliminate all marks left by previous compaction equipment.
For effective road maintenance on asphalt over concrete projects, verify these benchmarks:
- Straight-edge tolerance: No gap exceeding 3/8 inch under a 10-foot straight-edge on final base courses
- Roller marks: Zero visible impressions remaining after finish passes
- Core density: Extract samples to confirm target density achievement
- Mat temperature: Complete finish rolling while the surface remains warm enough for mark removal
You’ll keep drums clean with straight plates to prevent tearing. Post-rolling core results validate your compaction effort meets specification requirements.
Make Your Asphalt Overlay Last for Decades
When you invest in an asphalt overlay on concrete, the difference between a surface that fails in 5 years and one that performs for decades comes down to four critical factors: material selection, drainage design, base preparation, and maintenance protocols. Your asphalt concrete composite pavement requires high-quality aggregates and climate-appropriate binder grades to achieve a 12-to-15-year baseline lifespan. Aramid and polyolefin fibers can extend that by up to 50%. Effective drainage prevents moisture intrusion that causes raveling, roughness, and potholes. Proper compaction and adequate overlay thickness establish structural reliability. Without routine maintenance and inspections, including crack sealing and sealcoating, you’ll lose 10% of structural integrity within 10 years and 45% after 20. Each factor compounds the others; neglecting one undermines all.
Frequently Asked Questions
How Much Does an Asphalt Overlay on Concrete Cost Compared to Full Replacement?
You’ll pay approximately $2, $7 per square foot for an asphalt overlay on concrete, compared to $7, $13 per square foot for full replacement. That’s a 30, 50% cost reduction. You’re also cutting labor time from 3, 5 days down to 1, 2 days since the existing concrete base stays intact. However, you’ll get 8, 15 years of service life versus 20, 30 years with full replacement, requiring resealing every 3, 5 years.
Can You Apply an Asphalt Overlay on Concrete During Cold Weather?
You can apply an asphalt overlay on concrete during cold weather, but you’ll face significant challenges. You need ground temperatures at or above 50°F (10°C) and must avoid frozen surfaces entirely. At 42°F air temperature, you’ve got roughly 15 minutes to compact a 1.5-inch layer before it cools. You should use cold-weather mixes with flexible binders and anti-stripping agents to improve adhesion and resist freeze-thaw cracking.
How Long Does an Asphalt Overlay on Concrete Typically Last?
You can expect an asphalt overlay on concrete to last 10, 15 years with proper maintenance. Overlay thickness directly impacts longevity, increasing it can extend life by 5, 7 years. Heavy traffic reduces durability to 7, 10 years, while light-traffic applications like parking lots can reach 15, 25 years. You’ll need timely crack repairs within the first 3, 5 years and regular sealcoating to maximize performance. Without maintenance, you’ll lose approximately 10% integrity within 10 years.
Does Asphalt Overlay on Concrete Reduce Road Noise for Nearby Residents?
Yes, an asphalt overlay on concrete considerably reduces road noise you’ll notice near your property. You can expect a 4, 6 dB reduction with standard HMA overlays and 5, 10 dB with rubberized asphalt mixes. Open-graded friction courses containing approximately 25% air voids absorb sound energy through interconnected void structures rather than reflecting it upward. A 6 dB drop roughly halves perceived loudness, often eliminating the need for costly sound barriers.
Will Reflective Cracking Appear Through the Asphalt Overlay Over Time?
Yes, you’ll encounter reflective cracking as existing concrete cracks propagate through your asphalt overlay, typically within 1, 3 years without mitigation. Traffic loads, thermal cycling, and slab joint movements drive this progression. You can delay it considerably, thicker overlays (1.5, 2.5 inches) reduce severity by up to 67%, while asphalt rubber mixtures resist cracking 7.9, 8 times better than conventional HMA. Gap-graded asphalt rubber extends overlay lifespan nearly six times compared to standard mixes.