


You can place a concrete overlay on asphalt, but only if the existing surface is structurally sound, level, and free from severe cracking or soft subbase conditions. You’ll need to pressure wash the surface, seal cracks with flexible filler, and patch any major defects before placement. Control joints should be cut at 3, 8 ft intervals within 1, 4 hours post-finish to prevent uncontrolled fractures. Each step below covers the exact specs you’ll need to get it right.
Can You Put Concrete Overlay on Asphalt?
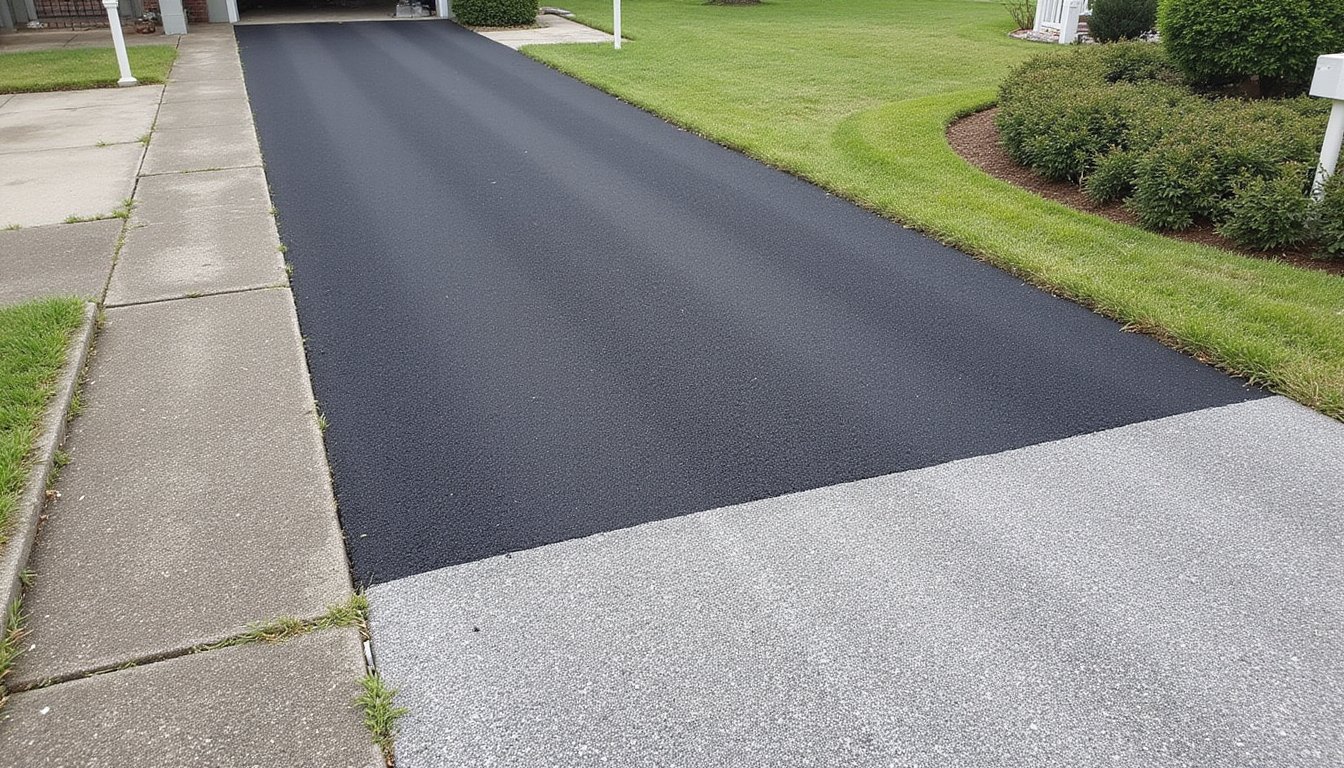
Yes, you can put a concrete overlay on asphalt, provided the existing surface meets specific structural and condition requirements. Your asphalt must be structurally sound, relatively level, and free from severe cracks, large potholes, or crumbling. Soft subbase conditions and loose materials disqualify a surface from overlay candidacy.
Before placing a concrete overlay on asphalt, you’ll need to clean the surface thoroughly, roughen or score it for mechanical bond, and apply a bonding agent or primer. Low- to medium-severity distress is acceptable if it’s uniform and stable. Choosing to overlay rather than fully replace the existing surface offers significant cost-efficiency savings by eliminating demolition and disposal expenses. While concrete can bridge over unstable areas, doing so increases the risk of cracking, so ensuring stable underlying soils is essential before proceeding.
Typical overlay thickness ranges from 1 to 2 inches. You should allow 24, 48 hours of curing before foot traffic and 5, 7 days before permitting vehicles. Post-curing, apply a sealer for UV, water, and oil protection. If the underlying asphalt has significant joint shifting or heaving, reflective cracking can occur through the concrete overlay, compromising its long-term performance.
When a Concrete Overlay Makes Sense (And When It Doesn’t)
- Your existing asphalt is structurally sound, free from severe cracking, soft spots, and base instability, minor surface wear is acceptable.
- You’re targeting low-to-moderate traffic areas like residential driveways, patios, or light-duty commercial surfaces where load demands won’t overwhelm the flexible substrate.
- You want enhanced aesthetics, stamping, coloring, or texturing, without full-depth reconstruction costs.
Avoid this approach when you’re dealing with deteriorated bases, high traffic volumes, or extreme freeze-thaw climates. In those cases, full removal and reconstruction deliver better long-term value.
Bonded vs. Unbonded: Which Overlay Suits Your Asphalt?
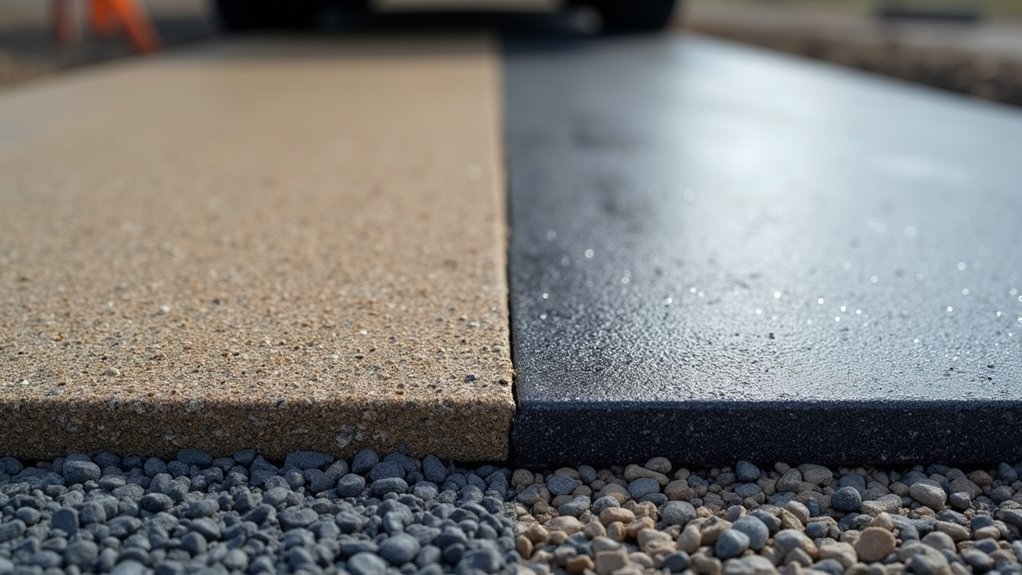
How effectively your concrete overlay performs depends largely on whether you bond it to the existing asphalt or let it act independently. A bonded concrete overlay asphalt system creates composite action between layers, allowing thinner slabs, typically requiring shotblasting and saw-cut transverse joints at 2, 6 ft intervals. This approach suits asphalt that’s structurally sound with surface-only distress and no rutting beyond 2 inches.
Unbonded overlays function as standalone slabs, requiring minimal surface preparation. You’ll need thicker concrete, but you’ll avoid bonding risks on deteriorated pavement. Choose unbonded when your asphalt shows extensive cracking or structural compromise.
Your decision hinges on the existing pavement condition. Conduct a life-cycle cost analysis comparing both methods before committing to either approach.
Prepare Your Asphalt Before Any Concrete Goes Down
Before any concrete touches your asphalt, you’ll need to verify the existing surface can actually support an overlay without compromising structural performance. Proper asphalt surface preparation for concrete involves systematic evaluation and remediation of the existing pavement.
- Assess structural integrity, Check for heaving, sinking, deep cracks, or crumbling. Install metal reference points on joints to measure differential slab movement. Sound asphalt with only minor surface defects qualifies as a viable base.
- Clean and decontaminate, Pressure wash the entire surface, removing oil, debris, vegetation, and sealants. Allow complete drying before proceeding.
- Repair and stabilize, Fill cracks with flexible sealant, install reinforcing fabric over joints, and patch major defects. Compact repaired areas to match the surrounding density.
Schedule overlay application immediately after preparation.
How Thick Should Your Concrete Overlay Be?
Once your asphalt base is prepped and stabilized, the next decision, overlay thickness, directly determines whether your concrete performs or fails. For lightly loaded areas like parking lots, you’ll need 2 to 4 inches. State highways and collectors require 4 to 6 inches to handle heavier traffic demands.
Your panel sizing must match thickness: overlays under 3 inches use 3×3-foot panels, while 3- to 6-inch overlays use 6×6-foot panels. Maximum joint spacing shouldn’t exceed 18 to 24 times the slab thickness.
Concrete overlay durability on asphalt depends heavily on getting this right. Strain peaks between 2 and 4 inches at the overlay bottom, maximizing fatigue cracking risk. You’ll skip dowels for thicknesses under 8 inches. Use the bonded overlay equation, D_ol = D_f − D_eff, to calculate your required depth precisely.
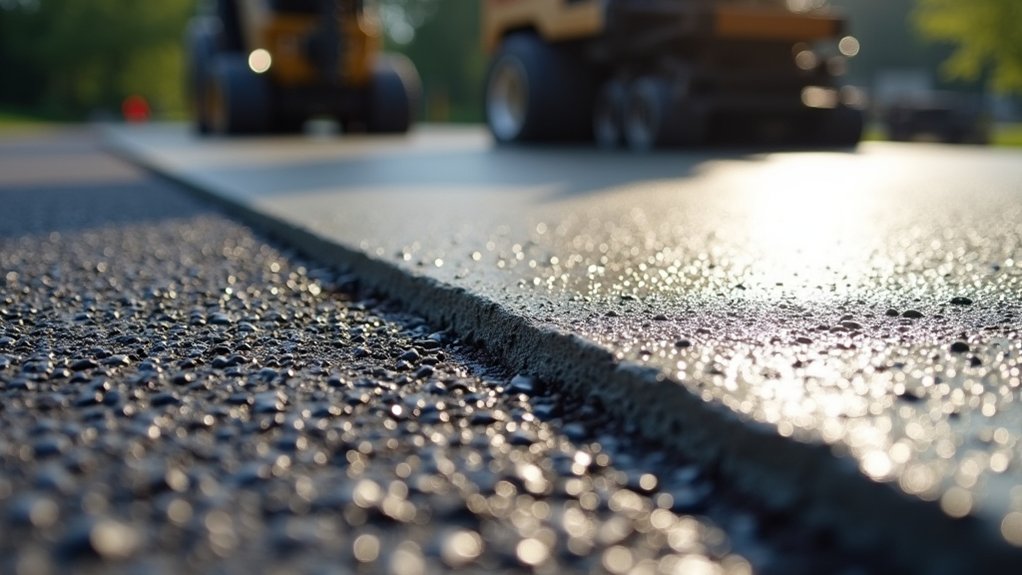
Pour, Screed, and Finish Your Concrete Overlay
Once you’ve placed your concrete mix over the prepared asphalt surface, you’ll need to screed it to a uniform thickness and follow immediately with bull floating to close the surface and eliminate voids. After the bleed water evaporates, you can apply your chosen finish texture and cut control joints at the specified spacing to manage shrinkage cracking. Proper timing on each step is critical, moving too fast traps moisture, while waiting too long lets the surface dry beyond workability.
Screeding and Bull Floating
Strike off excess concrete immediately after placement using an aluminum screed board or vibratory screed pulled across preset grade pins spaced every 20 feet. For a concrete topping on asphalt driveway applications, maintain a consistent depth between 1.25 and 2 inches while matching existing elevations. Proper screeding and bull floating guarantee overlay integrity on flexible substrates.
- Strike and level, Pull your screed in a steady sawing motion to remove excess material and establish the initial grade plane across the pour.
- Bull float immediately, Push the bull float across the screeded surface to embed aggregate, eliminate voids, and create a uniform finish while concrete remains plastic.
- Pre-plan joint spacing, Mark control joints at engineered intervals to manage cracking in thin overlays.
Finishing and Joint Cutting
Finish the surface within minutes of bull floating to lock in a durable, crack-resistant overlay. Apply a broom finish for traction on driveways and walkways, or use steel trowels as the concrete sets for a denser, smoother surface. Push heavy gravel below the top layer during floating to prevent surface cracking. Finish all exposed edges with curing compound immediately.
For control joint cutting, cut joints in a 10×10-foot grid pattern to direct shrinkage cracks along planned lines. Separate panels over concrete patches from adjacent asphalt to account for differing support conditions. Cut after finishing and joint cutting but before the concrete fully sets to guarantee neat, straight grooves. This finishing and joint cutting sequence prevents random spiderwebbing and maintains long-term overlay integrity.
Cut Control Joints So Your Overlay Doesn’t Crack
Once your concrete overlay has been placed and finished, you’ll need to cut control joints at precise intervals to prevent random cracking caused by shrinkage and differential movement between the concrete and underlying asphalt. Getting the joint spacing grid, cut timing, and cut depth right determines whether your overlay performs for years or cracks within months. Here’s how to nail each specification so your slab stays intact.
Joint Spacing Grid Layout
Because concrete overlays on asphalt are especially prone to curling and reflective cracking, your joint spacing grid needs tighter dimensions than standard slab-on-grade work. For concrete overlay compatibility asphalt applications, you’ll want panels between 3, 8 feet to minimize stress from differential thermal movement between layers.
Follow these specifications for your grid layout:
- Keep panels square or near-square with a length-to-width ratio no greater than 1.5:1 to reduce uncontrolled cracking risk.
- Place longitudinal joints every 10, 13 feet maximum, aligning them with lane markings or driveway centerlines when possible.
- Cut contraction joints at every re-entrant corner, slab penetration, and geometry change to prevent stress concentration from propagating cracks across adjacent panels.
Eliminate L-shaped panels and angles below 60 degrees entirely.
Timing The Cuts Right
After your finishing crew steps off the slab, the clock starts on your cutting window, and with a concrete overlay on asphalt, that window’s tighter than standard slab-on-grade work. You’ll want early-entry saws running within 1, 4 hours post-finish, cutting 1, 3 inches deep to intercept shrinkage cracks before they develop.
In any asphalt-to-concrete overlay conversion, hot weather accelerates hydration and narrows your window considerably. If ambient temperatures exceed 90°F, you’re looking at cutting almost immediately after finishing. Delays past 6 hours risk uncontrolled fractures driven by differential thermal movement between layers.
Balance raveling against cracking: cutting too early chips edges, while cutting too late surrenders crack control entirely. Target the 3, 6 hour mark under moderate conditions, adjusting for mix design, humidity, and wind speed.
Proper Cut Depth
Everything about your overlay’s long-term performance hinges on hitting the right cut depth, too shallow and you’ve created a cosmetic line that won’t intercept cracks, too deep and you’ve compromised the slab’s structural integrity or cut into the asphalt substrate.
Proper cut depth depends on overlay type and thickness:
- Bonded overlays (2, 6 inches): Cut full depth plus ½ inch to sever the bond line completely, ensuring crack control without undermining asphalt base stability for concrete overlay systems.
- Unbonded overlays: Target T/3 depth, adjusting upward where wheel rutting exceeds 0.5 inches to account for asphalt surface distortion.
- Overlays exceeding 6 inches: Apply conventional new-pavement joint depth standards.
Always core the existing asphalt before cutting. Variable asphalt thickness creates inconsistent cut results that lead to uncontrolled cracking under load.
Cure the Overlay Before Moisture Loss Ruins It
Once you’ve placed and finished the overlay, curing becomes the most time-critical step in the entire process. Bonded concrete overlays have a high surface area-to-volume ratio, making them extremely susceptible to rapid moisture evaporation. Without immediate curing, you’ll compromise the same bonding agents for concrete overlay adhesion you worked to establish during surface preparation.
Apply curing compound using a cure cart for uniform distribution across all exposed surfaces and edges. Don’t allow spillover onto untreated asphalt areas.
| Risk Factor | Consequence |
|---|---|
| Delayed curing application | Surface cracking, reduced structural capacity |
| Uneven compound coverage | Localized delamination from asphalt base |
| Wind exposure during placement | Accelerated moisture loss in thin sections |
| Compound spillover on HMA | Compromised future bonding zones |
Fill Every Crack and Patch Your Asphalt First
Before you place any concrete overlay, you’ll need to seal every crack in the existing asphalt using rubberized crack filler for shallow defects and cold asphalt patch for cracks 1″ to 4″ deep. Clean each crack thoroughly with a bristle broom or gas-powered blower, remove all loose debris, and guarantee the surface is completely dry to promote proper adhesion. For potholes and deep voids, overfill slightly with cold patch material and compact it with a metal-head tamper, then cure patched areas 24 to 48 hours before proceeding with overlay work.
Seal Cracks With Filler
Fill every crack in your existing asphalt before you even think about placing a concrete overlay. Unsealed cracks allow moisture infiltration between layers, which accelerates delamination and structural failure in any pavement rehabilitation concrete overlay project. You’ll need to match your filler type to each crack’s width and depth for ideal results.
- Small cracks (1/8, 1/4 inch): Apply liquid asphalt crack filler directly from a squeeze bottle, achieving approximately 250 linear feet per gallon at 1/4-inch width.
- Medium cracks (up to 2 inches wide): Use hot pour crack fillers with rubberized asphalt compounds, they’ll outlast cold pour options and provide superior flexibility during thermal cycling.
- Large or alligatored areas: Mix rubberized crack sealant with sand additives, then finish with a squeegee for uniform coverage.
Patch Potholes Cleanly
Every pothole in your asphalt surface needs a clean, structurally sound repair before you place any concrete overlay, skip this step, and you’re building on a foundation that’ll shift, settle, and crack your new surface within months. Remove all debris, loose material, and standing water using compressed air or manual clearing. Square the pothole edges vertically to sound pavement depth.
For severe damage, excavate four-plus inches deep and one foot beyond the pothole perimeter. Re-grade the aggregate base, apply a tack coat, then backfill with four inches of hot-mix asphalt. Compact using a vibratory plate compactor, matching the patch level to the surrounding pavement. Seal edges with bituminous material. Your concrete slab overlay design depends entirely on substrate stability, every unpatched pothole becomes a future crack propagation point.
Why Concrete Overlays Crack, Debond, or Fail Early
Although a concrete overlay on asphalt can extend pavement life when properly engineered, it’s prone to several failure modes that stem directly from the structural incompatibility between rigid and flexible layers. Without adequate pavement reinforcement, concrete overlay systems face accelerated deterioration from three primary mechanisms:
- Reflection cracking, Existing asphalt cracks propagate through the overlay due to thermal and traffic-induced movement. Reducing overlay thickness by 25% cuts reflection cracking life by 400%.
- Debonding, Interface stress exceeds bond strength, allowing moisture ingress that weakens the base and triggers longitudinal and corner cracks.
- Moisture-induced stripping, Water infiltrates joints and cracks, generating cyclic pore pressure under traffic loads that ruptures the asphalt-aggregate bond, undermining structural support.
Frequently Asked Questions
How Long Does a Concrete Overlay on Asphalt Typically Last?
You can expect a concrete overlay on asphalt to last 10, 20 years with proper installation and maintenance. However, you’ll need to account for factors that directly impact durability, including overlay thickness, traffic loads, joint spacing, and substrate condition. If you double the overlay thickness, you’ll add 5, 7 years to its service life. You should perform timely crack repairs and sealcoating to maximize longevity and prevent premature structural failure.
Can You Drive on a Concrete Overlay the Next Day?
No, you shouldn’t drive on a concrete overlay the next day. You’ll need to wait at least 7 days before allowing vehicle traffic, as concrete reaches only about 70% strength by then. Driving within the first 48 hours causes tire tracks, cracks, and permanent structural damage. For full load-bearing capacity, wait 28, 30 days. Keep vehicles away from edges during the first 10 days, since they’re especially vulnerable to cracking.
Does a Concrete Overlay Increase Your Property Value Over Asphalt Alone?
Yes, a concrete overlay increases your property value by 5-10% over asphalt alone. You’ll achieve 50-80% ROI while gaining 30-50+ years of durability compared to asphalt’s 15-20 year lifespan. Since 44% of buyers cite cracked driveways as deterrents, you’re eliminating a major concern. Properties with concrete overlays typically close 7-10 days faster, and you can boost appeal further through stamped patterns, stained finishes, or exposed aggregate options.
How Much Does a Concrete Overlay on Asphalt Cost per Square Foot?
You’ll typically pay $5 to $10 per square foot for a concrete overlay on asphalt. Surface preparation adds $1 to $3 per square foot, while steel reinforcement contributes another $0.50 to $1.50. Labor accounts for 40, 60% of your total cost. If you’re exceeding the standard 4-inch thickness, expect an additional $1 per inch per square foot. Commercial applications generally run $4 to $8 per square foot.
Can You Apply a Concrete Overlay on Asphalt in Freezing Temperatures?
You shouldn’t apply a concrete overlay on asphalt in freezing temperatures. Concrete strength development stalls at approximately 14°F, and freeze-thaw cycles cause water in the concrete’s pores to expand up to 9%, leading to cracking and scaling. The asphalt substrate also becomes rigid and brittle, preventing proper bonding. You’ll need ambient temperatures consistently above 40°F and extended curing periods to achieve reliable structural performance.