


An asphalt overlay places 1.5 to 3 inches of new hot mix asphalt directly over your existing pavement, restoring 70, 90% of its original functionality. You’ll seal surface cracks, improve skid resistance, and reduce road noise, all at roughly $2, $7 per square foot compared to $5, $12 for full replacement. With proper maintenance, you can expect a 12- to 15-year lifespan. Below, you’ll find the exact specs, cost breakdowns, and installation steps you need.
What Is an Asphalt Overlay?
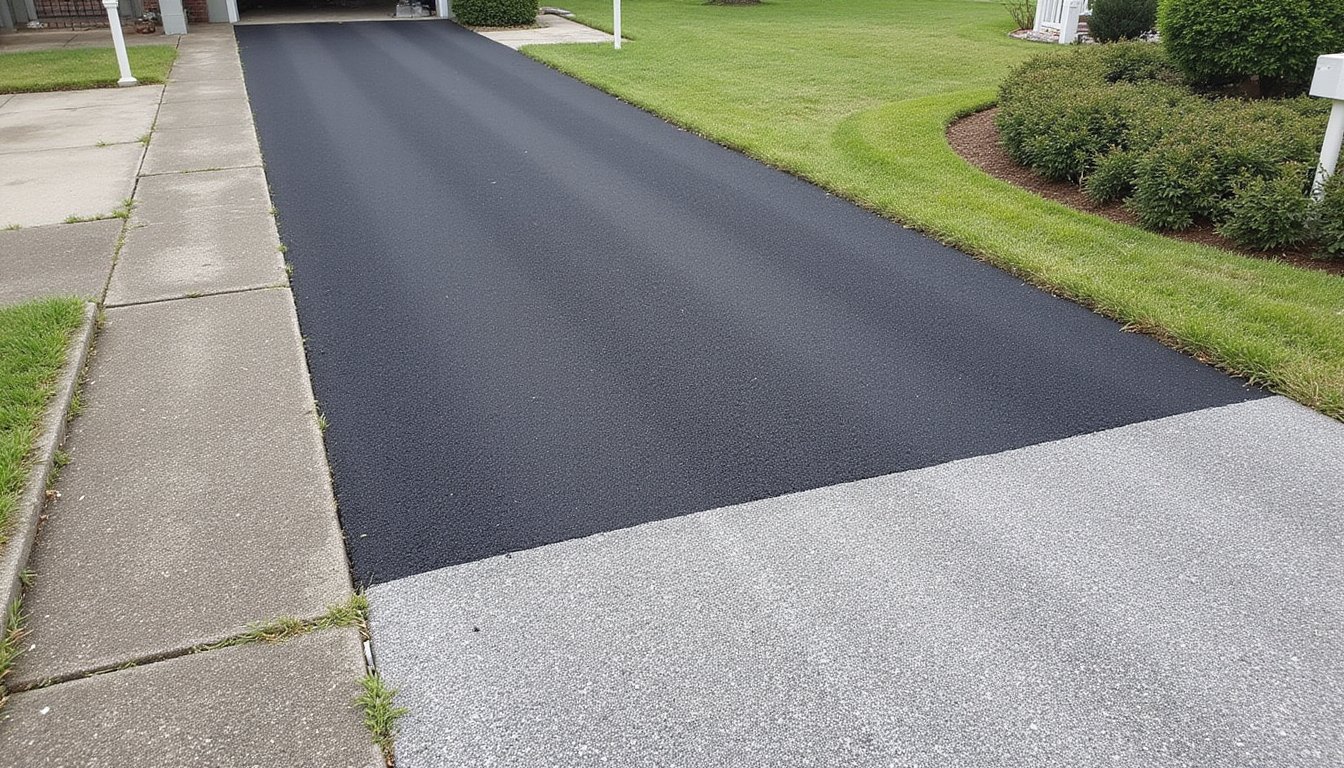
An asphalt overlay involves placing a new layer of hot mix asphalt directly over an existing pavement surface without removing the entire structure. By asphalt overlay definition, you’re bonding a fresh wearing course to a structurally sound base, restoring up to 70, 90 percent of pavement functionality. The new layer typically ranges from 1.5 to 3 inches in thickness and uses smaller aggregates for a smoother finished surface.
You’ll find this method mimics the appearance and performance of new pavement when you install it correctly. It serves as a targeted rehabilitation technique, preserving your underlying base while sealing cracks, improving skid resistance, and reducing surface noise. You shouldn’t confuse it with full-depth reconstruction, which addresses severe structural failures beyond overlay capability. Not every pavement is a candidate, however, since surfaces with extensive structural damage like potholes or ruts may require complete removal instead. Before the new asphalt is placed, tack oil is applied to ensure proper adhesion between the existing surface and the fresh overlay. This approach is also significantly more cost-effective compared to building entirely new pavement, making it a practical choice for extending the life of roads and parking lots.
When Does Your Pavement Need an Asphalt Overlay?
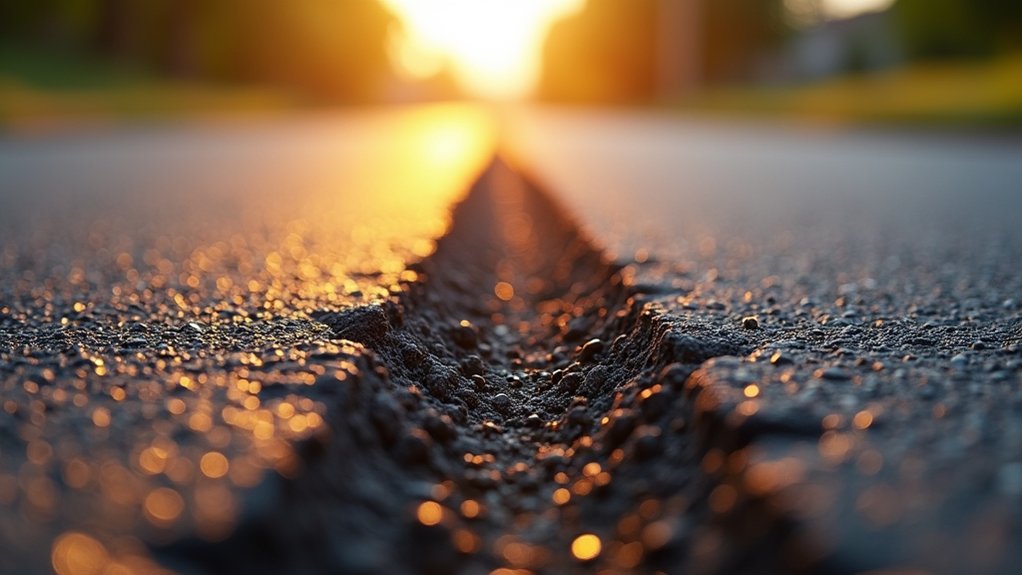
How do you know when your pavement has crossed the threshold from routine maintenance into overlay territory? Monitor these quantifiable indicators: surface cracks expanding beyond hairline width, alligator cracking signaling base fatigue, and block cracking forming square patterns on aging but structurally sound sections.
When evaluating asphalt overlay vs replacement, condition matters. Pavements rated fair, showing oxidation, fading color, minor raveling, and exposed aggregates, are prime candidates. Small potholes, water pooling, and increasing maintenance costs further confirm the need. Data shows every $1 spent on timely preservation saves $6, $10 in future repairs.
Don’t wait until performance drops to poor. Ideal intervention occurs at moderate distress levels, when the base remains structurally intact and surface defects haven’t yet compromised the foundation’s load-bearing capacity.
How Much Does an Asphalt Overlay Cost?
Once you’ve confirmed your pavement qualifies for an overlay, the next question is budget. The asphalt resurfacing process typically costs $2, $7 per square foot, with pricing driven by project scale and material selection.
| Project Size | Cost Per Sq Ft |
|---|---|
| 300 sq ft driveway | ~$7.00 |
| 600 sq ft driveway | $5.00, $7.00 |
| 1,000 sq ft driveway | $3.00, $7.00 |
| 10,000 sq ft lot | $2.00, $3.00 |
| Decorative/heated | $10.00, $25.00 |
Labor accounts for roughly half of total expenditure at $5, $7 per square foot. Milling adds $2.50, $8.00 per square yard depending on depth. Most contractors enforce a $2,000 minimum charge, so smaller driveways won’t benefit from per-unit savings. You’ll find better rates during shoulder seasons when contractor demand drops.
Asphalt Overlay vs. Full Replacement: Which Costs Less?
When you compare an asphalt overlay to full replacement, the upfront cost difference is significant, overlays run $2, $5 per square foot, while full replacement ranges from $5, $12 per square foot, making overlays 30, 50% cheaper initially. However, full replacement delivers a 15, 30 year lifespan versus 8, 15 years for overlays, which means you’ll likely need multiple resurfacing cycles that drive cumulative costs higher over time. Your most cost-effective choice depends on the structural condition of your existing pavement, since overlays only perform well when the base remains sound, while severely deteriorated surfaces require replacement to avoid repeated repair expenses.
Overlay Cost Advantages
Because an asphalt overlay preserves the existing base structure rather than removing it entirely, it delivers significant upfront savings, typically 30, 50% less than full-depth replacement. Among asphalt resurfacing techniques, overlays stand out for their cost efficiency when your existing pavement remains structurally sound.
Here’s how the numbers break down:
- Per-square-foot cost: You’ll pay $2, $5 for an overlay versus $5, $12 for full replacement.
- Residential driveways: A 1,000 sq. ft. overlay runs $2,000, $5,000 total.
- Installation time: Overlays complete in 1, 2 days, reducing labor expenses compared to the 3, 5 day replacement window.
- Material savings: You eliminate disposal costs and base reconstruction expenses entirely.
You’ll also benefit from shorter project timelines, minimizing traffic disruption and property downtime while restoring ride quality affordably.
Full Replacement Expenses
However, full replacement delivers 20, 30 years of pavement life and resolves underlying drainage failures, base degradation, and subgrade weakness that overlays can’t address. When your base is compromised, the higher upfront cost prevents repeated overlay failures and long-term expense accumulation.
Long-Term Value Comparison
Deciding between an asphalt overlay and full replacement ultimately comes down to cost per year of service life, not just the initial price tag. When you evaluate long-term cost efficiency, replacement delivers superior value despite higher upfront investment.
- Overlay annualized cost: At $2,000, $5,000 per 1,000 sq. ft. with an 8, 15-year lifespan, you’re paying approximately $170, $625 per year.
- Replacement annualized cost: At $5,000, $12,000 with a 20, 30-year lifespan, you’re paying approximately $167, $600 per year.
- Cumulative maintenance: Overlays require more frequent resurfacing, compounding total expenditure over a 30-year cycle.
- Structural ROI: Full replacement eliminates base failures, reducing unplanned repair costs by addressing drainage and subgrade deficiencies.
You’ll find overlays’ initial savings erode when repeated applications on deteriorating bases accumulate higher lifetime costs.
How to Tell If Your Pavement Can Support an Overlay
Before scheduling an overlay, you need to assess your existing pavement’s condition by evaluating surface distress indicators like cracking patterns, raveling, and texture loss, which reveal whether deterioration remains at the surface level. You should then identify the underlying causes of damage, whether from oxidation, moisture infiltration, or traffic loading, since unresolved root issues will compromise overlay performance through reflective cracking. Finally, you’ll want to evaluate your subgrade’s structural integrity using deflection testing methods to confirm the base can support additional loading, as overlays require a minimum of 3 inches of sound material remaining after milling to meet specification thresholds.
Assess Existing Pavement Condition
Every asphalt overlay starts with one critical question: can your existing pavement actually support a new layer? To assess existing pavement condition, you’ll need a systematic evaluation using both visual and quantitative methods. Among pavement preservation methods, overlays demand the most rigorous pre-assessment to guarantee long-term performance.
Follow these four critical evaluation steps:
- Conduct visual inspection, Check crack width, fading, rutting depth, and drainage issues using PASER scale ratings (Grade 5+ typically supports overlay).
- Perform deflection testing, Use Falling Weight Deflectometer to measure load-bearing capacity through precise deflection values.
- Run Ground Penetrating Radar, Detect subsurface voids, moisture infiltration, and delamination that compromise structural integrity.
- Evaluate distress severity, Confirm alligator cracking stays under 25% and rutting remains below 2 inches.
Identify Underlying Damage Causes
- Excessive traffic loads cause fatigue cracking (alligator patterns) and rutting from subgrade consolidation.
- Poor drainage allows water infiltration that erodes base support, producing spalling and potholes.
- Sun damage and oxidation break down binders through UV exposure, creating raveling and block cracking.
- Plant root intrusion exerts subsurface force, generating upheaval and uneven load distribution.
- Chemical spills from oil or grease soften layers, causing slippage cracks from poor interlayer bonding.
Document each identified cause before proceeding, your overlay specification depends on addressing these root failures first.
Evaluate Subgrade Structural Integrity
Four primary test methods, proofrolling, Standard Penetration Testing (SPT), Dynamic Cone Penetrating (DCP) testing, and Falling Weight Deflectometer (FWD) analysis, determine whether your existing subgrade can structurally support an asphalt overlay.
- Proofrolling uses a fully loaded tandem axle dump truck to identify unstable areas through visible rutting or deflection, though it won’t yield CBR or modulus values.
- SPT drilling provides N-value blow counts that translate to estimated subgrade modulus and conservative CBR at multiple depths.
- DCP testing per ASTM D6951 delivers quick in-field CBR and modulus data, supplementing proofrolling with precise strength measurements.
- FWD analysis calculates effective structural number, resilient modulus, and Structural Sufficiency Index scores ranging from 0, 100.
Combining these methods guarantees your pavement structural improvement decisions rely on verified, depth-specific subgrade data.
How Your Surface Is Prepped for an Asphalt Overlay
| Preparation Phase | Specification |
|---|---|
| Surface Cleaning | Pressure washing; chemical oil treatment; dry substrate required |
| Edge Preparation | Precision cutting for uniform boundaries and seamless shifts |
| Crack/Pothole Repair | Fill voids; seal cracks to prevent reflective propagation |
| Tack Coat Application | Even asphalt emulsion layer; rate calibrated to surface conditions |
| Final Compaction | Vibratory rollers achieve target density; visual inspection confirms readiness |
Each phase guarantees structural compatibility and long-term overlay adhesion.
Why Milling Makes Your Asphalt Overlay Last Longer
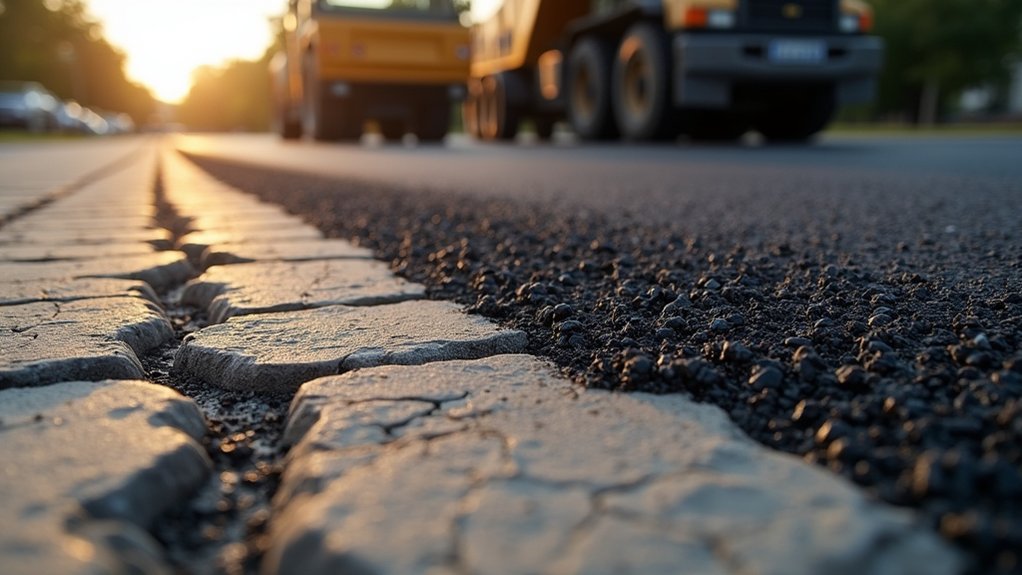
When you mill your existing pavement, you’re removing 1 to 3 inches of deteriorated material, including cracks, potholes, and oxidized surface layers, that would otherwise compromise your overlay’s structural performance. The milling process creates a rough macrotexture that promotes interlayer bonding, reducing delamination risk and enabling your new asphalt to function as an integrated system rather than a separate layer prone to slippage. By addressing subsurface defects before overlay placement, you’re eliminating the root causes of reflective cracking and moisture infiltration that typically shorten pavement service life by years.
Removes Damaged Surface Layers
Milling strips away the deteriorated top layer of your existing pavement, typically 1.5 inches or more, removing surface cracks, potholes, and raveled material down to a clean, structurally sound base. This precision process guarantees your pavement overlay system starts on a stable foundation without disturbing the underlying aggregate layers.
Key removal specifications include:
- Depth control: Precision instruments calibrate removal to the exact required depth, eliminating only compromised material.
- Surface preparation: The milled profile creates macrotexture that promotes robust interlayer bonding with the new overlay.
- Grade correction: Targeted removal addresses drainage issues and maintains proper curb reveals and shifts.
- Structural preservation: The base layer remains undisturbed, preserving load-bearing capacity while removing 100% of deteriorated surface material.
Creates a Stronger Bond Surface
Beyond removing damaged material, milling’s greatest contribution to overlay performance lies in the surface macrotexture it creates, a rough, grooved profile that dramatically enhances interlayer bonding between the existing base and new asphalt. This textured substrate increases mechanical interlock, reducing delamination risk under shear forces from heavy traffic loads.
When you apply a tack coat to a milled surface, the grooved profile maximizes contact area, creating adhesion that’s measurably stronger than overlays placed on non-milled pavements. Your asphalt binder course overlay bonds seamlessly with the existing base, forming a unified structural system rather than independent layers prone to slippage.
This precision-milled texture eliminates oxidized material while providing a clean, level foundation. You’ll achieve extended pavement life, typically 12 to 15 years, because stronger interlayer bonding directly correlates with long-term overlay durability.
Prevents Recurring Pavement Failures
Because deteriorated asphalt left in place acts as a failure plane beneath any new overlay, milling’s selective removal of compromised material directly breaks the cycle of recurring pavement distress. You’re eliminating the origin points where cracks, ruts, and deformations propagate into new layers.
Among proven pavement life extension methods, milling before overlay ranks highest for preventing reflective cracking. Here’s what targeted removal accomplishes:
- Breaks crack propagation cycles, removes stress concentrations that transfer existing distress patterns into overlay material
- Eliminates hidden structural defects, extracts oxidized, brittle asphalt that undermines interlayer bonding
- Reduces premature failure risk, guarantees your overlay bonds to structurally sound substrate rather than compromised surfaces
- Minimizes compounding repairs, proactive removal prevents frequent patch-and-fill interventions that accelerate overall deterioration
How Your Asphalt Overlay Gets Installed Step by Step
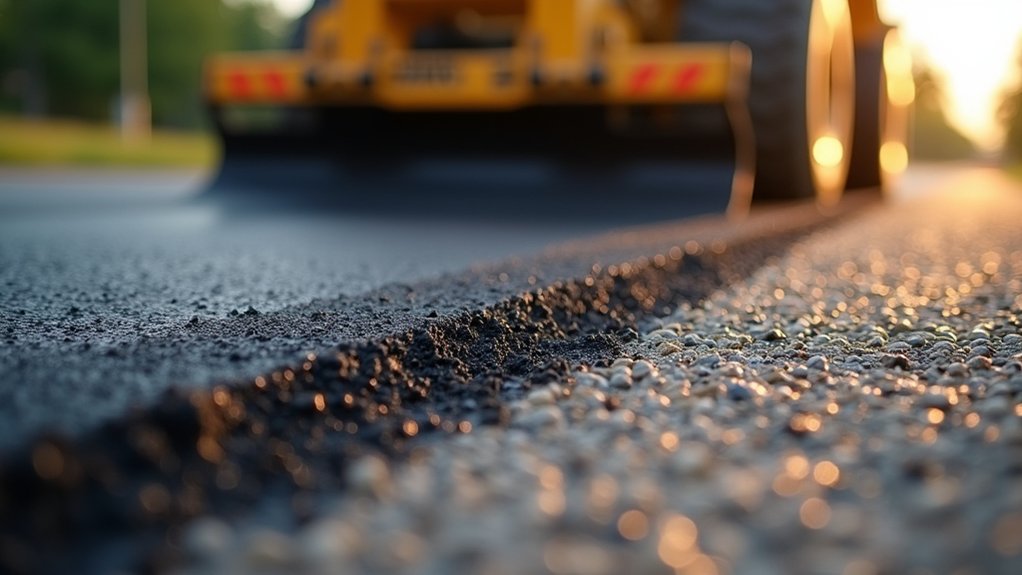
Five distinct phases define a properly executed asphalt overlay installation, each requiring specific equipment, materials, and quality controls to achieve the 70, 90 percent functionality restoration that transportation engineering studies document.
First, you’ll undergo a thorough inspection where crews assess structural feasibility and identify underlying damage causes. Next, milling machines remove the deteriorated surface layer while workers repair soft spots and adjust utility covers. Third, crews apply a tack coat with fiberglass reinforcement to guarantee proper adhesion.
During phase four, 2, 3 inches of hot mix asphalt overlay gets placed in controlled lifts, restoring original elevation with smaller aggregates for a smooth finish. Finally, roller compaction eliminates voids, reduces permeability, and creates seamless butt joints before sealcoating six months later.
How Long Does an Asphalt Overlay Last?
Although a properly installed asphalt overlay can restore up to 90 percent of pavement functionality, its actual service life depends on five measurable variables: compaction density, traffic load, climate exposure, maintenance frequency, and base condition.
Experienced asphalt resurfacing contractors typically project the following performance benchmarks:
Seasoned resurfacing contractors rely on proven performance benchmarks to set realistic expectations for overlay longevity.
- Light-traffic residential areas: 10, 15 years with routine crack sealing and sealcoating every 3, 5 years
- Moderate-traffic commercial lots: 8, 12 years when proper mix gradation and drainage are maintained
- Heavy truck routes: 7, 12 years, depending on overlay thickness and binder grade selection
- High-stress intersections: 7, 10 years due to concentrated braking and turning loads
Density remains the strongest predictor of longevity. Without achieving target compaction during installation and scheduling preventive maintenance afterward, you won’t reach these projected lifespans.
How Long Will Your Overlay Project Take?
Knowing how long your overlay will last matters, but so does knowing how long the project itself will take. Timelines depend on project scale, site conditions, and the specified asphalt overlay layer thickness.
Residential driveways under 5,000 sq. ft. typically complete in 1, 2 days, including milling, preparation, and compaction. You’ll allow light traffic within 24, 48 hours, though full curing requires up to 30 days.
Commercial parking lots ranging from 5,000, 50,000 sq. ft. require 3, 7 days. Larger lots exceeding this range can extend beyond a week.
Large-scale roadway projects over 50,000 sq. ft. take weeks to months, especially when multiple layers require curing periods between applications. Milling alone adds 1, 2 days depending on depth and equipment efficiency. Weather delays can further extend schedules.
Frequently Asked Questions
Can an Asphalt Overlay Be Applied Over a Concrete Surface?
You can apply an asphalt overlay over concrete, provided the underlying slab maintains structural integrity without major cracking or instability. You’ll need to inspect for defects, power wash the surface, and apply a tack coat to guarantee proper adhesion. You should also address expansion joints using crack-attenuating grids or increased overlay thickness to mitigate reflective cracking. When the concrete base is stable, overlays restore up to 70, 90% of pavement functionality.
What Weather Conditions Are Best for Installing an Asphalt Overlay?
You’ll achieve excellent results installing an asphalt overlay when air temperatures range between 70°F and 90°F, with a minimum threshold of 50°F and rising. Schedule your project during late spring through early fall, June to early August delivers prime conditions. You’ll need dry weather, low humidity, and direct sunlight to guarantee proper compaction and curing. Avoid rain, high winds, and temperatures exceeding 90°F, as these compromise bonding and material integrity.
Does an Asphalt Overlay Raise the Height of Your Driveway?
Yes, an asphalt overlay raises your driveway’s height by the exact thickness of the new layer you’re adding. Standard overlays measure 1.5 to 3 inches thick, so you’ll see a corresponding elevation increase. You’ll need to assess existing elevations beforehand, since raising the grade can create drainage issues or clearance problems at garage entries. If you’re adding 4 inches or more, you should verify that water runoff paths remain unobstructed.
Can You Apply Multiple Asphalt Overlays on the Same Pavement?
Yes, you can apply multiple asphalt overlays on the same pavement, provided the existing structure remains in good to fair condition. Each overlay extends pavement life by approximately 8, 15 years, and interlayers can boost overlay longevity by up to 200%. However, you’ll need to assess cumulative height, drainage grades, and structural capacity before each application. If the base shows deep deterioration, you’ll require full-depth reconstruction instead.
How Soon Can Vehicles Drive on a New Asphalt Overlay?
You should wait 48, 72 hours before driving passenger vehicles on a new asphalt overlay. Light traffic‘s typically permitted after 72 hours in residential applications, while heavy vehicles require a minimum 14-day wait. Ideal curing occurs at 70, 80°F with dry conditions. You’ll know the surface is ready when it’s cooled to ambient temperature and feels hard but slightly tacky. Driving too soon risks permanent indentations, cracking, and surface deformation.