


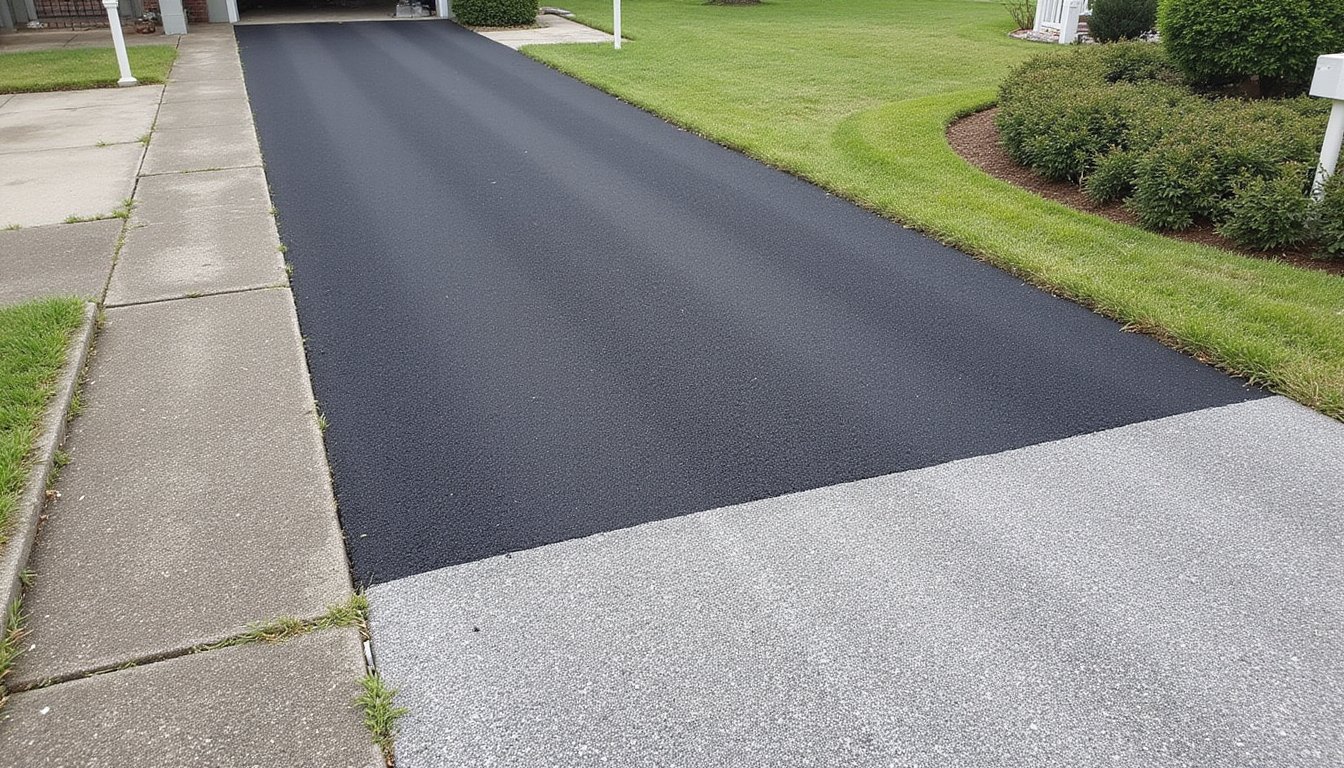
You’ll need to wait a minimum of 90 days before sealing your newly paved driveway, though most contractors recommend 6-12 months for ideal results. This curing period allows volatile oils to evaporate and guarantees proper hardening, your asphalt’s surface will shift from glossy black to dull gray when it’s ready. Schedule your sealing project during spring or early fall when temperatures consistently range between 50-80°F, as these conditions assure uniform adhesion and proper curing. Understanding the molecular changes occurring beneath your driveway’s surface will help you maximize your investment’s longevity.
How Long Should You Wait Before Sealing New Asphalt?
New asphalt driveways require a minimum curing period of 90 days before applying sealant, though most contractors recommend waiting 6, 12 months for ideal results. This timeline allows volatile oils to evaporate and guarantees proper hardening. Asphalt composition analysis reveals that premature sealing traps moisture and petroleum byproducts, compromising structural integrity. You’ll notice readiness when the surface changes from glossy black to dull gray and feels firm underfoot.
Climate directly impacts your project schedule; warmer, drier conditions accelerate curing, while humid environments extend waiting periods. Coal tar sealers demand 12-month intervals, whereas asphalt emulsion products may permit application after 6 months. Proper surface prep techniques include verifying zero loose aggregate, eliminating debris, and confirming complete dryness. Schedule sealing during temperatures between 50, 90°F with no precipitation forecast for 48 hours post-application. Sealing simplifies cleaning maintenance by creating a smooth barrier that reduces oil stains and prevents debris accumulation on the driveway surface. A properly sealed driveway protects against UV rays that can deteriorate the asphalt surface over time. This protective measure can double the lifespan of your pavement while providing substantial long-term cost savings.
Why Patience Pays Off: The Science Behind Asphalt Curing
Understanding asphalt curing at the molecular level transforms waiting periods from inconvenient delays into strategic project phases. You’ll observe binder oxidation impacts beginning immediately after installation, as oxygen molecules penetrate the surface and initiate polymerization reactions. This chemical process creates long-chain molecular structures that directly influence your pavement’s load-bearing capacity.
Bond strength considerations become critical during the 6, 12 month curing timeline. As volatile oils evaporate and asphaltenes form, molecular bonding intensifies, increasing rigidity and deformation resistance. Temperature fluctuations, UV exposure, and humidity levels modulate oxidation rates, affecting your project schedule. Warm weather accelerates the curing process, while cold temperatures can significantly slow down the chemical reactions necessary for complete pavement hardening. UV radiation and heat exposure accelerate the hardening process by intensifying the oxidation of the bitumen binder.
Premature sealing interrupts these essential chemical reactions, trapping uncured compounds beneath the sealant layer. You’re fundamentally compromising structural integrity by blocking oxygen access required for complete polymerization and ideal bond development. Sealcoating prevents cracks by reducing the evaporation of essential oils, which is why proper timing ensures the protective layer enhances rather than hinders the curing process.
Optimal Seasons for Driveway Sealcoating
While molecular curing establishes your pavement’s structural foundation, temperature-dependent application windows dictate when you’ll achieve ideal sealcoating results. Seasonal temperature patterns create distinct sealcoating application windows across May through October in temperate zones. You’ll maximize protection by scheduling spring applications when moderate temperatures (50, 80°F) and lower humidity guarantee uniform adhesion. Summer’s consistent warmth accelerates curing, though temperatures exceeding 90°F cause premature surface drying that compromises bonding integrity. Early fall remains viable if you’re monitoring forecast minimums above 50°F, but cooling trends extend drying cycles and increase contamination risk from falling debris. Northern climates compress your scheduling window to mid-May through late September, while southern regions extend viability into late fall. You’ll need 24, 48 hours of precipitation-free conditions with stable air and surface temperatures above application thresholds. Low humidity conditions on the application day enable a 5-hour cure time, provided temperatures remain stable throughout the process. Summer’s longer daylight hours provide extended working periods that facilitate thorough application and complete drying before evening temperature drops. Prior to sealcoating, complete essential surface preparation tasks, including stain removal, vegetation clearing, and pothole patching with cold asphalt, which can be performed year-round regardless of temperature constraints.
Temperature Requirements for Successful Sealing
Temperature thresholds determine your project’s success or failure; ambient and pavement readings must reach 50°F (10°C) minimum and continue rising during application, with many contractors preferring a safer 55°F baseline for water-based formulations. Monitoring surface temperature becomes critical since readings below specification compromise binder formation and adhesion. Upper limits matter equally: exceeding 90, 95°F triggers flash curing and surface defects.
| Temperature Range | Application Guidance |
|---|---|
| Below 50°F | Postpone, adhesion failure likely |
| 50, 75°F | Acceptable with extended cure times |
| 75, 85°F | Ideal application window |
| Above 90°F | Defer or cool pavement surface |
Managing application challenges requires maintaining these specifications for 24, 48 hours post-application. Nighttime temperature drops jeopardize curing, while premature exposure to traffic or precipitation ruins protection regardless of initial conditions. Humidity levels also influence the drying process, with moderate humidity conditions supporting optimal sealer performance compared to excessively dry or wet environments. Cold-weather applications create uneven spread and streaks that compromise the protective layer and reduce overall effectiveness. Filling existing cracks and potholes before applying sealcoating ensures the protective barrier adheres properly and maximizes the lifespan of your pavement investment.
Preparing Your Driveway and Timing the Application
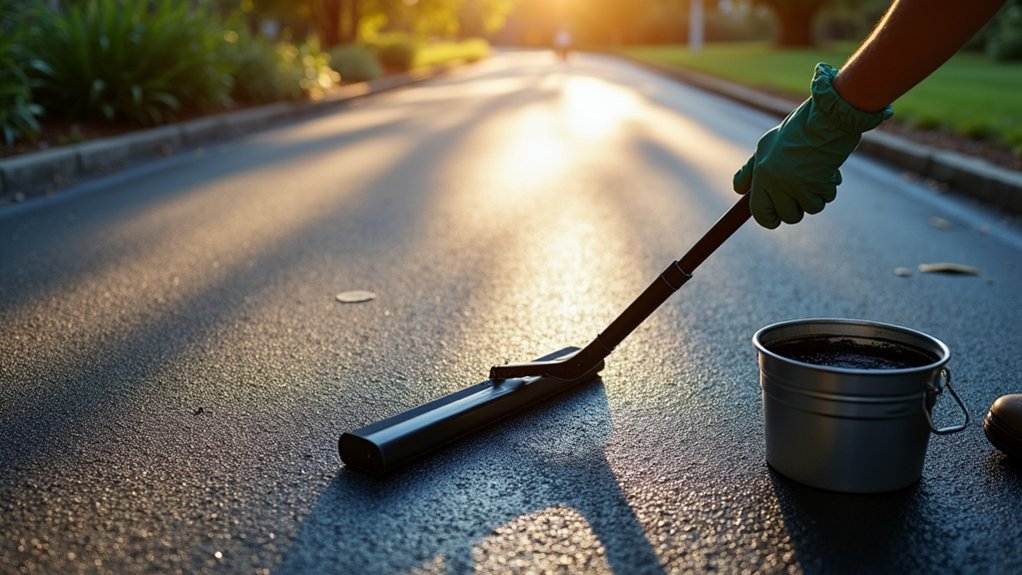
You’ll need to complete surface cleaning and crack repairs at least 48 hours before your scheduled sealing date to guarantee proper adhesion. Select a weather window that provides two consecutive days of temperatures between 50-90°F with no rain forecast during application and initial curing. Block off driveway access for 24-48 hours post-application, coordinating vehicle parking alternatives and informing household members of the traffic restriction timeline. Turn off sprinklers the day before and after the sealcoating process to prevent water interference with the sealer. The protective layer will shield your driveway from water penetration, sun damage, and chemical spills once fully cured. Applying sealer helps fill surface cracks and creates a barrier that prevents moisture from seeping into the pavement structure.
Clean and Repair Surface
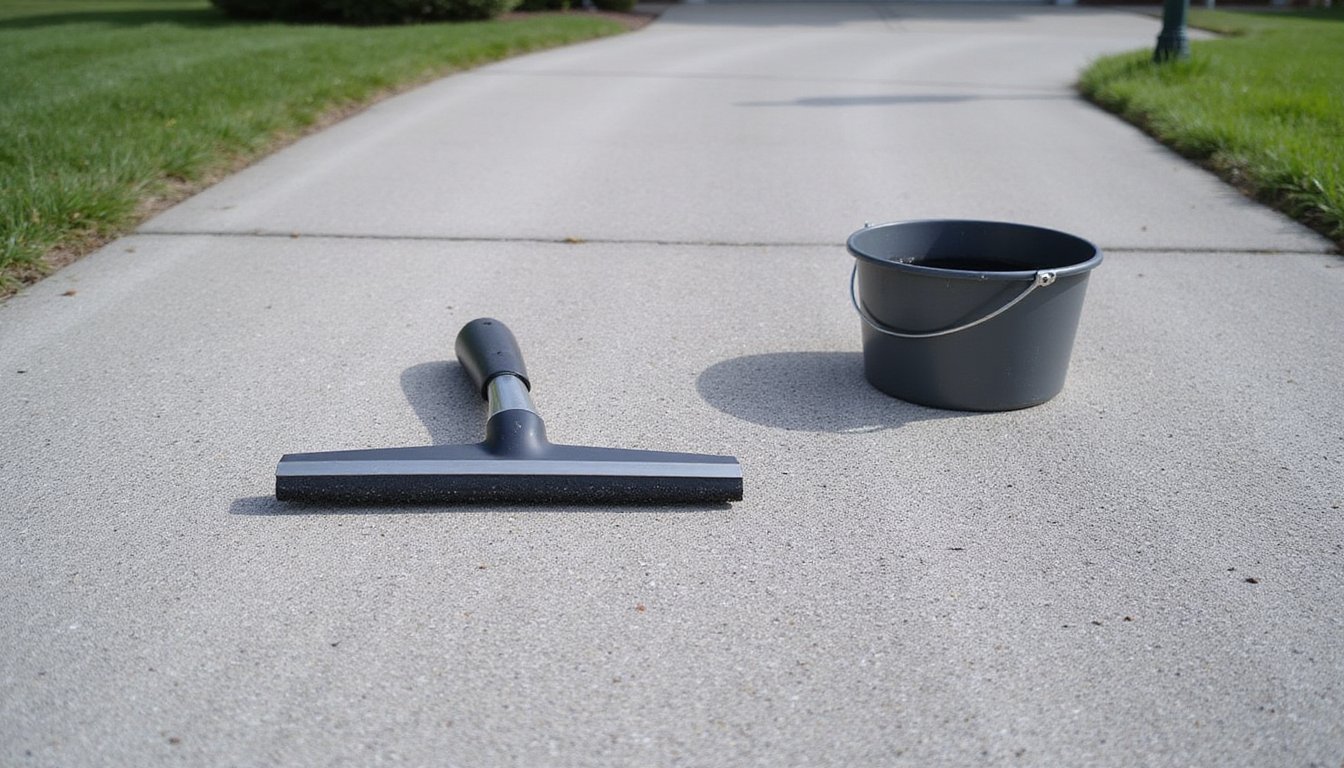
Before applying sealant, you must complete a thorough surface preparation sequence that directly impacts adhesion quality and coating longevity. Begin by conducting a detailed examination to inspect for issues including cracks, potholes, oil stains, and structural deficiencies. Remove all debris, vegetation, and loose aggregate from the surface using power blowers or industrial brooms.
To guarantee proper cleaning, deploy pressure washers at appropriate PSI levels to eliminate embedded contaminants. Apply commercial-grade degreasers to petroleum-based stains before washing. Execute all crack repairs using asphalt-compatible fillers, allowing manufacturer-specified curing periods before proceeding.
Verify complete surface dryness; moisture content must reach acceptable levels for optimum sealant bonding. Schedule this preparation phase 24-48 hours before application, accounting for material curing times and weather conditions. Protect adjacent surfaces with masking materials to maintain project boundaries. Scout weather reports to confirm 3-4 days of hot, dry conditions following your planned application date to ensure proper curing an
Choose Optimal Weather Conditions
Weather parameters establish the foundation for successful sealcoat application and determine your project’s performance outcomes. Schedule your project when temperatures consistently remain between 50°F and 90°F, with the ideal range of 70°F to 85°F. You’ll need this temperature maintained for 24-48 hours post-application. Humidity levels below 60% prevent tacky surface conditions and accelerate curing. Application timing proves critical; morning applications when temperatures rise toward 70°F outperform afternoon scheduling. Confirm zero precipitation forecast for the 48-hour curing window. Direct sunlight for 6-8 hours post-application accelerates drying substantially. The April-through-October window provides reliable temperature consistency. Summer months deliver superior curing conditions with reduced surface downtime. Avoid spring’s unpredictable rainfall and fall’s sudden temperature drops that compromise adhesion quality.
Plan Traffic-Free Curing Period
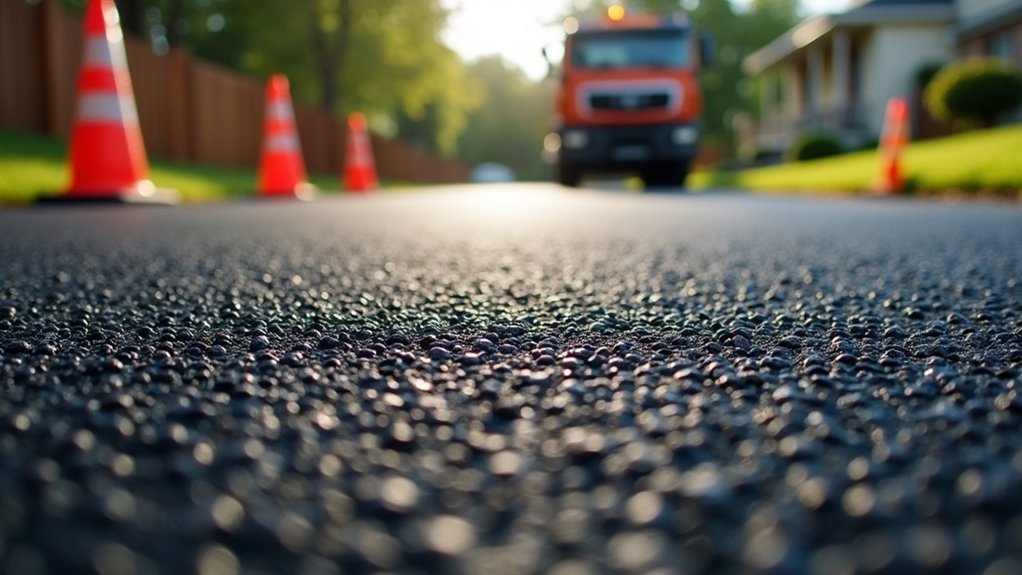
Traffic management during the curing phase determines sealcoat longevity and surface integrity. Restrict all vehicular and pedestrian access for a minimum 3-day period, extending to 7 days for heavy loads. Curing duration considerations require 30, 90 days before sealcoat application, allowing proper oxidation and oil volatilization. Install barriers, cones, or temporary fencing to enforce closures and arrange alternate parking for household members.
Managing traffic flow demands clear signage communicating restriction timelines to visitors and service personnel. Monitor surface color shift from black to slate gray, indicating readiness for sealing. Climate, pavement thickness, and mix specifications directly affect cure rates; polymer-modified asphalts may require extended schedules. Avoid pressure washing or chemical cleaners until advanced hardening occurs. Premature traffic causes rutting, marking, and reduced lifespan, compromising your investment’s structural performance.
How Often Should You Reseal Your Driveway?
You’ll need to establish a resealing schedule based on your driveway’s material type and environmental exposure to maintain ideal surface protection. Industry standards recommend resealing every 2-3 years for both asphalt and concrete driveways under typical residential conditions. Monitor your driveway’s surface condition regularly, as visible indicators like fading, water absorption, and cracking will determine when to advance your next resealing project.
Standard Resealing Intervals
Establishing a consistent resealing schedule protects your driveway investment and prevents costly repairs down the road. You’ll need to reseal both asphalt and concrete driveways every 2, 3 years under normal conditions. However, proper sealant selection greatly impacts your maintenance timeline and resealing budgeting.
| Surface Type | Sealer Type | Resealing Interval |
|---|---|---|
| Asphalt | Standard seal coat | 2, 3 years |
| Concrete | Acrylic-resin | 1, 3 years |
| Concrete | Polyurethane | 3, 5 years |
| Concrete | Penetrating | 5, 10 years |
Adjust your schedule based on traffic volume, weather exposure, and driveway age. High-traffic areas and harsh climates require resealing every 2 years. New asphalt requires 6, 12 months curing before initial sealing. Schedule projects during summer months for ideal curing conditions.
Signs You Need Resealing
Recognizing deterioration indicators early prevents minor surface issues from escalating into structural failures requiring full replacement. Monitor your driveway for color fading from deep black to gray, signaling UV oxidation and sealant breakdown. You’ll notice increased water absorption rather than beading, indicating compromised moisture resistance that threatens structural integrity. Surface texture changes, roughness, pitting, or aggregate raveling confirm binder degradation. Hairline cracks and edge crumbling allow water intrusion that accelerates freeze-thaw damage. Oil and chemical stains that won’t lift reveal lost protective capacity. A weathered appearance with persistent wet spots after rainfall demonstrates advanced seal deterioration. Document these conditions to schedule resealing before minor defects compromise your driveway’s foundation, preventing costly repairs and maintaining property value through proactive maintenance intervention.
Signs Your Driveway Is Ready for Sealcoating
Before scheduling your sealcoating project, inspect the driveway surface for specific deterioration markers that indicate readiness for treatment. You’ll notice visible surface texture changes; the asphalt shifts from smooth black to rough gray, with aggregate stones loosening from the binder. Water no longer beads but penetrates the surface, creating clogged drainage paths where pooling occurs in low spots.
When asphalt transitions from smooth black to rough gray and water stops beading, your driveway signals it’s ready for sealcoating treatment.
Key readiness indicators include:
- Complete dryness after power washing, with no residual moisture remaining on the surface
- Pre-filled cracks and potholes that have fully cured according to manufacturer specifications
- Clean perimeter edges trimmed of vegetation overgrowth and debris accumulation
Confirm your weather window provides 50, 90°F temperatures with zero precipitation forecast for 24, 48 hours post-application. This guarantees optimal curing conditions and proper sealant adhesion to the prepared asphalt surface.
Costly Mistakes: What Happens When You Seal Too Soon
Understanding when your driveway’s ready for treatment protects you from rushing into application before conditions allow proper curing. Premature sealing traps oils and moisture beneath the surface, preventing proper asphalt hardening and creating immediate sealing quality issues. You’ll notice tire marks, power steering tears, and uneven discoloration as the weakened barrier fails under daily traffic. The compromised bond leads to peeling, scuffing, and accelerated wear patterns that shorten your pavement’s lifespan considerably.
Environmental factors compound these problems; humidity, temperature fluctuations, and unexpected rain within 24 hours can wash away uncured sealant entirely. You’ll face repeated maintenance cycles and costly surface repairs, with warranty coverage concerns arising since premature applications typically void manufacturer guarantees. Schedule your sealing project only after confirming adequate curing time has elapsed.
Frequently Asked Questions
Can You Seal a Driveway in Winter or Freezing Temperatures?
You shouldn’t seal your driveway in winter or freezing temperatures. When you monitor ambient temperature and find readings below 50, 55°F, the sealant won’t cure properly, leading to peeling, separation, and film breakdown. Water-based products can freeze, permanently compromising adhesion and durability. You’ll face extended drying times, poor bonding, and rapid deterioration. Delay sealing until spring when temperatures consistently stay above 55°F, ensuring ideal curing conditions and maximum sealant longevity for your paving project.
Does Sealing a Driveway Increase Property Value or Curb Appeal?
Yes, sealing your driveway delivers both increased curb appeal and improved property value. You’ll see a 5, 10% boost in home appraisal value, with sealed surfaces attracting buyers 7, 10 days faster than untreated driveways. The protective coating maintains that clean, uniform appearance buyers notice immediately; 72% cite curb appeal as critical. You’re also reducing future maintenance concerns, which strengthens negotiating position and accelerates sale timelines by 2, 4 weeks in competitive markets.
How Much Does Professional Driveway Sealing Typically Cost per Square Foot?
You’ll pay $1, $2 per square foot for professional driveway sealing, with your estimated project cost averaging $305 for standard residential work. When comparing DIY vs professional sealing, contractors charge $0.90, $1.50 per square foot for labor alone, while DIY materials run $0.10, $0.25 per square foot. Concrete driveways cost more at $0.85, $2.13 per square foot due to specialized sealants. Schedule your project knowing professionals deliver longer-lasting results despite higher upfront costs.
What’s the Difference Between Coal Tar and Asphalt-Based Sealers?
Coal tar composition contains high PAH levels and lasts 5+ years, but it’s banned in many regions due to environmental concerns. Asphalt sealer durability now rivals coal tar when you use polymer-modified formulas with high solid content. You’ll find asphalt-based products easier to apply, safer for your crew, and compliant with most regulations. They dry faster, allowing quicker project completion. For your timeline, asphalt emulsions let you reopen driveways sooner while meeting environmental standards.
Can I Seal My Driveway Myself or Should I Hire Professionals?
You can seal your driveway yourself if you’re comfortable with DIY application techniques like proper surface prep, timing weather windows, and managing 24-48 hour cure schedules. However, professional application benefits include commercial-grade equipment, uniform coverage, integrated crack filling, and labor warranties. If your project timeline’s tight or you lack experience with sealant consistency and layering, hiring professionals guarantees longer-lasting results and reduces risk of premature failure from improper application or moisture entrapment.