


Begin by inspecting your driveway for cracking, potholes, and drainage issues, then remove all debris and vegetation using power brooms and compressed air. You’ll need to fill narrow cracks with rubberized sealant, patch deeper potholes with hot or cold asphalt mix in compacted layers, and cut square edges around damaged sections for structural repairs. Always apply a tack coat before patching and seal repair perimeters to prevent water infiltration. The following exhaustive guide covers advanced techniques for lasting restoration.
Inspect Your Asphalt Driveway for Damage and Document Problem Areas
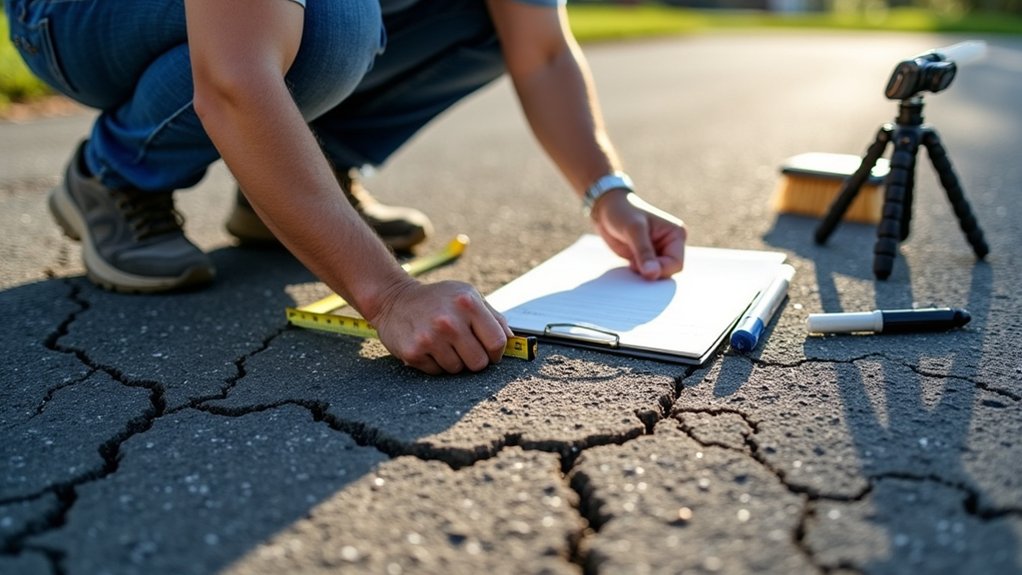
Before initiating any repair work, you must conduct a systematic inspection of your asphalt driveway to identify all damage types and their severity. Survey the surface for alligator cracking, potholes, and raveling that indicate structural compromise. Document faded asphalt color signaling oxidation and note any chemical staining weakening the pavement. Evaluate drainage patterns by detecting standing water, depressions retaining moisture, and unleveled sections that accelerate freeze-thaw damage. Monitor perimeter conditions for edge crumbling, vegetation encroachment, and root intrusion causing surface displacement. Map problem locations using photographs and annotated diagrams, rating each defect’s severity. Measure crack dimensions and pothole depths to estimate repair scope accurately. Survey the topography to identify low-lying areas that are prone to water pooling and may require drainage solutions. Track seasonal damage patterns and compile an extensive inspection checklist. During your inspection, pay special attention to areas where cracks and potholes have formed, as these issues often indicate problems with the underlying base layer. Inspect concrete curbs and sidewalks adjacent to your driveway for damage and deterioration that may affect the overall pavement structure. This documentation prioritizes urgent repairs and establishes baseline maintenance records for future reference.
Clean and Prepare the Surface for Repair Work
Before applying any repair materials, you must eliminate all loose debris, vegetation, and contaminants from the asphalt surface using power brooms, wire brushes, and compressed air. Remove weeds completely, roots included, from cracks and joints to prevent regrowth that compromises adhesion. Allow the cleaned surface to dry for at least 24 hours after washing, as trapped moisture will prevent proper bonding of fillers and sealants. Cleaning oil and gas spills promptly during preparation is essential, as these petroleum-based contaminants can prevent repair materials from adhering properly to the asphalt surface. Inspect the driveway to identify and repair potholes, cracks, and uneven areas that require attention before proceeding with surface treatments. Proper surface preparation ensures strong bonds between the existing pavement and new repair materials, which is critical for lasting results.
Remove Debris and Vegetation
Successful asphalt driveway repair depends on achieving a clean, stable surface that promotes ideal adhesion between existing pavement and repair materials. You’ll need to remove loose organic material like dirt, gravel, leaves, and litter using sturdy push brooms or power blowers. Pay special attention to edges and cracks where debris accumulates. Next, eliminate stubborn vegetation emerging through pavement fractures. Extract weeds and grass manually, then apply a heat lance or non-selective herbicide to prevent regrowth. For moss infestations, scrub affected areas with stiff-bristle brushes and chemical moss killers. Pre-treat oil and grease stains with degreasers or tri-sodium phosphate solution, scrubbing vigorously before rinsing. Address any chemical spills on the surface, as these can deteriorate the asphalt binder and compromise repair adhesion. Clear away any lawn debris and mulch that may have accumulated, as these materials can cause brownish spots and staining when left to decay on the surface. Finally, use crack cleaning machines or blowers to expel particles lodged within cracks and potholes, ensuring cavities are completely clear for perfect filler adhesion. Throughout the cleaning process, wear proper safety gear to protect yourself from debris, chemicals, and other worksite hazards.
Ensure Complete Surface Drying
Why does moisture pose such a critical threat to asphalt repair integrity? Trapped subsurface water prevents proper adhesion of sealants, patching compounds, and crack fillers, causing premature failure. You must evaluate moisture levels using handheld meters or tactile tests in shaded, low-drainage zones before proceeding. After power washing, extend drying periods, moisture retention can compromise bonding surfaces. Schedule repairs strategically during dry, sunny conditions with rain-free forecasts spanning the manufacturer’s recommended cure window. Deploy portable blowers to accelerate evaporation in high-humidity climates or poorly ventilated areas. Avoid early morning or late evening work when dew formation is likely. Confirm the surface is completely dry to the touch; any residual dampness will undermine material performance. Trapped moisture beneath the surface can lead to bubbling, peeling, or accelerated deterioration of repair materials. Grade drainage pathways to eliminate standing water and prevent re-saturation during subsequent repair phases. Proper water drainage is essential to prevent future damage like potholes, cracks, and heaving that could undermine your repair work. Use power brooms or sweepers to remove any remaining dust or debris after the surface has fully dried, ensuring optimal conditions for repair material application.
Seal Narrow Cracks to Prevent Water Infiltration
Sealing narrow cracks up to 1 inch wide prevents water infiltration that accelerates pavement deterioration through freeze-thaw damage and base erosion. You’ll need to select a crack filler compatible with your climate conditions, rubberized or elastomeric sealants for flexibility, or asphalt-based products for durability. Cooler climates require more flexible sealants to accommodate greater temperature fluctuations and pavement movement. Before application, remove all debris, moisture, and contaminants from the crack using compressed air at minimum 90 PSI to guarantee proper adhesion, then overfill slightly to accommodate natural settling. Most crack filler formulas work effectively on hairline cracks to larger cracks up to 1/2 inch wide. Quality sealants are designed to withstand pavement movements as temperatures fluctuate throughout the seasons, providing long-lasting protection for your driveway.
Choose Appropriate Crack Filler
| Filler Type | Best Application |
|---|---|
| Liquid acrylic/asphalt-based | Cracks under ½ inch; DIY-friendly squeeze bottles |
| Rubberized hot-pour (Deery Super Stretch) | Professional-grade; lasts up to 4 years |
| Filler ropes (Crack-Stix) | ¼, ½ inch cracks; requires heat application |
| Low-VOC formulas (QPR) | Environmentally sensitive locations |
Evaluate surface compatibility considerations and verify freeze/thaw resistance ratings. Proper application technique requires clean, dry crack surfaces before sealing to guarantee maximum adhesion and longevity. Most professional-grade sealers achieve drying within two hours, allowing for quick project completion.
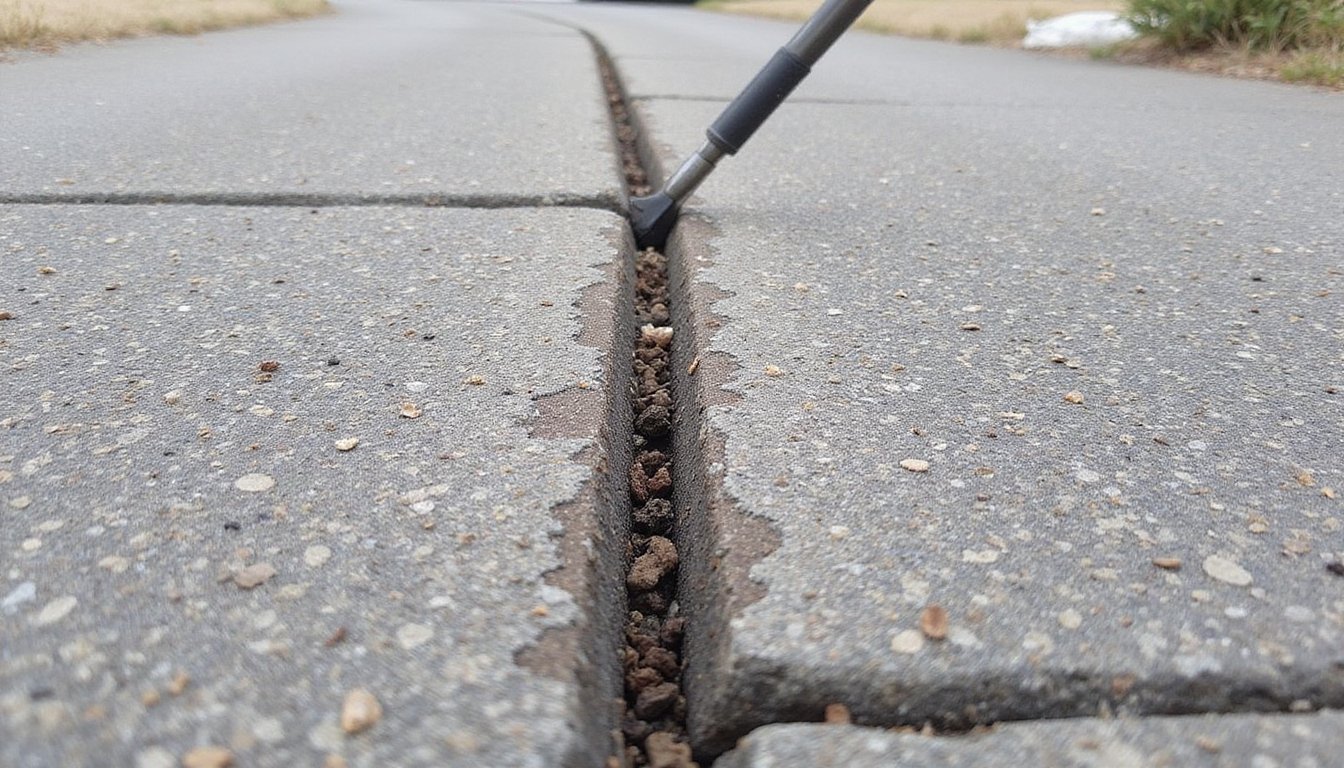
Clean Cracks Before Sealing
Before applying any crack filler, you’ll need to thoroughly clean all crack surfaces to guarantee maximum sealant adhesion and longevity. Start by removing loose debris using a wire brush, leaf blower, or crack cleaning machine to eliminate rocks, dirt, leaves, and vegetation. Next, inspect crack condition for oil and grease residues that inhibit bonding. Apply absorbent materials like kitty litter, then scrub with eco-friendly degreasers and stiff-bristled brushes. Identify contamination sources to prevent recurrence. Dry cracks thoroughly using air jets or natural drying; moisture prevents proper curing. For narrow cracks, use crack routers to widen openings for better filler penetration. Fill deep cracks with clean silica sand to 1-inch depth. Heat lances effectively remove stubborn residue and sterilize surfaces, ensuring ideal preparation before sealing.
Overfill to Allow Settling
Why does proper overfilling matter so much in crack repair? Sealant sags and shrinks as it cools, creating voids if you don’t initially overfill. Fill cracks three-quarters full first, allow settling, then top off to achieve a slightly crowned finish no more than 1/8 inch above the pavement surface. This overband method protects weakened crack edges and compensates for shrinkage during curing.
Multiple thin layers reduce settling risks better than single thick applications. Your settling adjustments must account for seasonal temperature effects, apply when surface and air temperatures exceed 40°F for proper bonding. The overfilled band blocks water infiltration and freeze, thaw damage when fully bonded to dry pavement. If initial fill sinks below surrounding pavement after traffic compaction, apply a second coat. Allow 24, 48 hours before traffic exposure.
Fill and Repair Potholes With Proper Patching Techniques
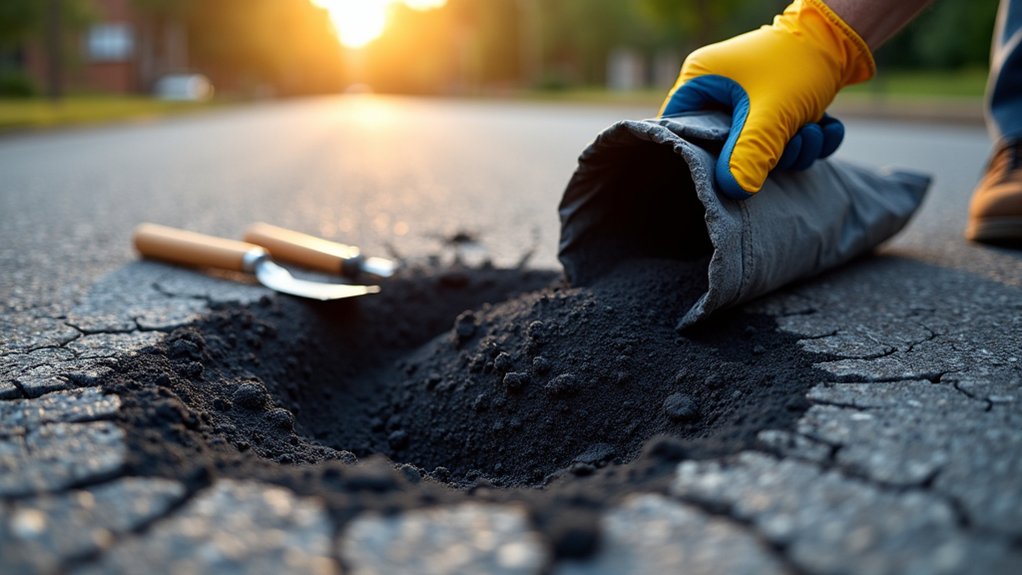
Potholes in asphalt driveways break down rapidly under traffic and weather exposure, demanding immediate attention to prevent costly structural deterioration. Begin by removing all debris, loose asphalt, and standing water using wire brushes and high-pressure air. Cut clean, straight edges 2 inches beyond the damaged area to establish stable perimeters. Fill the base with crushed stone in 2- to 4-inch layers, compacting each layer with a plate compactor until reaching within 2 inches of finished grade.
Apply polymer-enhanced patching materials in 1.5- to 2-inch incremental layers, compacting thoroughly between applications. Hot mix asphalt patching offers superior integration where available. Slightly overfill the final layer to accommodate compaction settling. Seal patch edges immediately to prevent water infiltration and freeze-thaw damage, ensuring long-term structural integrity.
Address Larger Damaged Sections With Cutting and Removal
When damage extends beyond isolated potholes and compromises larger continuous sections of your driveway, strategic cutting and complete removal become necessary to restore structural integrity. Use a diamond blade saw to cut straight, vertical boundaries well beyond visible deterioration, marking lines with chalk for precision. Wet-cutting reduces dust and improves blade longevity in residential settings. After sawing, employ prybars or jackhammers to lift and break asphalt into manageable pieces. Monitor subgrade integrity immediately after removal, repair soft or contaminated base material before proceeding. Clean cut edges guarantee optimal bonding with replacement asphalt. Estimate repair costs by factoring asphalt thickness, accessibility, and equipment rental needs. Always wear appropriate PPE: safety glasses, gloves, respiratory protection, and hearing protection throughout cutting and removal operations.
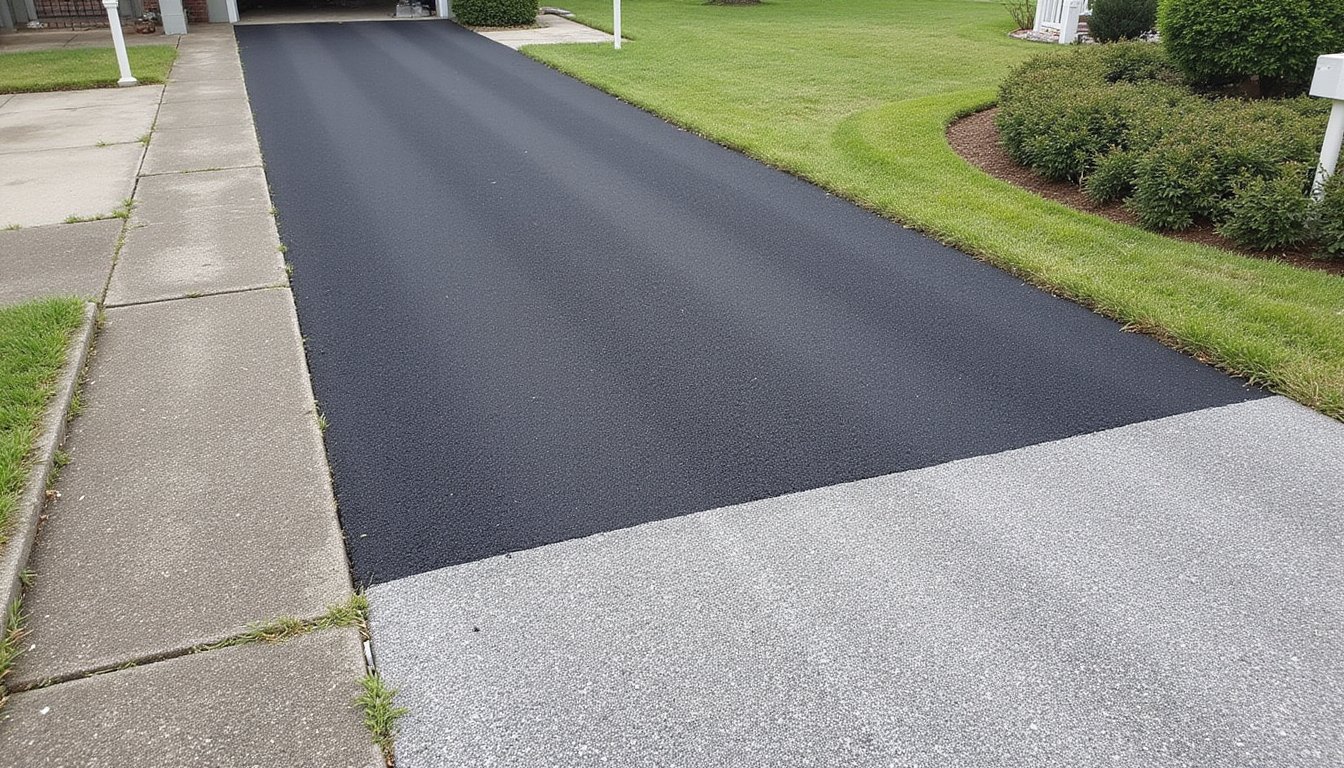
Apply Asphalt Overlay for Complete Surface Restoration
If your driveway exhibits widespread surface deterioration yet maintains structural integrity beneath, an asphalt overlay provides thorough restoration without complete reconstruction. You’ll begin by cleaning the existing surface and completing all structural repairs, crack filling, and leveling course installation. Tack coat application follows, spray a uniform bituminous emulsion at 0.02, 0.05 gallons per square yard to guarantee proper adhesion between layers. This prevents delamination and slippage during service life. Install hot mix asphalt in proper overlay thickness of 1.5, 3 inches using paving machines, maintaining seamless placement to avoid cold joints. Compact immediately with multiple roller passes to eliminate air voids and achieve required density. Allow a minimum 24-hour curing period before traffic loading. This method extends pavement life by 8, 15 years when executed correctly.
Consider Milling and Infrared Repair for Specialized Situations
Beyond conventional repair methods, specialized techniques address driveway defects that standard patching or overlay approaches can’t resolve efficiently. Milling removes the top asphalt layer using cold planer machines, correcting elevation issues, deep rutting, and widespread surface damage while preserving the sub-base. This process restores proper drainage considerations by regrading surfaces to prevent water pooling and premature deterioration. As cost-effective milling alternatives, infrared repair utilizes radiant heaters to soften existing asphalt, allowing seamless integration of new material without cold seams. This technique excels for localized potholes and isolated defects, particularly in cold weather when traditional methods fail. You’ll need to mill before overlays when repeated applications have raised driveway height excessively. Both methods require multiple compaction passes and proper preparation to guarantee structural integrity and long-term performance.
Compact and Finish All Repaired Areas to Match Existing Surface
Proper compaction transforms loose asphalt material into a dense, stable surface that withstands vehicular loads and environmental stress. You’ll need hand tampers for small repairs or plate compactors for larger sections. Apply patching material in one-inch layers, compacting each thoroughly before adding the next. Elevate your final layer slightly above the surrounding surface, this compensates for material settling during curing.
| Compaction Method | Application Area | Pass Requirements |
|---|---|---|
| Hand tamper | Small patches | 4-6 passes per layer |
| Plate compactor | Large sections | 3-4 passes per layer |
| Plywood with vehicle weight | Medium repairs | 2-3 drive-overs |
| Walk-behind roller | Professional jobs | 2-3 passes per layer |
| Vibratory compactor | Dense compaction needed | 2-3 passes per layer |
Verify surface uniformity and levelness consistency using a straightedge across the patch before allowing 24-48 hours curing time.
Implement Regular Maintenance to Extend Driveway Lifespan
Successfully compacted repairs represent only the immediate fix; long-term driveway performance depends on consistent maintenance protocols that address deterioration before it accelerates. Conduct bi-annual inspections after harsh seasons to identify cracks, potholes, and edge failures early. Seal visible cracks immediately using appropriate asphalt filler to prevent water infiltration and freeze-thaw damage. Remove debris, oil spills, and chemical contaminants promptly with non-metallic brushes and eco-friendly agents. Apply sealcoat every 2, 3 years for UV and moisture protection while maintaining surface integrity. Monitor standing water accumulation and verify proper drainage slope; pooling accelerates subgrade deterioration. Implement staggered resurfacing schedules based on traffic patterns and climate exposure. Remove vegetation from cracks to prevent root-driven lifting. Document inspection findings to establish predictive maintenance intervals, minimizing emergency repairs and extending serviceable lifespan cost-effectively.
Frequently Asked Questions
What Is the Average Cost to Repair an Asphalt Driveway?
You’ll pay an average of $2,464 for asphalt driveway repairs, with most projects ranging from $1,071 to $4,022. The average cost per square foot runs $2, $5 for standard repairs. Key cost factors to inspect include damage severity, driveway size, repair method selection, and local labor rates ($50, $150 per hour). Minor crack filling starts at just $100, $400, while extensive resurfacing reaches $500, $2,000. Always obtain multiple contractor quotes and verify proper safety protocols.
How Long Does Asphalt Repair Take to Fully Cure?
Your asphalt repair’s curing duration extends 6 to 12 months for full hardening, though you’ll achieve safe traffic conditions within 48, 72 hours. Cure time estimation depends on layer thickness, temperature, and humidity, optimal conditions being 80, 85°F with 30, 40% humidity. You shouldn’t park heavy vehicles or apply sealants for six months post-repair. While the surface dries quickly, complete oxidation and structural integrity develop gradually, so you’ll need patience for maximum pavement longevity.
Can I Repair My Asphalt Driveway in Cold Weather?
Yes, you can repair your asphalt driveway in cold weather using specialized cold-patch materials. Material selection is critical; choose cold-applied, water-based products or elastomeric fillers rated for freezing temperatures. Weather conditions directly impact curing times and bond strength, so you’ll need to guarantee proper compaction through tamping and traffic compression. Avoid hot-mix asphalt entirely, as it requires 275, 325°F application temperatures. Clean the repair area thoroughly, remove standing water, and allow 1, 2 days for hardening.
Do I Need a Permit to Repair My Driveway?
You typically don’t need a permit for simple asphalt driveway repairs like crack filling, patching, or resurfacing existing surfaces. Permit exemptions generally cover routine maintenance work that doesn’t alter your driveway’s dimensions or structure. However, permit requirements kick in when you’re expanding, reconfiguring, or changing materials. Since local building codes vary considerably, you’ll want to verify specific regulations with your municipal building department before starting work to guarantee compliance and avoid potential penalties.
Should I Hire a Professional or Do It Myself?
You’ll need to weigh cost implications against long-term durability and evaluate your skill level honestly. DIY saves $100, $200 upfront but risks premature failure without proper technique and equipment. Professionals use industrial-grade materials, specialized compactors, and hot-applied sealants that extend service life greatly. If you’re handling deep cracks, subbase issues, or lack experience with asphalt repair protocols, hiring a contractor guarantees code compliance, proper surface preparation, and reduces safety hazards from hot materials.