

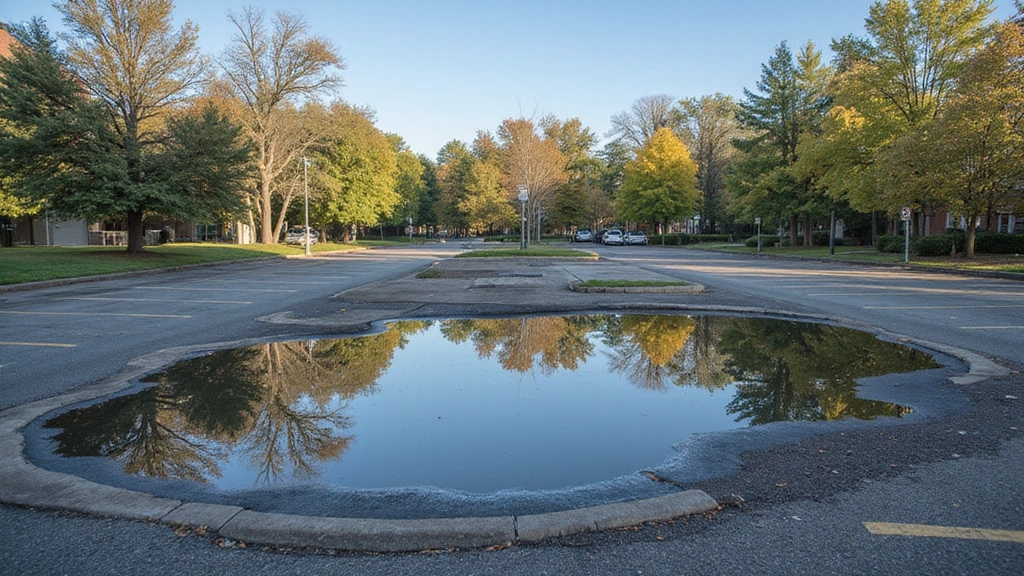

Following the steps to clean your concrete driveway starts with clearing loose debris and pre-wetting nearby landscaping to protect plants from chemical runoff. Selecting a pH-appropriate cleaner that matches the type of stains present is essential. Fresh oil spills should be absorbed with clay-based kitty litter before they penetrate the porous concrete surface. After applying any pre-treatment solutions, pressure wash at 2,500, 3,000 PSI using a 25-degree tip and a surface cleaner attachment for even coverage. Work methodically from top to bottom in sections, scrub edges by hand as needed, and rinse thoroughly. Each step below explains the proper technique in more detail.
Clear the Driveway of Debris and Obstacles
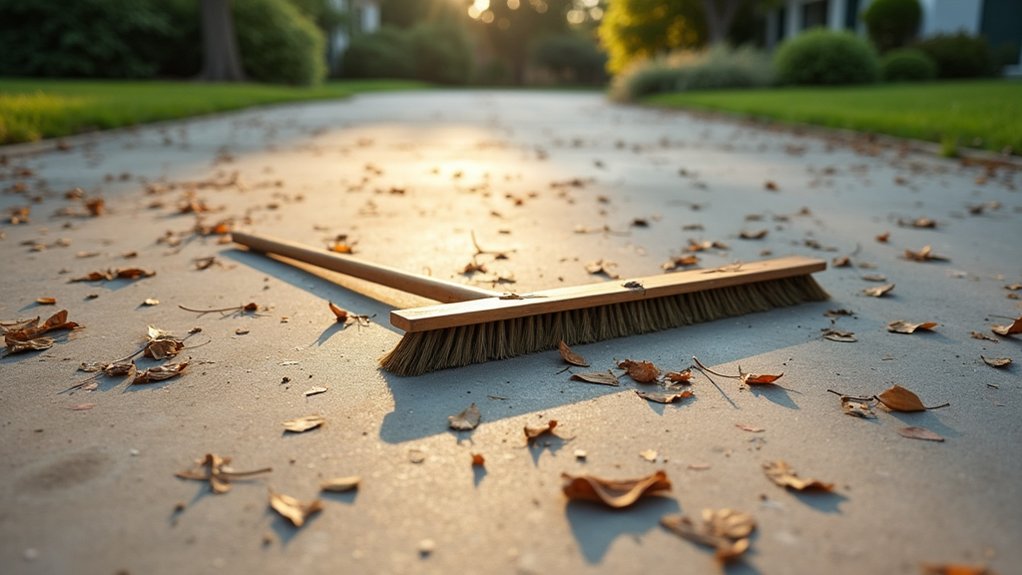
Before initiating any concrete cleaning procedures, you’ll need to systematically remove all debris and obstacles from the driveway surface to guarantee effective treatment and prevent equipment damage. Start by sweeping with a stiff-bristled broom to eliminate dust, dirt, and loose particles. Remove larger debris including leaves, branches, and stones manually or with a rake.
Clear all toys, tools, and outdoor furniture from the work area. Extract vegetation growth like moss or algae from cracks and crevices. Inspect for drainage issues that could affect water flow during cleaning. Mark high traffic zones showing deep stains or oil accumulation requiring targeted treatment. Identify hazardous materials or sharp objects that could damage pressure washing equipment or compromise worker safety. While clearing the area, wear safety goggles, gloves, and sturdy footwear to protect yourself from potential injuries during the preparation process. During your assessment, check for any structural damage from cracks or foundation shifts that may indicate areas requiring gentler cleaning methods to avoid worsening deterioration. Consider setting aside any old concrete pieces for recycling at local facilities to minimize environmental impact during your cleaning project.
Pre-Wet Surrounding Landscaping for Protection
Although you’ve cleared the driveway surface of debris and obstacles, you shouldn’t proceed with chemical application until you’ve saturated the surrounding landscaping with water. Pre-wetting creates a protective barrier that prevents grass and plants from absorbing bleach or degreaser runoff during the cleaning process. This step is part of proper pre-cleaning preparation that ensures your entire property remains protected throughout the washing process.
Using a standard garden hose, thoroughly soak all vegetation within the chemical splash zone. This saturation helps dilute potential chemical exposure by reducing absorption rates in porous soil and plant tissue. Focus on areas adjacent to concrete edges where runoff naturally flows. Schedule this preparation during early morning hours before intense Arizona heat causes rapid evaporation and prevents cleaning solutions from working properly.
If chemicals contact landscaping during treatment, rinse immediately with fresh water. After completing your pressure washing, use a leaf blower to redirect post-rinse water away from garden beds. For an even safer approach, consider using citrus or enzyme-based degreasers instead of petroleum-based products to minimize environmental impact on nearby plants and soil. This systematic approach protects your landscaping while maintaining cleaning effectiveness.
Choose the Right Cleaner for Your Specific Stains
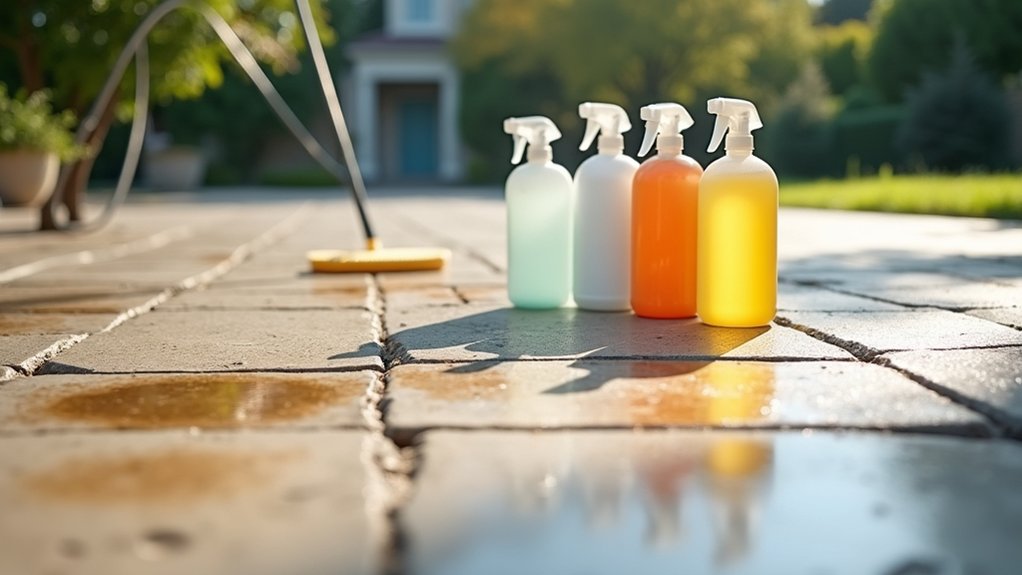
Selecting the correct cleaning agent depends entirely on identifying your stain type, since different chemical formulations target specific contaminants through distinct mechanisms. For petroleum-based contamination, you’ll achieve ideal concrete cleaning product efficacy with degreasers like Rust-Oleum Concrete and Driveway Degreaser, which topped independent testing against oil stains. Bioremediation products require 3-4 weeks but won’t compromise concrete stains durability. Krud Kutter Original Concentrate Cleaner/Degreaser offers a non-toxic and biodegradable alternative that effectively dissolves tough oil and grease stains. ACT Concrete Cleaner uses enzyme technology that breaks down oil into carbon dioxide, hydrogen, and oxygen through bioremediation processes borrowed from the oil and gas industry. Oil Eater Cleaner & Degreaser is biodegradable and non-corrosive, making it a safe yet effective choice for dissolving stubborn grease on garage floors and driveways.
| Stain Type | Recommended Product | Action Time |
|---|---|---|
| Oil/Grease | Rust-Oleum Degreaser | Immediate |
| Mold/Mildew | RMR-86 Pro | Seconds |
| General Grime | Simple Green Oxy Solve | Same day |
For organic growth, sodium hypochlorite-based RMR-86 Pro penetrates and kills mold on contact. You should always match your cleaner’s pH level to prevent surface degradation while maximizing stain removal.
Absorb Fresh Oil Spills Before They Set
Fresh oil spills require immediate absorption to prevent permanent concrete penetration, as untreated petroleum compounds can seep into porous surfaces within 24-48 hours. The timing of absorption application directly impacts remediation success rates. Left untreated, oil stains can deteriorate concrete over time, leading to cracks and premature aging of your driveway surface.
Act fast on oil spills, absorption within the first 48 hours prevents permanent concrete damage.
A comparison of absorbent materials reveals these effective options:
- Clay-based kitty litter, Grind into stain with foot pressure, leave for one hour, then sweep
- Baking soda, Apply directly, wait 30 minutes minimum, scrub with stiff-bristle brush
- Sawdust, Best for broom-finished surfaces, leave several hours before removal
- Cornstarch, Cover completely, allow overnight absorption for ideal results
You’ll achieve better penetration by avoiding water contact initially. For smooth concrete finishes, use commercial sweeping compounds. Before applying absorbents, remove excess oil from the surface to maximize the effectiveness of your cleaning efforts. Repeat applications on stubborn stains until absorption’s complete. Using oil drip mats under vehicles and equipment can help prevent these spills from occurring in the first place.
Apply Pre-Treatment Solutions to Stubborn Stains
When fresh oil absorption methods don’t fully eliminate set-in stains, you’ll need to apply targeted pre-treatment solutions before pressure washing your concrete driveway. A degreaser paste works effectively on petroleum-based stains by drawing contaminants out of the porous surface, while a diluted bleach pre-treatment spray addresses organic growth like algae and mildew. These solutions contain specialized chemicals that penetrate and break down the bonds between contaminants and your concrete, making them easier to remove during the washing process. Pre-treating your driveway allows you to use lower PSI settings during pressure washing, which reduces the risk of damaging older or more porous concrete surfaces. For areas frequented by children and pets, enzyme-based cleaners offer a safe alternative that effectively breaks down organic matter like pet stains and bird droppings without harsh chemicals. Always wear appropriate PPE, including chemical-resistant gloves and eye protection, when handling these cleaning agents.
Oil Stain Absorption Methods
Oil stains that have penetrated concrete require pre-treatment solutions to break down petroleum compounds before standard cleaning methods can work effectively.
For ideal absorption, you’ll want to evaluate alternatives to clumping kitty litter, as non-clumping varieties prevent messy residue and provide superior oil uptake. Apply 18kg of product for large spill coverage and allow overnight sitting for maximum absorption. Avoid using household chemicals like paint thinner, WD-40, or gasoline as these can cause unintended damage to your concrete surface.
Key absorption protocol steps:
- Pour non-clumping kitty litter directly over fresh oil stains immediately upon discovery.
- Leave the absorbent material for 8-12 hours to maximize petroleum extraction.
- Sweep up saturated litter using a stiff-bristled brush.
- Follow with degreaser application since absorption alone won’t eliminate older stains.
Ongoing maintenance with absorption methods keeps your driveway protected. Always pair absorbents with commercial degreasers for complete stain elimination.
Degreaser Paste Application
Absorbent materials remove surface petroleum, but older stains require chemical intervention to break molecular bonds within the concrete’s porous structure.
Combine baking soda with water and a squirt of dish soap to create a thick paste. Apply a 1/4-inch layer evenly across the stain using a stiff nylon-bristle brush, working the mixture into the concrete’s pores. Avoid direct sunlight to guarantee paste drying prevention during treatment.
For dwell time optimization, allow the paste to penetrate for 20-30 minutes. If the mixture begins drying, reapply to maintain chemical activity. Agitate periodically with your brush to enhance efficacy without exceeding maximum dwell periods, which can cause concrete etching.
Rinse thoroughly using a garden hose or low-pressure washer at 8-24 inches distance. Inspect for residue and repeat if necessary.
Bleach Pre-Treatment Spray
Stubborn stains that resist degreaser paste treatment often require a bleach pre-treatment spray to break down organic growth and deeply embedded discoloration. Standard household bleach contains 8.25% sodium hypochlorite concentration, making proper dilution recommendations critical for surface preservation.
Follow these application best practices for effective treatment:
- Mix 1/3 cup bleach per gallon of water in a plastic container
- Pre-wet the concrete surface with a garden hose before spraying
- Apply solution evenly using a pump sprayer, allowing 6-10 minutes of contact time
- Extend dwell time to 15 minutes for heavily stained sections
You’ll want to avoid hot, sunny conditions during application, rapid drying causes blotching. Work in manageable sections to maintain consistent solution contact across the treatment area.
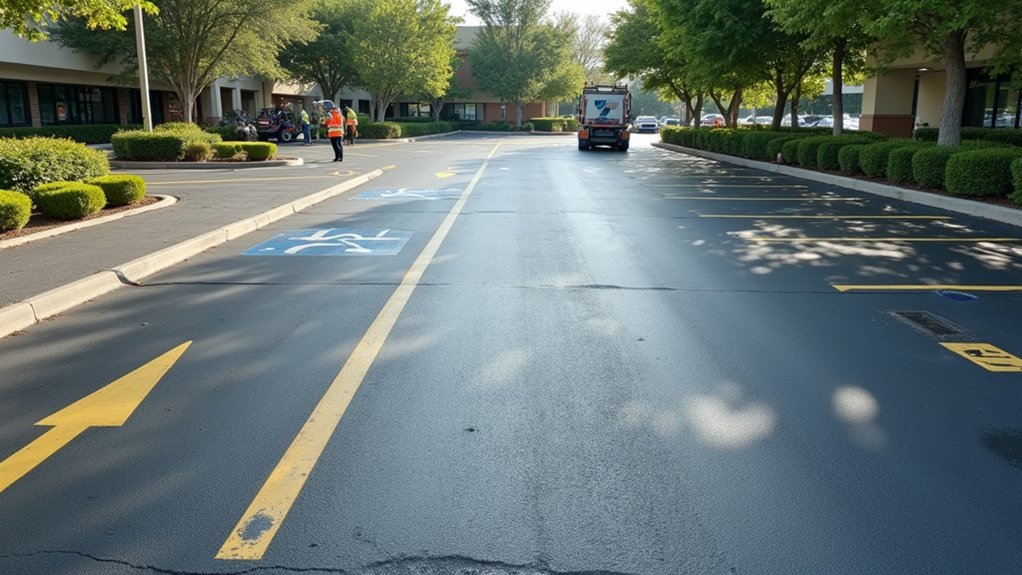
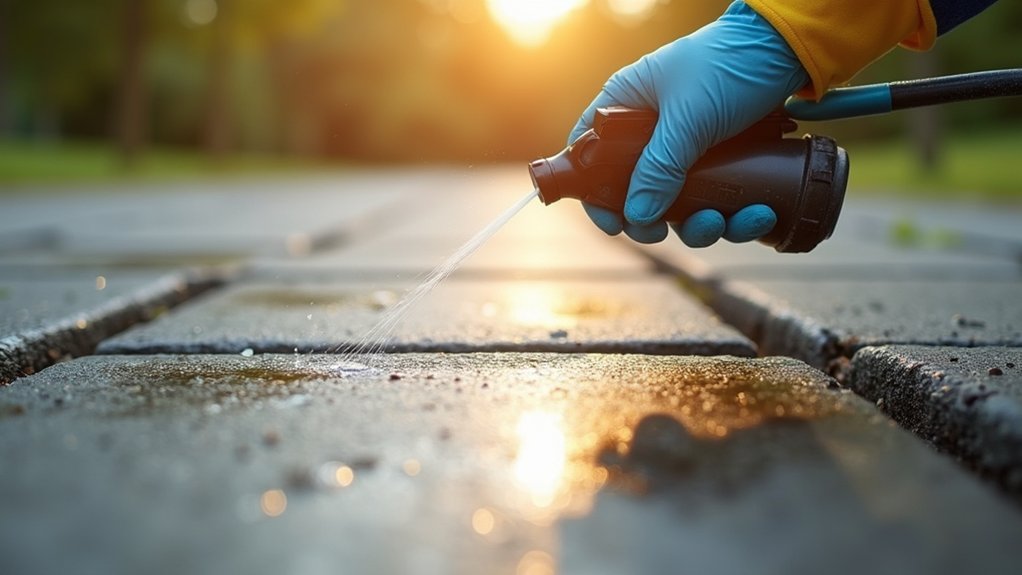
Set up Your Pressure Washer With Proper PSI Settings
Dialing in the correct PSI settings prevents surface damage while maximizing cleaning efficiency on your concrete driveway. Target 2,500, 3,000 PSI for standard cleaning, reserving 3,000, 4,000 PSI for heavy-duty stains requiring pretreatment. Avoid exceeding 4,000 PSI, this causes etching, spalling, and permanent wand marks on residential surfaces.
Choose appropriate nozzle settings by selecting 25-degree tips (025s) paired with surface cleaners for even coverage. Adjust water flow rate as needed, maintaining minimum 3.0 GPM to lift embedded debris from concrete pores effectively. Gas-powered units delivering 2.5, 3.0 GPM at your ideal PSI provide excellent performance.
For delicate stamped or sealed concrete, reduce pressure to 1,500, 2,000 PSI to prevent damage. Position your wand 6, 12 inches from the surface using steady sweeping motions. Balance PSI and GPM together, high pressure without adequate flow risks surface damage.
Work in Sections From Top to Bottom
With your pressure washer calibrated to the correct PSI and GPM settings, you’ll need to approach the actual cleaning process systematically to avoid recontamination and uneven results.
Start at the highest elevation point where your driveway slopes downward. This positioning allows gravity to direct wastewater across uncleaned sections, preventing debris redeposition on finished areas.
To maximize water pressure efficiency and avoid overlapping strokes that cause striping:
- Divide your driveway into manageable sections to control cleaner drying time
- Apply cleaning solution 8-24 inches from the surface using consistent passes
- Rinse each section before moving to the next, working top-to-bottom
- Keep your wand in constant motion to prevent concrete etching
Pre-wet adjacent landscaping to protect vegetation from chemical runoff during the process.
Use a Surface Cleaner Attachment for Even Results
A surface cleaner attachment transforms your pressure washing efficiency by replacing the standard wand nozzle with a round, wheeled tool featuring an internal rotating spray bar. This 15-inch diameter unit glides on three wheels across your driveway, delivering consistent cleaning without the streaking that standard nozzles produce.
You’ll achieve professional-grade results with durable construction, typically featuring stainless steel components and sealed bearings that minimize vibration. The attachment’s two high-pressure rotating jets provide 10x more coverage than conventional nozzles, reducing your cleaning time by 50% or more.
Match your surface cleaner to your pressure washer’s specifications, look for 1/4-inch quick connect fittings compatible with units rated 2600-4000 PSI. For concrete driveways, operate within the 2500-3000 PSI range to remove embedded grime without damaging the surface.
Scrub Edges and Crevices With a Stiff Bristle Brush
After using a surface cleaner attachment on the main driveway surface, you’ll need to address edges and crevices where embedded dirt accumulates beyond the attachment’s reach. Select stiff bristle brushes for these hard-to-reach areas, avoiding wire or metal-bristled options that can etch or discolor sealed concrete surfaces. Apply your cleaning solution, allow it to soak for 5-10 minutes, then use circular scrubbing motions to loosen stubborn buildup in corners and along expansion joints.
Target Hard-to-Reach Areas
Stiff bristle brushes rated for concrete surfaces, typically featuring nylon or polypropylene fibers, excel at dislodging embedded grime from edges, expansion joints, and crevices that pressure washers can’t adequately penetrate. When reaching difficult areas, select brush dimensions matched to the task: 4-inch ultra-stiff models for narrow joints, 8-inch variants for standard edge work.
For accessing tight spaces effectively, follow this protocol:
- Apply concrete-specific cleaner to target areas before scrubbing
- Use direct, firm strokes into crevices to extract embedded debris
- Attach an extendable 4-7 ft. pole for raised or recessed sections
- Work surfaces wet or dry depending on cleaner specifications
Short-handle configurations provide superior control during detailed crevice work, while detachable handle systems allow you to switch between precision and extended-reach applications without changing brushes.
Choose Appropriate Brush Types
When selecting brushes for concrete edge and crevice work, you’ll need to match bristle material and stiffness ratings to your specific cleaning demands. Polypropylene bristles handle standard grime effectively, while stainless steel wire options tackle moss and rust without surface damage. Verify brush surface compatibility before use, avoid wire brushes on printed or easily damageable concrete.
For ideal cleaning motion techniques, apply firm, consistent pressure using short strokes along grout lines and edges. The Libman Floor Scrub Brush‘s 10.5-inch width provides efficient coverage for broad edges, while 4-inch ultra-stiff options target stubborn oil stains in tight crevices.
Battery-powered bristle attachments like EGO’s 56V model remove ingrained dirt across 560mm swaths, reducing manual labor. Always pair your chosen brush with appropriate concrete cleaners for maximum effectiveness.
Apply Proper Scrubbing Technique
Your brush selection directly impacts cleaning results, but technique determines whether you’ll actually remove embedded contaminants from concrete edges and crevices.
Direct your stiff-bristled brush at proper scrubbing angles to reach corners where dirt accumulates against landscaping boundaries. Apply controlled brush agitation to dislodge particles trapped within the concrete’s textured surface.
Follow this protocol for effective edge and crevice cleaning:
- Position the brush at 45-degree angles along driveway perimeters where debris concentrates
- Use overlapping strokes across joints and depressions to guarantee complete coverage
- Reapply cleaner between passes on stubborn crevice stains
- Make multiple deliberate passes over textured areas like broom-finished concrete
Work cleaning solutions into grooves systematically. Don’t allow the cleaner to dry, maintain moisture throughout the scrubbing process for ideal contaminant removal.
Rinse Thoroughly and Inspect for Remaining Spots
The final rinse stage requires you to switch your pressure washer to a low or medium-pressure spray tip to prevent etching the concrete surface. Before proceeding, flush detergent from the siphon tube until water runs clear, approximately one minute. Maintain your nozzle 8 to 24 inches from the surface while using overlapping stroke patterns for thorough rinsing.
Start at the driveway’s high point and work downward to prevent contaminated runoff over cleaned sections. Keep the wand in continuous motion to avoid streaking.
After complete drying, conduct a systematic inspection across all areas. Check inconspicuous spots for residual cleaner buildup or discoloration. Mark any sections showing incomplete results for secondary treatment. Address stubborn stains with spot applications, then perform a final low-pressure rinse before sealing.
Frequently Asked Questions
How Long Should I Wait Before Driving on My Freshly Cleaned Driveway?
You should allow adequate drying time of 24 to 48 hours before driving on your freshly cleaned driveway. Light foot traffic can resume after the surface appears dry, typically within a few hours. However, you’ll want to avoid heavy traffic for some time, at least one to two days, to prevent tire marks or chemical residue transfer. Check that all cleaning solutions have fully evaporated before resuming normal vehicle use.
Can I Clean My Concrete Driveway in Freezing Temperatures or Direct Sunlight?
You should avoid extreme temperatures when cleaning your concrete driveway. In freezing conditions, water and cleaning solutions ice over rapidly, creating hazardous surfaces and preventing proper rinsing. Direct sunlight causes detergents to dry prematurely, leaving residue and streaking. Instead, use mild detergents during moderate temperatures, ideally between 50°F and 80°F, when surfaces can dry fully. Schedule your pressure washing in spring or fall to guarantee ideal cleaning results without risking surface damage.
How Often Should I Clean My Concrete Driveway to Maintain Its Appearance?
You should clean your concrete driveway at least once annually, though a regular maintenance schedule of twice yearly, spring and fall, proves ideal for weather-exposed surfaces. If you’re dealing with heavy shade, high traffic, or humid conditions, increase frequency to quarterly intervals. Watch for algae growth, oil staining, or surface slickness as indicators requiring immediate attention. Consider hiring a professional cleaning service for stubborn contamination or when pressure washing equipment isn’t available.
Will Pressure Washing Damage Old or Cracked Concrete Surfaces?
Yes, pressure washing can damage old or cracked concrete surfaces. High-pressure water streams accelerate existing deterioration, causing etching, pitting, and joint breakdown. Before cleaning, you’ll need a thorough surface condition assessment to identify vulnerable areas. Use proper cleaning techniques, select a 25-degree nozzle, maintain 12-inch distance, and employ smooth sweeping motions. Avoid narrow nozzles and concentrated spray patterns. For severely compromised surfaces, consider hiring professionals who’ve got specialized equipment for safe cleaning.
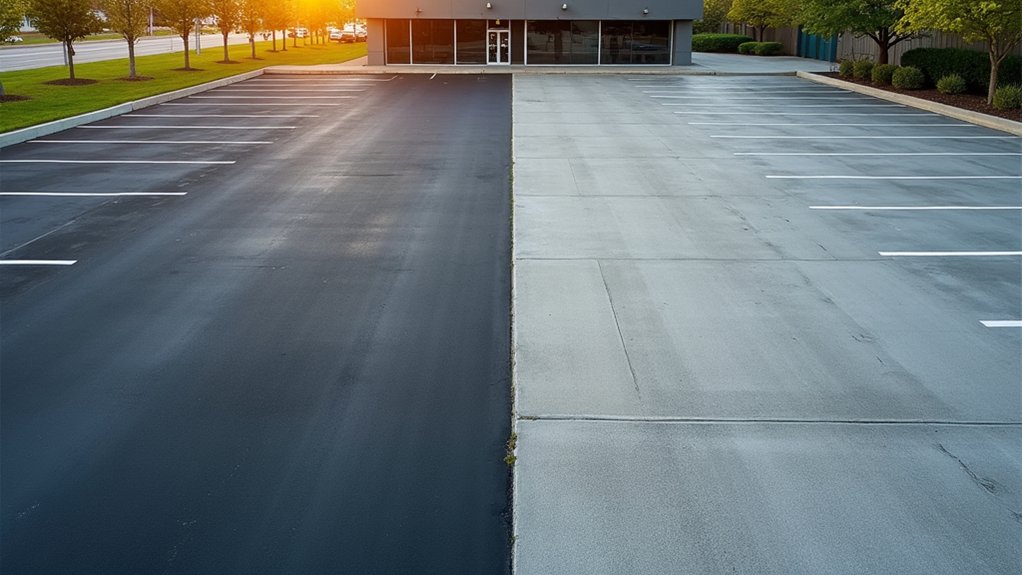
Should I Seal My Concrete Driveway After Cleaning It?
Yes, you should seal your concrete driveway after cleaning it. Once the surface is completely dry and residue-free, applying a penetrating sealer creates a durable chemical barrier that repels moisture, deicing salts, and oil stains. Consider sealant quality based on your exposure conditions, penetrating formulas work best for exterior applications. Monitor driveway condition annually and reapply every 1-5 years depending on traffic and weather patterns.