


To fix your blacktop driveway, start by clearing debris with a leaf blower and pressure washing at 1500 PSI maximum. Next, fill cracks using appropriate sealants heated to 380-410°F, working from bottom to top. For potholes, excavate deteriorated material, add base layers for deep cavities, and compact patches systematically. Apply edge sealer with a squeegee, feathering the shift smoothly. Finally, cure repairs for 24-48 hours above 50°F while restricting traffic. The following sections provide detailed specifications for ideal results and long-term pavement protection.
Surface Cleaning and Preparation
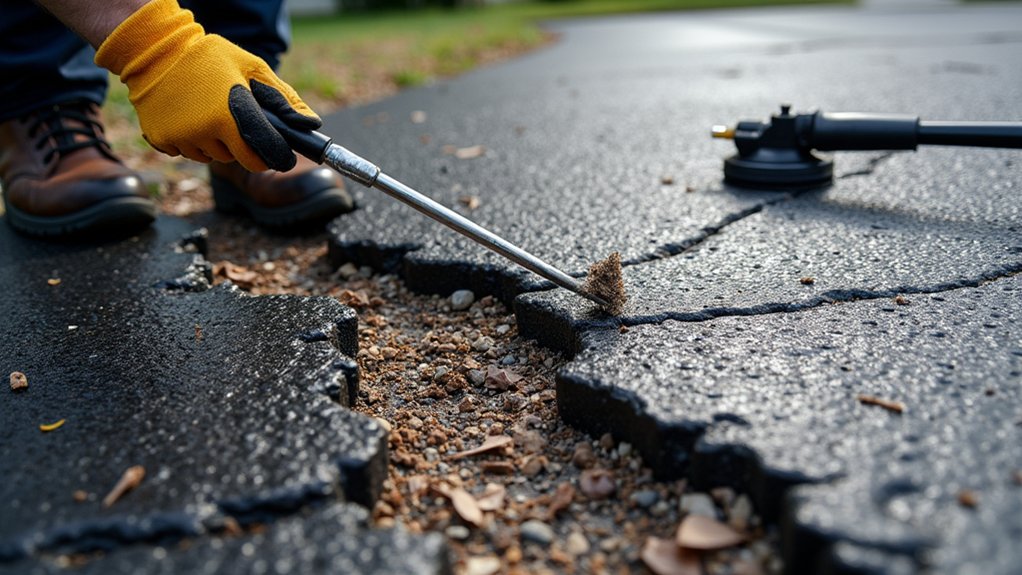
Before addressing cracks in your blacktop driveway, execute a thorough surface preparation protocol to guarantee favorable repair adhesion and durability. Deploy a leaf blower to eliminate surface debris, rocks, leaves, and twigs, then consolidate residual material for disposal. Apply selective degreasing to oil-contaminated zones using appropriate solvents; allow penetration for five minutes minimum. Execute stiff bristle scrubbing with nylon-bristled implements to mechanically agitate pretreated stains and embedded contaminants. Utilize a pressure washer calibrated to 1500 PSI maximum, maintaining 12, 24 inch spray distance to prevent asphalt erosion. Commence washing from the driveway’s apex, employing overlapping strokes to ensure comprehensive coverage. Alternatively, apply a soap/house wash mix and allow it to dwell before rinsing with low pressure to avoid surface damage. Conduct a preliminary walk-through inspection to identify and mark pitting, pockmarks, gouges, cracks, and raveling sections that require special attention during repairs. Rinsing thoroughly removes all traces of cleaning agents and debris, as chemical remnants compromise patch material bonding. Verify complete drying before initiating crack repair procedures, as proper surface preparation prevents costly damages and extends the lifespan of your asphalt driveway.
Crack Filling
Once surface preparation concludes and the pavement has dried completely, initiate crack assessment to determine appropriate filler materials and application methodology. Cracks under 1/8 inch require caulk tubes or liquid crack filler, while wider voids exceeding 1/4 inch demand hot-applied products or multiple-layer applications. Insert backer rod in deep, parallel-sided cracks to minimize filler consumption and optimize material distribution.
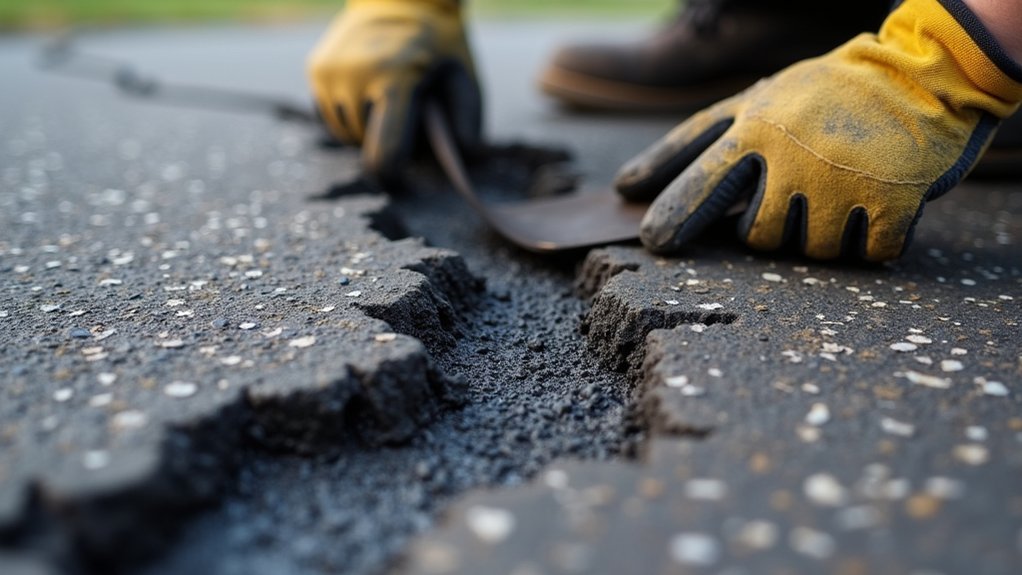
Execute filler application techniques by filling from bottom upward, guaranteeing complete adhesion without air pockets. Overfill slightly, no more than 1/8 inch above pavement, to accommodate settling. Smooth and blend using trowels or sticks for flush finishing. For repair longevity considerations, implement routed reservoir methods combined with overbanding in high-movement zones. Allow each layer to cool before subsequent applications. Schedule work during dry weather periods with minimum 24-hour rain-free windows to confirm proper curing and bonding integrity. Maintain sealant material temperature between 380 and 410 degrees Fahrenheit throughout application to ensure proper adhesion and prevent degradation of material properties.
Pothole and Dip Repair
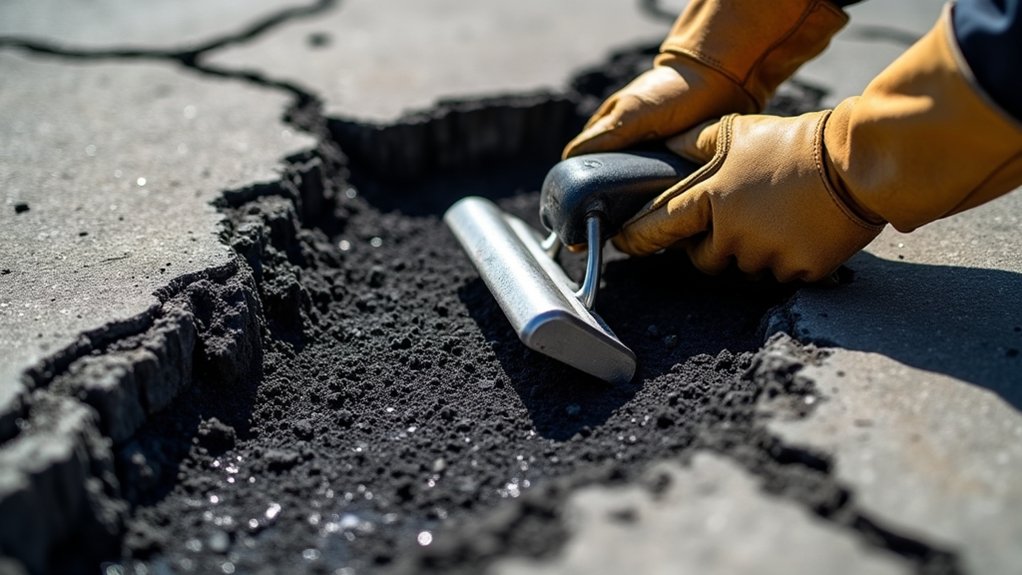
Potholes represent structural failures requiring immediate intervention to prevent accelerated pavement deterioration and base compromise. Begin by excavating all deteriorated asphalt and loose debris until you reach stable subsoil. Cut squared edges around the perimeter using a masonry saw to establish proper bonding surfaces. For cavities exceeding 2 inches depth, install paver base or crushed stone in compacted 2-4 inch lifts before applying surface material. Material selection depends on cavity depth, shallow depressions under 30 millimeters accept direct cold patch application, while deeper voids require layered filling. Moisture mitigation is critical; guarantee complete dryness before material placement. Overfill the cavity 1.5-2 inches above grade, then compact using a steel tamper in successive layers. After compacting, place plywood over the patch and drive over it with a vehicle tire to achieve final consolidation. Seal patch edges tightly to existing pavement for waterproof integration and long-term performance. Using high-quality repair materials may increase initial costs but will reduce the frequency of future maintenance interventions. The entire repair process typically requires 2 to 3 hours to complete properly.
Sealing Patched Areas
Application considerations include thorough surface preparation: remove dust, debris, and moisture to guarantee proper bonding. Apply sealer with brush or squeegee in thin, even coats, feathering edges into surrounding pavement for seamless shifts. Maintain ambient temperatures between 50°F and 90°F during application, and allow 24, 48 hours drying time before traffic resumes. Schedule resealing every 2, 3 years to maintain protective barrier integrity. Proper cleaning is essential for effective adhesion of patching materials and ensures the longevity of your repair work. Sealant application provides protection from UV rays that can make asphalt brittle and compromise its elasticity over time. Regular sealing prevents high replacement costs by protecting the pavement from moisture infiltration and surface deterioration.
Curing and Maintenance
After completing crack repairs and sealer application, you’ll need to focus on proper curing protocols to guarantee material integrity and long-term performance. Maintain surface temperatures above 50°F during the curing phase, implementing temperature monitoring to prevent premature degradation. Restrict vehicular and pedestrian traffic for 24, 48 hours, adjusting timeframes based on product specifications and ambient conditions.
Establish bi-annual inspection schedules to identify hairline fractures, edge separation, and water pooling before they escalate. Execute monthly cleaning procedures using non-corrosive degreasers for chemical spills, avoiding pressure washers that compromise fresh repairs. Implement moisture control through proper drainage slope maintenance, redirecting downspouts away from asphalt surfaces, and keeping soil borders 1″ below pavement edges. Regular surface cleaning with sweeping removes debris that can trap moisture and accelerate asphalt deterioration. Periodically verify that sprinkler heads are functioning properly and not directing water onto the driveway surface. Address seasonal variables by using eco-friendly de-icers, plastic snow removal tools, and scheduling major repairs during moderate spring or fall temperatures for ideal material bonding. Hire professional contractors for complex structural repairs, such as alligator cracking or extensive sub-base failures, to ensure effective and sustainable solutions.
Frequently Asked Questions
What Is the Average Cost to Repair a Blacktop Driveway?
You’ll pay between $1,071 and $4,022 for typical driveway repair costs, with most homeowners spending around $2,464. Your specific expenses depend on the repair scope: crack filling runs $1-$3 per linear foot, while patching costs $100-$500. Average driveway resurfacing expenses range from $500-$2,000, whereas complete replacement reaches $3,000-$10,000. You’ll need to factor in your driveway’s size, existing surface condition, and damage extent when determining your project’s final cost.
Can I Repair My Driveway in Winter or During Cold Weather?
Yes, you can perform winter driveway repairs using cold-mix asphalt and cold-pour crack fillers designed for low-temperature applications. Timing the repair is critical; address damage promptly before freeze-thaw cycles worsen deterioration. Proper preparation techniques include thoroughly cleaning the repair area, removing debris and standing water, and ensuring adequate compaction of cold patch materials. While these solutions provide effective temporary fixes, you’ll need to schedule permanent hot-mix repairs when temperatures consistently exceed 50°F for ideal curing and longevity.
Should I Hire a Professional or Do the Repairs Myself?
You’ll need intermediate DIY skills, including proper material handling, surface preparation, and compaction techniques, to guarantee durable results. For minor crack filling, DIY’s feasible if you’ve mastered application methods. However, extensive damage, structural issues, or resurfacing require professional-grade equipment and expertise. Consider potential legal considerations: some jurisdictions mandate permits for major driveway work, and improper repairs affecting drainage could create liability issues. If you’re inexperienced with asphalt processes, hiring professionals verifies compliance and longevity.
How Do I Prevent Cracks From Forming in My Driveway?
You’ll prevent cracks through proper maintenance practices including biannual inspections, immediate crack repair, and effective drainage management. Apply appropriate sealcoating techniques every 2, 3 years to establish a waterproof barrier against oxidation and UV degradation. Guarantee you’re routing deteriorated sections, installing backer rods for deep fissures, and diverting water away from pavement edges. Distribute loads evenly, avoid metal snow removal tools, and use calcium magnesium acetate instead of rock salt to minimize surface deterioration and extend your driveway’s service life.
What Causes Blacktop Driveways to Deteriorate Over Time?
Your blacktop deteriorates primarily through oxidative breakdown caused by UV exposure and weather changes, including freeze-thaw cycling that induces thermal stress cracking. Improper installation, such as inadequate compaction, substandard mix design, or poor substrate preparation, accelerates structural failure. Heavy traffic loads generate rutting and fatigue cracking, while moisture intrusion weakens the asphalt binder matrix. Chemical exposure from petroleum products and deicers further degrades pavement integrity. Neglected maintenance compounds these factors, expediting surface degradation and subsurface erosion.