


Step-by-Step Guide: How to Put Paving Stones on Grass
What Are Paving Stones and Why Use Them Over Grass?
Paving stones, commonly referred to as pavers, are individual flat units made from durable materials like concrete, brick, natural stone, or porcelain. These modular units are engineered to interlock or lay closely together, forming stable, walkable surfaces across outdoor spaces. While they are traditionally associated with driveways, patios, and hardscapes, paving stones are increasingly used as a practical solution for enhancing grassy landscapes without requiring full excavation or expensive structural changes.
In terms of aesthetics, paving stones provide a clean, organized appearance that adds structure and charm to any yard or garden. Whether you prefer a rustic cobblestone path or a sleek, modern stepping stone design, there are countless styles, shapes, and textures to choose from. More importantly, they offer a stark contrast to grass, helping to define zones within your outdoor area be it for a walkway, outdoor dining area, or decorative garden feature.
Functionally, paving stones deliver a wide range of benefits that make them preferable to raw grass in many residential and commercial landscaping projects. They improve usability by offering stable, mud-free paths for walking and reduce erosion caused by foot traffic or weather conditions. Since pavers can be installed with small gaps that allow water to seep through, they also support natural drainage and help protect against runoff and puddling common problems when dealing with pure turf. Unlike concrete slabs, which often crack or heave over time, individual paving stones are easier to repair, replace, and maintain, giving them long-term cost and flexibility advantages.
Choosing to install paving stones directly on grass is an effective way to elevate your lawn’s functionality and appearance while minimizing excavation, labor, and cost especially for DIY-friendly projects or temporary enhancements. Whether you’re designing a garden path or extending a patio, pavers provide the ideal balance of strength, style, and simplicity.
Since. 1994
Looking for Reliable Paving Company in CT? Start Here
VF Paving delivers top-quality asphalt and concrete solutions for both residential and commercial projects. we specialize in driveways, parking lots, resurfacing, sealcoating, and repairs across Connecticut. Contact us today for a free estimation
Free Driveway Paving Quote!
100% SATISFACTION GAURANTEED
LICENSED & INSURED
Can You Really Lay Paving Stones Directly on Grass?
The short answer is yes you can lay paving stones directly on grass, but the approach comes with some important limitations and conditions. Many homeowners are drawn to this method because it eliminates the need for digging deep foundations or pouring concrete, making it an accessible solution for weekend projects. However, this ease comes with a tradeoff: the long-term durability of your pavers depends heavily on proper preparation and on how the area will be used.
If your primary goal is to create a light-use footpath or a decorative feature such as a stepping stone trail through a garden or backyard, laying pavers on grass can be a practical and attractive option. It’s especially appealing in cases where you want the installation to remain somewhat flexible or reversible, such as for seasonal event spaces or rental properties. In these scenarios, minimal groundwork is required. You can mow the grass short, level the soil, and place the pavers carefully in a pre-measured pattern. While the installation may not last for decades, it can serve its purpose well without major investment.
However, it’s important to debunk the common myth that paving stones can simply be “dropped” onto grass and used immediately. Doing so almost always leads to instability, uneven surfaces, and rapid weed growth between the stones. Over time, grass underneath can push up, the pavers may sink into soft soil, and the entire layout may shift especially in regions with freeze-thaw cycles, heavy rainfall, or loose topsoil.
This method is not recommended for high-traffic areas, structural patios, or any installation that must support heavy weight or constant use. In such cases, a compacted gravel or sand base is essential for proper leveling, load distribution, and long-term wear resistance. For example, if you’re planning to host outdoor furniture or expect frequent foot traffic, skipping this step can result in costly repairs and an unattractive surface within a few months.
Ultimately, while you can lay paving stones on grass for light applications, your success depends on soil conditions, intended use, and the time you invest in preparing the area. For durable, professional-grade results, many property owners choose to consult experienced paving contractors like VF Paving, who can assess your site and recommend the ideal installation method for your needs.
Tools and Materials Needed Before You Start
Before you begin installing paving stones on grass, it’s critical to gather all the necessary tools and materials. Even if you’re planning a simple DIY project, having the right equipment on hand will ensure the job goes smoothly, safely, and produces long-lasting results. Below is a complete checklist designed to support both basic and advanced installations.
Essential Tools and Equipment
- Measuring Tape and Chalk Line: For accurately laying out your design and spacing.
- Spade or Flat Shovel: To remove grass where necessary and level the surface beneath.
- Garden Hoe or Rake: Useful for smoothing soil and removing debris.
- Rubber Mallet: For gently tapping pavers into position without cracking them.
- Spirit Level or Laser Level: Ensures even, safe walking surfaces.
- Wheelbarrow: Helps transport soil, gravel, sand, or paving stones around your site.
Optional Tools for Better Durability
- Plate Compactor or Hand Tamper: To compress soil or sub-base layers for added stability.
- Landscape Edging or Border Restraints: Helps keep paving stones in place over time.
- Weed Barrier Fabric: Reduces weed growth underneath and between pavers.
Materials You’ll Likely Need
- Paving Stones: Choose based on size, shape, and intended use.
- Coarse Sand or Crushed Gravel: Used as a bedding layer for increased strength and drainage.
- Topsoil or Sod Cutter (optional): For removing grass in areas that need deeper foundation.
- Polymeric Jointing Sand (if spacing pavers): Locks stones in place and helps deter weeds or ant infestation.
Planning ahead and assembling your tools before starting the project is essential. Depending on your chosen method direct lay versus base installation you may not need every item listed above. Still, investing in proper site preparation and the right tools will dramatically increase the lifespan and appearance of your finished walkway or patio.
If you want professional guidance or a turnkey paving solution for your residential or commercial property, VF Paving offers tailored services to help you select, install, and maintain paving stones that match your outdoor vision and budget.
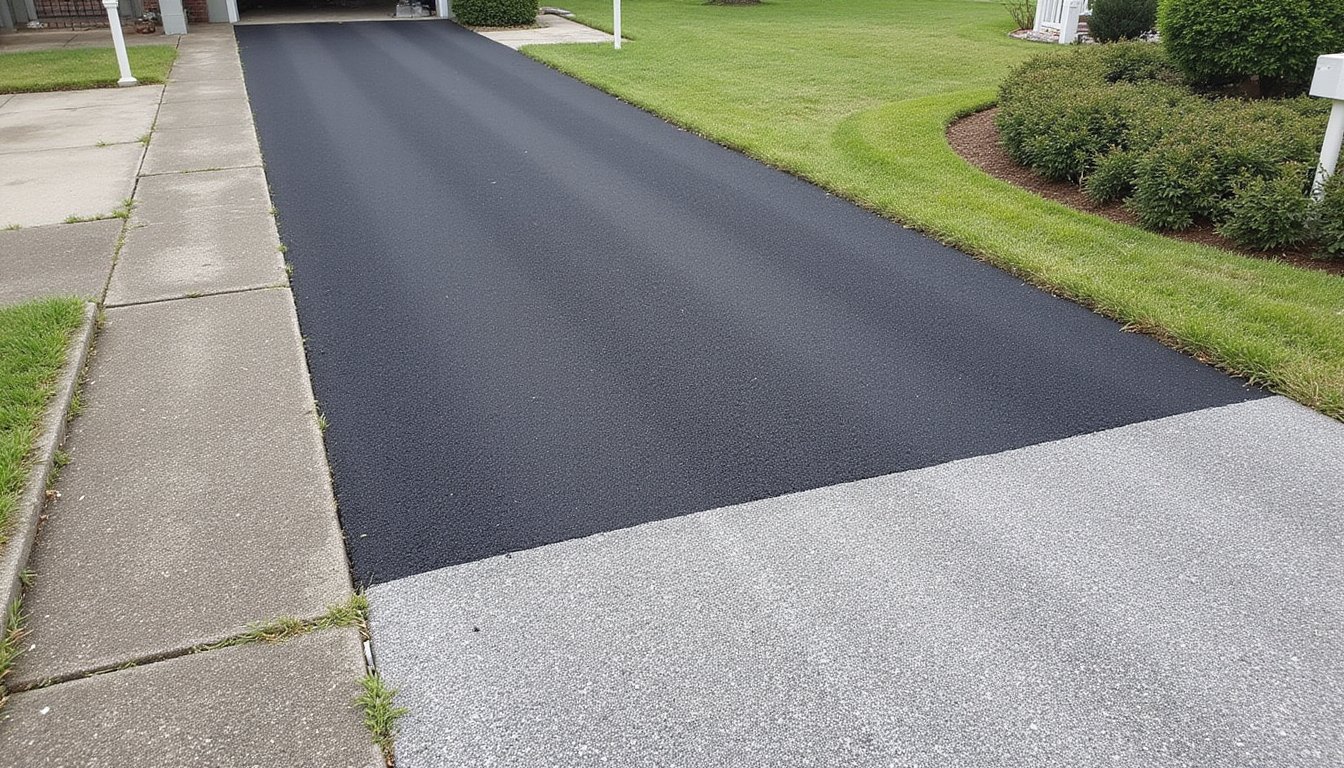
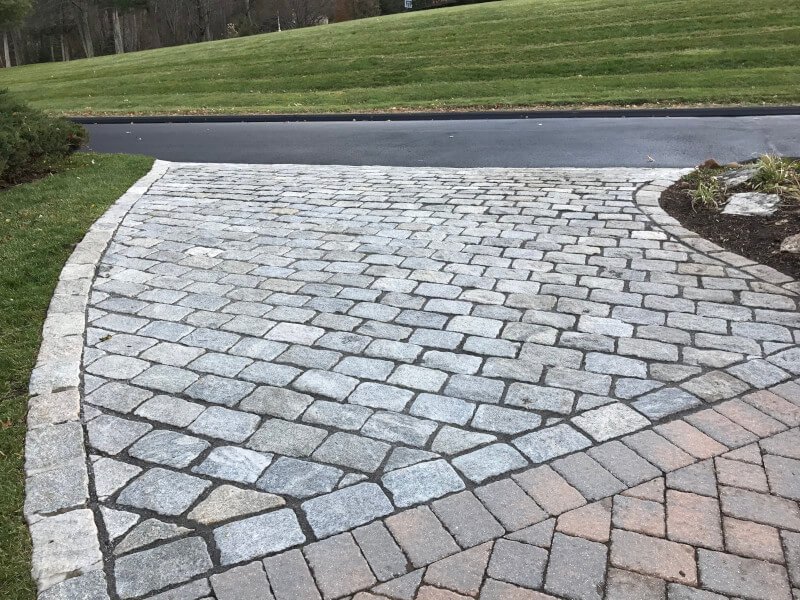
Choose Your Driveway Material
From Driveways to Parking Lots, We Offer High-Quality Solutions Tailored to Your Needs
Classic Asphalt

Durable Concrete

Premium Cobblestone
Types of Paving Stones: Choosing the Right Material for Your Lawn Installation
When considering how to put paving stones on grass, selecting the right type of paver is just as important as how you install it. Different materials offer varying levels of durability, appearance, cost, and compatibility with grassy surfaces. Below are the most common types of paving stones used in landscaping and how they perform in grass-based installations.
Concrete Pavers
Concrete pavers are among the most popular choices for both DIYers and professional contractors due to their affordability, consistency, and adaptability. Manufactured in a variety of shapes, textures, and finishes, these pavers can be designed to mimic the look of natural stone, brick, or even wood.
For grass installations, concrete pavers are especially useful because of their predictable sizing and thickness, which makes leveling much easier. Their flat surface and structural integrity also reduce the chance of rocking or shifting over time. If you’re creating a path, patio, or outdoor seating area, concrete paving stones are a cost-effective and versatile option that works well with or without a gravel base.
Best Use Case
Detail | Information |
Best Use Case | Walkways, stepping stone paths, backyard patios |
Estimated Price (sq. ft.) | $3, $6 |
Installation Area | Suitable for DIY and professional projects |
Durability | High (10, 20 years) |
Ideal for Grass Installation | Yes, minimal prep needed |
Notes | Most DIY-friendly; consistent sizing and easy leveling |
Natural Stone Pavers
If you want a more upscale or rustic aesthetic, natural stone pavers offer timeless beauty with unmatched texture and character. Common materials include slate, granite, limestone, and bluestone, each bringing its own color variations and surface patterns that can elevate the look of any landscape.
Natural stone is heavier than concrete, which makes it an excellent choice for direct-on-grass installation where stability is a concern. However, because natural stone varies in thickness and shape, it may require additional leveling during placement. These pavers tend to be more expensive, but they offer superior weather resistance and long-term value.
Best Use Case:
Detail | Information |
Best Use Case | Decorative garden paths, luxury patios, outdoor kitchens |
Estimated Price (sq. ft.) | $7, $15+ |
Installation Area | Professional recommended |
Durability | Very High (20+ years) |
Ideal for Grass Installation | Yes, with proper leveling |
Notes | Heavier stones provide better stability on grass |
Brick Pavers
Brick pavers are crafted from clay and kiln-fired for durability, giving them a classic red or brown appearance that complements traditional or colonial-style homes. They are extremely durable and resistant to fading, which makes them ideal for high-traffic areas.
One of the unique benefits of brick is its natural porosity, which allows some water absorption, making it slightly more forgiving when laid on compacted grass or soil. However, because of their uniform shape, they must be laid precisely to avoid gaps or trip hazards. Brick pavers are also ideal for patterned layouts like herringbone or basket weave.
Best Use Case:
Detail | Information |
Best Use Case | Vintage garden paths, borders, formal landscape elements |
Estimated Price (sq. ft.) | $5, $10 |
Installation Area | DIY (small projects), Professional for large layouts |
Durability | High (15, 20 years) |
Ideal for Grass Installation | Limited, requires careful leveling and spacing |
Notes | Classic aesthetic, ideal for patterned layouts like herringbone |
Porcelain Pavers
Porcelain paving stones are a premium option favored in high-end landscaping projects. Made from refined clay and fired at very high temperatures, porcelain is incredibly strong, non-porous, and stain-resistant. These pavers are typically thinner and lighter than stone or concrete but are still highly durable and frost-resistant.
Thanks to their sleek, modern look and low maintenance requirements, porcelain pavers are perfect for contemporary design schemes. However, because they tend to be thinner and smoother, it’s crucial to ensure a stable, level surface underneath making them better suited for installations with a compacted base rather than directly on grass.
Best Use Case:
Detail | Information |
Best Use Case | Luxury patios, poolside walkways, modern outdoor spaces |
Estimated Price (sq. ft.) | $8, $16+ |
Installation Area | Professional only |
Durability | Very High (20, 30 years) |
Ideal for Grass Installation | Not Recommended, requires solid sub-base |
Notes | Sleek and modern, but too thin and slippery for grass installs |
Each type of paving stone has its own strengths and best-use scenarios. For example, if you’re laying a casual garden path directly on grass, concrete or natural stone pavers may offer the right balance of durability and ease of use. If you’re after a high-end finish with minimal maintenance, porcelain or brick may be the better option though you may need to consider a sub-base for long-term stability.
No matter which material you choose, proper preparation and placement are essential for success. If you’re unsure which paving stone best suits your project, VF Paving can guide you through the selection process and ensure your installation delivers both performance and beauty.
How to Prepare Grass for Paving Stones
Preparing your lawn properly is the key to a stable, level, and long-lasting paving stone installation. Even if you’re not digging deep foundations, the surface must be cleared, leveled, and compacted to support the weight of the stones and prevent shifting.
Step-by-Step Lawn Preparation:
- Choose Your Area and Mark the Layout
Use landscape marking paint, stakes, or string lines to outline where your paving stones will go. A chalk line or rope works well for straight walkways; for organic shapes or stepping stone paths, mark each individual stone location. - Mow Grass as Short as Possible
Trim your lawn as close to the ground as possible. This reduces the organic material beneath each paver and makes leveling easier. Avoid leaving clumps or thick patches under the stones. - Remove Sod Where Necessary
For heavier stones or tighter placement, it’s recommended to remove 1, 2 inches of sod with a flat shovel or sod cutter. This helps the pavers sit flush with the grass and reduces the chance of movement or sinking. - Level the Ground
Use a landscape rake or hoe to level the soil beneath each paver. For larger installations, a long 2×4 and spirit level can help ensure evenness across longer spans. - Compact the Soil
Lightly compact the soil using a hand tamper or plate compactor (for larger areas). A stable base prevents settling and keeps your stones from shifting over time. - Apply Optional Base Layer
If you’re aiming for more durability, consider adding a 1-inch layer of coarse sand or crushed gravel and leveling it before placing your stones. We’ll explain this option in more detail below.
Step-by-Step Guide: How to Put Paving Stones on Grass
Now that your surface is ready, here’s a step-by-step breakdown of how to lay paving stones directly on or just into the grass.
DIY Paver Installation Instructions:
- Dry-Layout First
Before digging or placing anything permanently, lay the stones out on top of the grass to visualize spacing and alignment. This is your chance to adjust for visual appeal or usability. - Remove Sod Where Each Stone Will Sit
If not removing all sod, at least dig out the area beneath each stone, matching its shape and thickness. This allows the stone to nestle into the ground, creating a flush, trip-free surface. - Add Base Material (Optional)
If you’re placing larger patio stones or want longer life, add 1 inch of sand or gravel to the hole before laying the stone. Compact it lightly to provide a stable, drainable base. - Place the Paver
Gently place your stone in the prepared space and use a rubber mallet to tap it down into position. Ensure it’s level front to back and side to side. - Repeat and Maintain Consistent Spacing
Continue this process for each paver, ensuring consistent spacing. Use a spirit level and measuring tape as needed. - Fill Gaps with Soil or Decorative Gravel
Once all stones are in place, backfill gaps with topsoil (to grow grass between them), mulch, or decorative gravel depending on your design preferences. - Water and Settle
Lightly water the area to help the soil settle around the stones. Recheck level and adjust any stones that have shifted during backfilling.


Should You Use Sand, Gravel, or Go Direct?
When planning how to put paving stones on grass, your choice of foundation has a big impact on performance and longevity. Here’s how each method compares:
Base Type | Benefits | When to Use | Drawbacks |
Direct-on-Grass | Fast, simple, cost-effective | For decorative paths, low foot-traffic areas | Stones may shift, grass may regrow |
Sand Base | Improves leveling, allows minor adjustments | For moderate foot traffic (garden paths, patios) | Needs occasional re-leveling |
Gravel Base | Superior drainage, long-term durability | For heavy-use areas or permanent installations | Requires more digging and compaction |
Spacing and Pattern Tips for a Professional Look
The layout pattern and spacing of your paving stones influence both the usability and appearance of your finished surface. Whether you’re building a structured patio or a meandering path through your yard, follow these design tips for best results.
Popular Patterns:
- Stepping Stone Path: Place stones 18, 24 inches apart (center to center) for comfortable walking.
- Grid or Checkerboard: Uniformly spaced with grass or gravel in between for a clean modern look.
- Random Pattern or Natural Flow: Mimics natural stone paths; ideal for garden settings.
Tips for Professional Appearance:
- Use string lines or alignment guides to keep symmetry and spacing consistent.
- Always dry-lay before final installation to ensure the pattern fits your space.
- Use larger stones for seating areas and smaller ones for narrow walkways.
- Alternate colors or textures to create interest, especially in large patios.
Why Choose V&F Paving?
Over 31 Years of Experience
Local & Family Owned in CT
Trusted by Hundreds of Connecticut Home-Owners
How to Secure Pavers in Place for Long-Term Use
Once installed, paving stones can shift, settle, or tilt over time especially if laid on grass. Securing them properly ensures a longer-lasting, safer surface.
Techniques to Secure Pavers:
- Compact the Soil or Base Firmly
A stable, compacted foundation minimizes sinking or rocking. Use a hand tamper or plate compactor. - Use Edging Restraints
For patios or tightly packed pavers, install plastic or metal edging to keep the outer stones from drifting. Anchor with stakes every few feet. - Lock with Joint Material
Fill gaps with polymeric sand, pea gravel, or soil depending on your design. Polymeric sand hardens when wet, locking the pavers in place and preventing weed growth. - Re-level Annually
Over time, you may need to lift and reset a few stones, especially after heavy rains or frost heaves. Keep a small bag of sand or gravel for quick fixes. - Water and Let Settle
After installation, water lightly to help surrounding soil settle and support the stone edges. Avoid walking on new installations for 24, 48 hours if possible.
Common Mistakes to Avoid When Laying Stones on Grass
Even a visually perfect paving job can fail quickly if key installation principles are overlooked. Laying paving stones on grass may seem simple, but without proper technique, issues like instability, erosion, and water pooling can quickly compromise the result.
Top Mistakes to Avoid:
- Inadequate Ground Preparation
Placing stones directly on thick grass or soft soil without removing sod or leveling the area leads to immediate instability. Over time, pavers will sink, shift, or tilt, creating an uneven and unsafe surface. - Ignoring Drainage Needs
Lawn areas that retain water or have poor runoff can become muddy beneath the stones, causing movement and moss growth. If the area is prone to standing water, a compacted gravel base is essential. - Skipping Compaction
Whether you’re laying stones directly on soil or over a sand layer, failure to compact the base invites settling. Uneven settling is one of the most common problems in low-effort DIY jobs. - Improper Spacing or Layout
Stones placed too closely can limit grass regrowth and cause tripping hazards, while overly wide gaps become impractical to walk on. Always dry-lay and test spacing before permanent installation. - No Edge Restraints
Without perimeter containment like edging or border restraints, pavers can spread outward with time and foot traffic, disrupting your layout and encouraging weeds to grow along the edges.
By planning properly and avoiding these pitfalls, your paving stones will remain safe, attractive, and low maintenance for years to come.
Maintenance Tips: Keep Your Paving Stones Looking Great
Once your paving stones are installed, regular maintenance ensures they retain both appearance and functionality. Even grass-based installations need occasional attention to prevent settling, weed intrusion, or surface damage.
Maintenance Guidelines:
- Control Moss and Weed Growth
Moist conditions can invite moss, especially in shaded areas. Use a stiff broom and a biodegradable moss killer to clean stones annually. For joints filled with soil or gravel, consider applying a weed-preventing polymeric sand or landscape fabric beneath. - Re-level Sunken Stones
After heavy rains or seasonal freeze-thaw cycles, some pavers may sink slightly. Lift them, add or replace base material (sand or gravel), and re-tamp for a flush finish. - Clean Regularly
Remove leaves, dirt, and organic debris to reduce staining. Power washing may be used occasionally for deeper cleaning, but use low pressure to avoid loosening filler or compacted base material. - Reseed Surrounding Grass
For layouts with turf between pavers, overseed in spring and fall to maintain a lush, seamless appearance. Aerate and fertilize as needed to keep the grass healthy. - Inspect for Drainage or Erosion
Look for signs of pooling water or erosion along the edges of your stones. If you see movement or washing out, reinforce the area with edging or improve drainage with a gravel perimeter.
With simple seasonal maintenance, your grass-integrated paving stones can provide clean, natural beauty and solid footing for years with minimal effort.
Custom Paving Solutions, Tailored for Your Property
Every property is different that’s why we offer custom residential paving designed to match your home’s layout, terrain, and design preferences. We handle unique driveways, patios, walkways, and more.
- Decorative borders and finishes
- Creative layouts and patterns
- Asphalt, concrete, or hybrid materials
- Works for sloped or irregular sites
- Adds value and uniqueness to your home
Ready for something beyond basic? Contact our New Haven paving team today for a custom solution designed to fit your property and budget.
When to Hire a Pro vs DIY: Cost, Time, and Outcome
Installing paving stones over grass can be a manageable DIY project but it isn’t always the right solution for every property, budget, or purpose. Here’s how to decide whether to go it alone or bring in professionals like VF Paving.
DIY Is Best When:
- You’re installing stepping stones or a light-use garden path
- You already have basic landscaping tools and time to spare
- Your project is small-scale and not load-bearing
- You are comfortable leveling ground and troubleshooting minor settling
Hire a Professional If:
- You’re creating a permanent patio, outdoor kitchen, or entertainment area
- The ground is uneven, soggy, or poorly draining
- You want edging, pattern cuts, or custom layouts
- You need a result that is level, durable, and built to last
Cost Comparison:
- DIY materials only: $3, $10 per sq. ft. (depending on paver type)
- Professional installation: $12, $25 per sq. ft. (includes prep, base, labor, and finishing)
Hiring a professional ensures proper base prep, long-term durability, and a clean, polished finish especially when appearance, safety, or resale value is a priority.
Need Expert Help with Your Paving Project?
If you want a professionally installed, long-lasting, and visually striking paving solution, VF Paving is here to help. Whether you’re upgrading your garden path, building a backyard patio, or transforming your outdoor living space, we’ll guide you through material selection, layout planning, site prep, and installation.
We specialize in:
- Custom paver designs for walkways, patios, and driveways
- Grass-to-paver conversions
- Concrete and asphalt paving
- Grading, drainage, and edge detailing
Let our experienced team handle the hard work so you can enjoy your outdoor space worry-free.
Contact VF Paving today for a consultation or custom quote https://vfpaving.com
Claim Your Free Quote
100% SATISFACTION GAURANTEED
LICENSED & INSURED
Conclusion
Laying paving stones on grass is a cost-effective and visually rewarding way to add structure and functionality to your outdoor space. With the right tools, preparation, and techniques, you can create a clean, durable surface that enhances your lawn without full excavation. Whether you’re building a simple stepping stone path or installing a high-end patio, success depends on proper leveling, material selection, spacing, and long-term care.
For homeowners seeking expert results with guaranteed durability and visual impact, VF Paving offers professional paving services tailored to your property’s needs. From concept to completion, we deliver clean finishes and lasting performance you can rely on.
Ready to transform your yard? Visit vfpaving.com to get started today.