
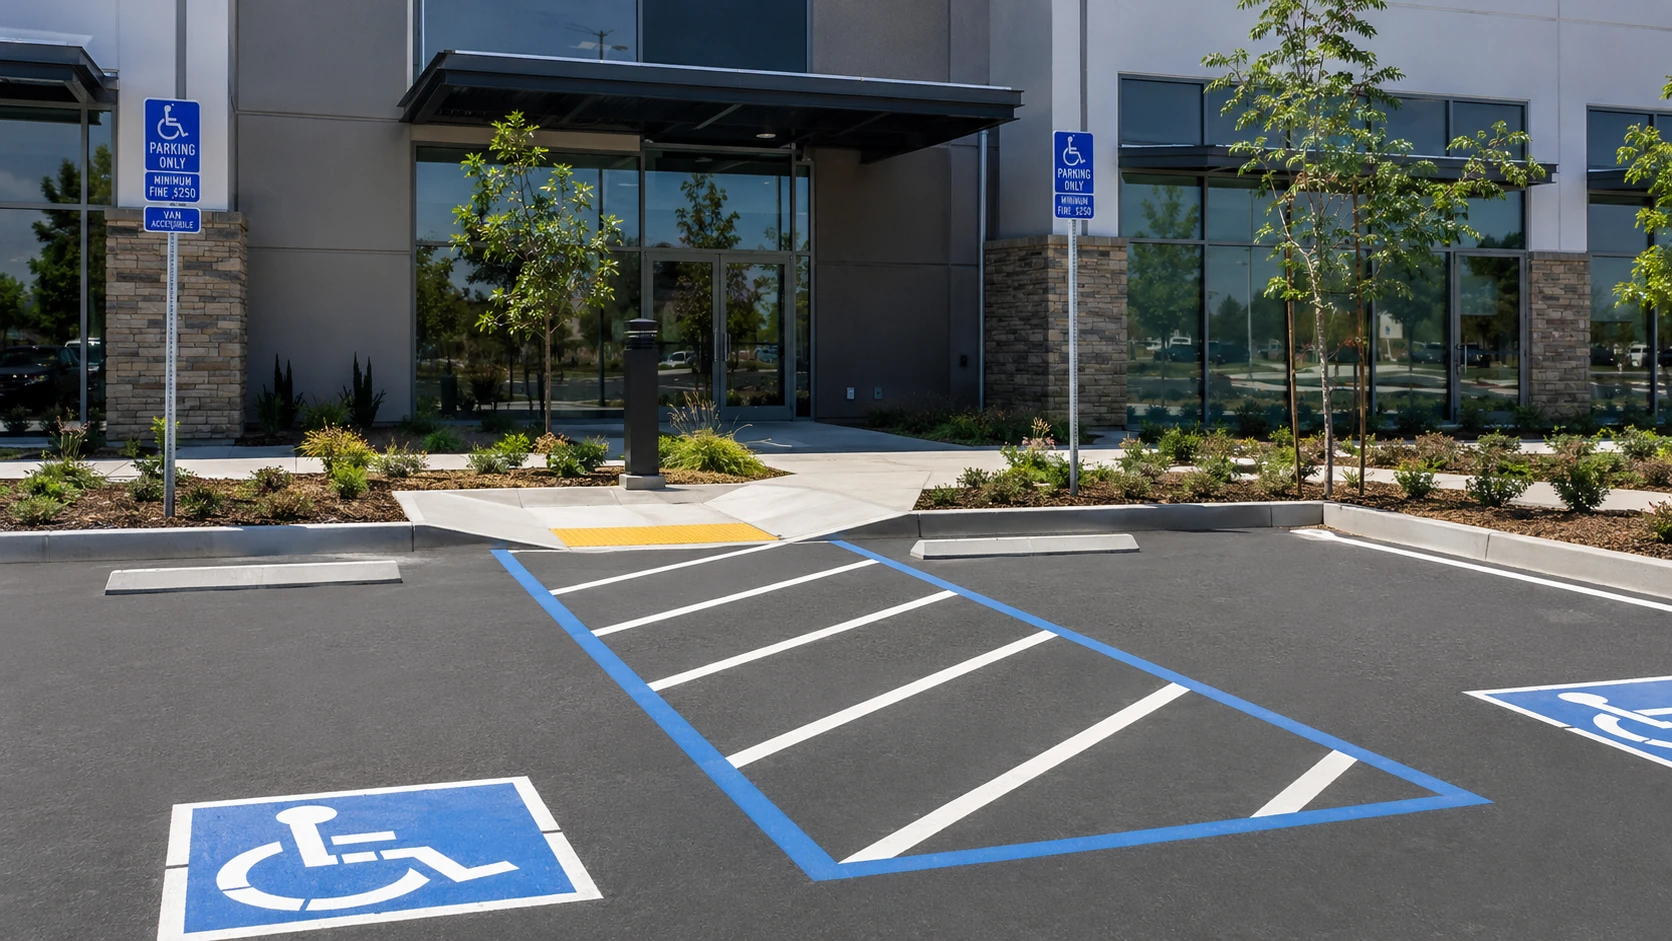


You’ll need to follow three essential steps for proper driveway sealing. First, prepare your surface by repairing all cracks and potholes, then clean thoroughly and allow complete drying. Second, select a quality coal tar or latex acrylic sealer appropriate for your climate and guarantee temperatures remain between 50-90°F during application. Third, apply two thin coats using a squeegee in 4×4 foot sections, maintaining the manufacturer’s specified cure time of 24-48 hours before allowing traffic. The following sections detail critical specifications and common application errors you’ll want to avoid.
Preparing Your Driveway Surface for Sealing
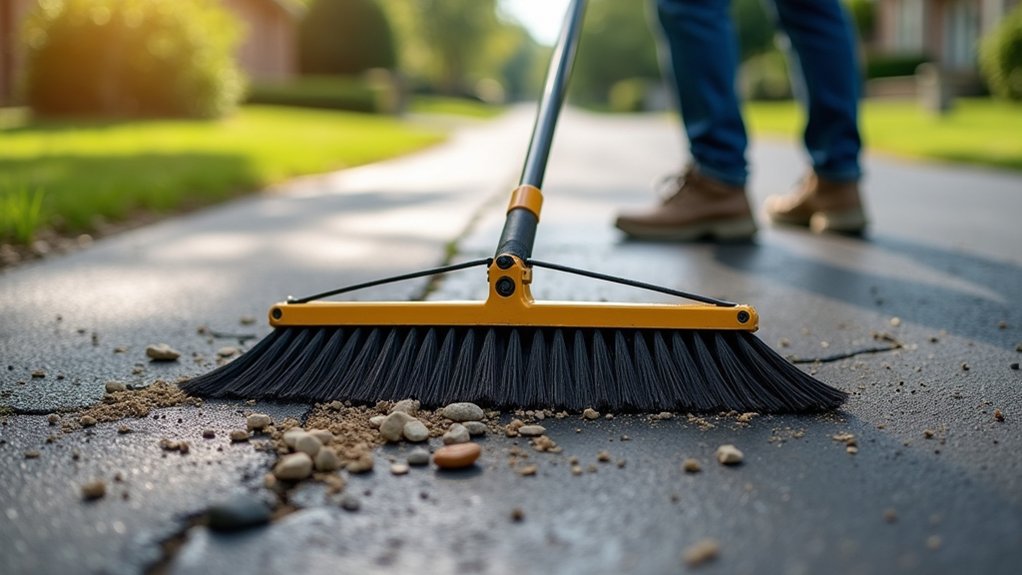
Before applying any sealer, you must systematically evaluate your driveway’s condition to identify underlying issues that’ll compromise adhesion and longevity. Begin scrutinizing overall driveway condition by examining the entire surface for fading, cracking, loose aggregate, and surface degradation. Document water drainage patterns to prevent future ponding issues. When identifying problem areas, focus on oil stains, fuel spills, and chemical contaminants that’ll prevent proper sealer bonding. Inspect for vegetation growth penetrating cracks and edges. Appraise sun exposure levels and pavement age, as these factors determine sealing frequency requirements. Note all structural deficiencies including potholes, alligator cracking, and raveling. This thorough assessment establishes your repair protocol and guarantees optimal sealer performance. Look for signs like water beading on the surface, which indicates the existing seal is still intact and sealing may not yet be necessary. Ensure ambient temperatures remain at least 50°F minimum during application and curing periods to achieve proper sealer adhesion. Keep in mind that a driveway installed recently within the past two years typically does not require sealcoating yet. Address each identified issue methodically before proceeding to surface preparation phases.
Selecting the Right Sealer and Optimal Weather Conditions
Once you’ve completed your driveway assessment, you’ll select a sealer formulation that matches your pavement’s condition, traffic load, and environmental constraints. Coal tar-based sealers deliver robust protection for 3, 5 years but face environmental regulations due to PAH content and product safety concerns. Latex acrylic formulations provide 5, 10 years of UV resistance with reduced VOC emissions. Oil-based sealers penetrate deeply to rejuvenate aged asphalt but require permits and specialized equipment. For eco-conscious applications, soy-based and asphalt emulsion products minimize runoff risks while maintaining residential-grade performance. Commercial-grade sealers contain more active ingredients and fewer fillers, making them significantly more durable than consumer-grade options available at home improvement stores.
Schedule application when ambient temperatures range 50, 90°F with no precipitation forecasted for 48 hours. Surface and air temperatures must remain above minimums throughout the curing period. Low humidity and calm conditions guarantee uniform film formation and ideal bond strength. Proper preparation before resealing includes addressing cracks and potholes to ensure the sealer bonds effectively to a smooth, stable surface.
Applying and Curing the Sealant for Long-Lasting Results
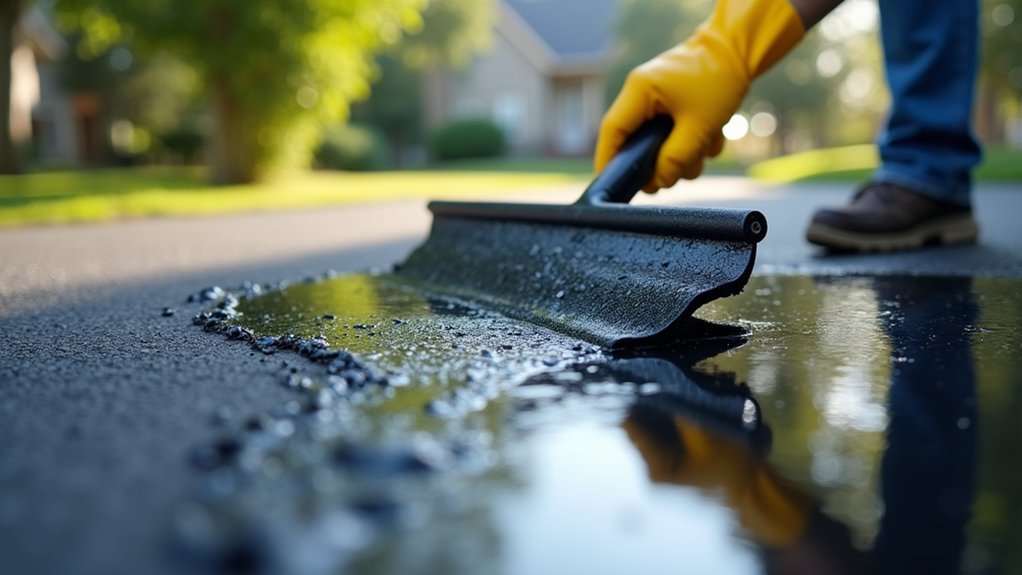
When you’re ready to apply sealant, proper mixing establishes the foundation for uniform coverage and professional results. Stir each bucket thoroughly using a paddle or drill, then intermix containers halfway through application to maintain uniform consistency. Start from the highest point, pouring 6-inch ribbons and spreading with squeegees in 4×4 foot sections while monitoring application techniques for even penetration into crevices. Apply two thin coats rather than one thick layer, allowing complete drying between passes. Managing contractor supervision guarantees adherence to manufacturer specifications, including temperature maintenance above 60°F for 24 hours pre- and post-application. For smaller driveways under 300 feet, roller application provides sufficient coverage while maintaining control over the sealant distribution. Restrict all traffic for minimum 24, 48 hours during curing. Avoid moisture exposure and never seal over wet surfaces or uncured repairs to prevent bonding failures and surface defects.
Frequently Asked Questions
How Often Should I Reseal My Driveway for Optimal Protection?
You’ll need to reseal your asphalt driveway every 2-3 years, while concrete requires resealing every 2-5 years for ideal protection. Your proper maintenance schedule depends on traffic volume, climate conditions, and surface exposure to UV rays and chemicals. Professional application recommendations suggest monitoring for faded surfaces, visible cracking, or rough texture between cycles. Don’t reseal annually; this causes material degradation. High-traffic areas in harsh climates require more frequent attention to maintain structural integrity and weatherproofing performance.
What Tools and Safety Equipment Do I Need for Sealing?
You’ll need surface prep tools (broom, leaf blower, crack cleaners), application equipment (sprayer system or squeegee, sealcoat brush, drum mixer), and complete PPE (chemical-resistant gloves, safety goggles, long sleeves). Don’t forget crack fillers, caution tape, and edging tools. These guarantee proper application techniques while safeguarding you from chemical exposure. Remember, ideal weather conditions, 50-90°F with no rain forecast for 24-48 hours, are equally critical for successful sealing and excellent curing performance.
Can I Seal Over Oil Stains or Do They Need Treatment?
You can’t seal over oil stains; they’ll bleed through and cause sealant failure. You must pre-treat oil stains first using industrial degreasers and vigorous scrubbing to remove all petroleum residue. After cleaning, pressure wash the area thoroughly and let it dry completely. For stubborn contamination, apply a stain-blocking primer designed for asphalt before sealing. This creates a barrier that prevents oil migration and guarantees proper adhesion. Skipping treatment assures premature coating failure.
How Long Should I Keep Vehicles off After Sealing Is Complete?
You should keep vehicles off for 24-48 hours minimum after sealing’s complete. The curing duration depends heavily on weather conditions; temperatures above 50°F and low humidity accelerate the process. Light foot traffic’s acceptable after 3-4 hours, but premature vehicle access causes tire marks and adhesion failures. Heavy trucks require 48-72 hours wait time. While surface-dry occurs quickly, full cure takes 30 days. Always verify your sealant manufacturer’s specifications for ideal results.
Does Driveway Material Affect Which Sealer Type I Should Choose?
Yes, your driveway composition directly determines which sealer you’ll need. Asphalt surfaces require coal tar, asphalt emulsion, or oil-based sealers that bond chemically with petroleum-based materials. Concrete demands acrylic or polyurethane formulations, never coal tar or asphalt-based products, which won’t adhere properly. Using incompatible sealers compromises sealant durability, causing premature failure and peeling. Always verify manufacturer specifications match your surface material before application to guarantee proper adhesion and maximize protective lifespan.