


To repair sunken or loose paver driveways, you’ll need to follow five essential steps: assess the damage using visual inspection and the PASER Scale, prepare your work zone with proper marking and utility locates, carefully remove compromised pavers using putty knives, rebuild the base with compacted 3/4-minus gravel and bedding sand, and reinstall pavers with proper joint sand application. Each step addresses both surface symptoms and underlying base failure for lasting results.
Inspect and Assess the Damaged Paver Areas
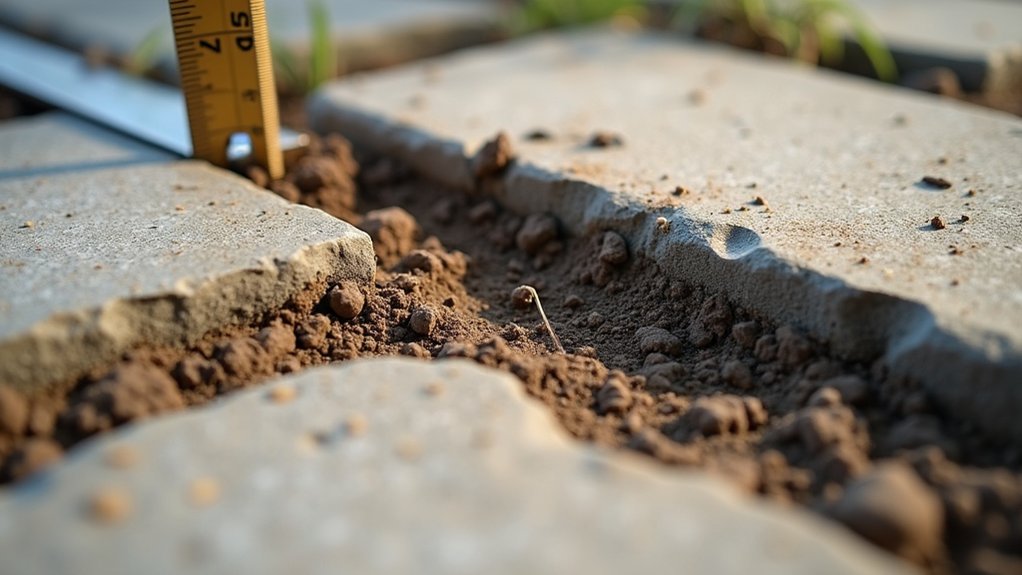
Before you begin any repair work on your sunken or loose paver driveway, you’ll need to conduct a thorough visual surface inspection to determine the full scope of damage. Check for cracks, noting their type, severity, and extent. Measure any depressions or low spots where water collects, as these indicate underlying problems. Pay close attention to crack location, as cracks within 40 feet of each other may indicate a deeper problem in that area.
Next, identify subsurface drainage issues by locating puddles and examining drainage flow patterns. Inspect pavement edges for crumbling or erosion that may contribute to instability. Check that catch basins, drains, and gutters allow for unimpeded water flow to prevent future settling issues. Conducting regular inspections helps detect damage early before minor issues escalate into major structural problems requiring expensive repairs.
You’ll also want to evaluate pavement stability by checking for signs of buckling, warping, or shifting pavers. Document all findings using photos and measurements. Apply the PASER Scale to objectively rate conditions, helping you prioritize repairs and select appropriate remediation methods.
Prepare the Work Zone and Clean the Surface
Once you’ve completed your damage assessment, you’ll need to establish a well-defined work zone before any physical repairs begin. Use white marking paint to outline project boundaries, extending your marked area 6 inches beyond the affected paver edges to guarantee proper base support during repairs. Before excavating, request utility locate to avoid damaging underground lines. Ensure all phone and gas lines are marked prior to beginning any excavation work.
Proper tool selection determines project efficiency. Gather string lines, levels, and grading stakes for alignment reference. You’ll need a plate compactor or hand tamper, wheelbarrow, and screed board for subsequent repair phases.
Effective debris removal requires systematic execution. Remove all loose dirt, leaves, and debris using a broom or leaf blower. Wash the surface thoroughly with a pressure washer or strong hose spray. After cleaning, compact the exposed subgrade to stabilize it before adding replacement base materials. Addressing sunken areas promptly is essential since uneven surfaces can cause tripping hazards and lead to larger cracks and structural failure if ignored.
Remove Loose and Sunken Pavers Carefully
With your work zone established and subgrade compacted, you’re ready to extract the damaged pavers systematically. First, lay a level across the affected area to determine depression depth and identify all compromised units. Extend your removal zone 12 inches beyond the problem edge to guarantee proper reference points.
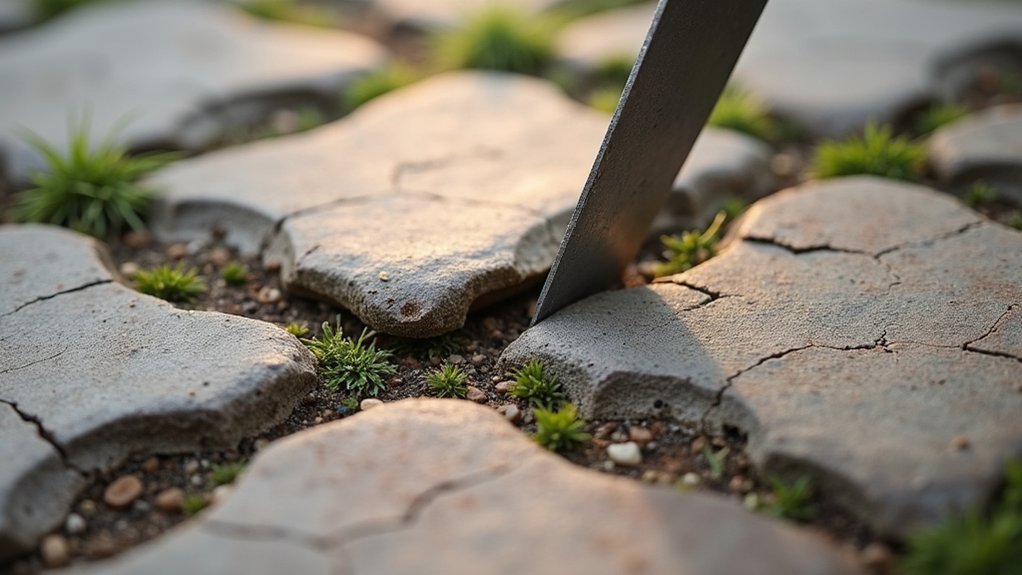
Insert large putty knives between pavers and twist gently to break the bond. To prevent paver cracking, avoid excessive force, pry slowly once you’ve established a grip. Work from the outside edge inward, removing sunken units first, then lifting one to two additional rows.
Stack extracted pavers in sequence to maintain original pattern alignment during reinstallation. Brush joints clean, chip away remaining mortar with a mason’s chisel, and set aside any damaged units for replacement.
Repair and Level the Base Material
After extracting the damaged pavers, you’ll need to assess and restore the underlying base to prevent future settling. Start by removing loose sand, dirt, and debris from the exposed area. Check for drainage issues, water pooling, or unstable soil conditions that caused the original sinking. A weak or uneven base is the primary reason pavers sink, making proper reconstruction essential.
A stable base is the foundation of lasting paver repair, address drainage and soil issues before rebuilding.
To properly rebuild the foundation:
- Add 3/4-minus crushed gravel in thin layers to achieve 4-6 inches depth
- Evenly distribute base material using a straight board over PVC pipes
- Compact thoroughly compacted layers with a plate compactor diagonally
- Spread 1-1.5 inches of bedding sand, maintaining base 1 inch below surrounding pavers
Use a spirit level to verify proper slope for drainage. Test stability by checking for soft spots or wiggle room before proceeding with paver reinstallation. Since compacted sand is almost as strong as concrete but not permanent, saturating the joints with water will help loosen the material when future repairs are needed. With proper base preparation and maintenance, your repaired driveway can last 25-30 years before needing significant work again.
Reinstall Pavers and Apply Finishing Touches
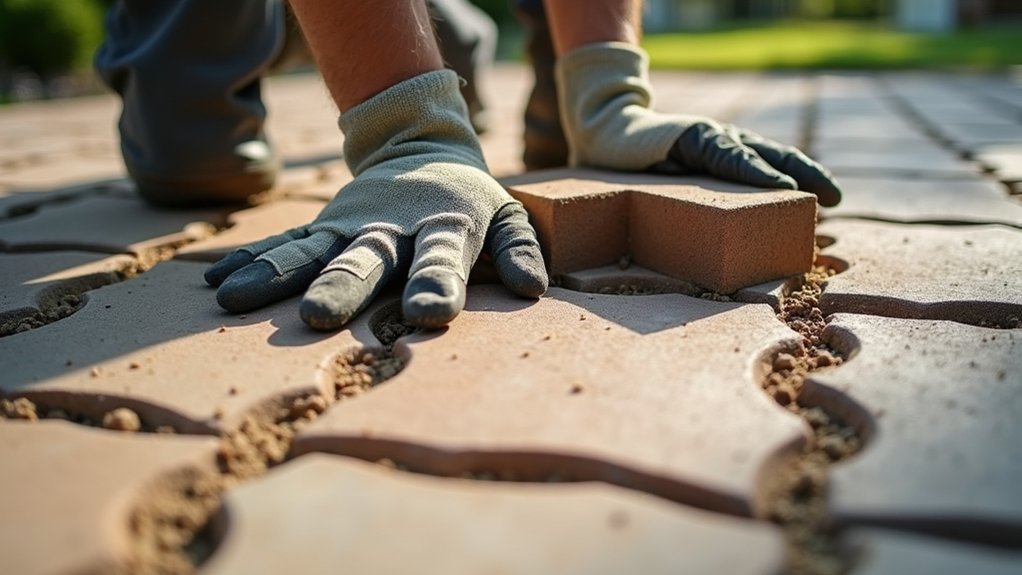
Laying your pavers back into position requires careful attention to spacing and alignment. Place each unit snugly against adjacent pavers while maintaining small gaps for drainage. Use a rubber mallet to tap pavers into the bedding course, and check level frequently with a straight edge. Work systematically from one corner, cutting pieces as needed with a masonry saw for edges.
Once you’ve set the pavers, compact remaining pavers using a plate compactor in a grid pattern for at least three passes. Spread coarse sand over the surface and sweep it into all joints until gaps fill to 1/8 inch below the chamfer. For permeable installations, use ¼ open graded stone chip as your jointing material instead of traditional sand. After compaction, add additional sand and spray water to settle the material. Inspect finished surface for proper 1/8-inch-per-foot drainage slope. Allow 24-48 hours for drying before driving or walking on the repaired area to ensure the sand has fully settled.
Frequently Asked Questions
How Much Does It Cost to Hire a Professional for Paver Driveway Repair?
You’ll typically pay $2 to $8 per square foot for professional paver driveway repair, with professional labor cost ranging from $5 to $7 per square foot. For a 600 sq ft driveway, expect total expenses between $6,000 and $42,000 depending on damage severity. Major repairs or resurfacing run $600 to $3,000. Always verify service warranty coverage before signing contracts, reputable contractors typically guarantee their workmanship for one to five years.
Can I Repair Paver Driveways in Freezing Temperatures or Rainy Weather?
You’ll face significant challenges repairing paver driveways during freezing temperatures or rainy conditions. Avoiding freeze thaw cycles is critical since polymeric sand won’t cure properly below freezing, and moisture compromises asphalt bonding strength. Preventing water accumulation guarantees proper joint stabilization and base compaction. You can perform inspections and replace individual pavers in cooler weather, but thorough restoration requires dry conditions with ground temperatures above 40°F for ideal results.
How Long Do Repaired Paver Driveways Typically Last Before Needing Maintenance Again?
Repaired paver driveways typically last 5 to 10 years before requiring additional maintenance, though factors affecting lifespan include base stability, joint sand integrity, and traffic load. You’ll extend this timeframe by implementing proper maintenance schedule considerations, sealing every 2-3 years, annual joint sand replenishment, and quarterly inspections. If you’ve addressed the underlying substrate issues during repair, you can expect performance comparable to the original installation’s 25-50 year durability range.
What Tools Should I Rent Versus Buy for a DIY Paver Repair?
Rent plate compactors and concrete saws for proper gravel base preparation since these specialized machines aren’t cost-effective for occasional use. Purchase hand tools like pry bars, mallets, and levels, they’ll provide long-term savings across multiple maintenance cycles. You’ll also want to buy quality brushes and applicators for ideal sealant application, ensuring you’re ready for periodic resealing without rental scheduling constraints. Own safety equipment for immediate accessibility during unexpected repairs.
When Should I Replace Pavers Entirely Instead of Attempting Repairs?
You should replace pavers entirely when damage exceeds 30% of the surface area or when causes of paver sinking over time involve compromised base materials beyond repair. When evaluating paver replacement versus repair considerations, factor in structural subgrade failure, widespread joint deterioration, or recurring settlement issues. If you’re spending more than $15 per square foot on repeated fixes, full replacement delivers better long-term value and addresses underlying drainage or compaction deficiencies.