


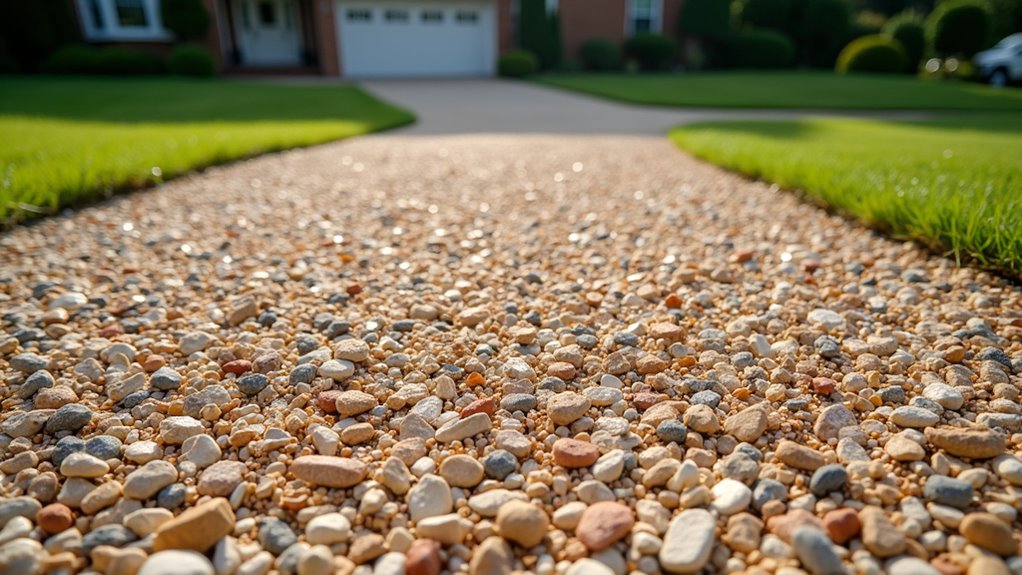
A gravel driveway is a layered stone surface that uses crushed rock aggregates to create a permeable, cost-effective driving area. You’ll typically install three layers, a 4-6 inch foundation of large angular stones, a 4-6 inch sub-base of smaller aggregates, and a 1-2 inch decorative top layer. This system costs just $1-$3 per square foot, drains water naturally, and lasts 10-15 years with proper maintenance. Below, you’ll find exactly how to build and maintain yours. A gravel driveway is a layered stone surface that uses crushed rock aggregates to create a permeable, cost-effective driving area. When comparing gravel vs asphalt vs concrete driveway options, gravel stands out for its low upfront cost and natural drainage. You’ll typically install three layers, a 4, 6 inch foundation of large angular stones, a 4, 6 inch sub-base of smaller aggregates, and a 1, 2 inch decorative top layer. This system costs just $1, $3 per square foot, drains water naturally, and lasts 10, 15 years with proper maintenance. Below, you’ll find exactly how to build and maintain yours.
What Is a Gravel Driveway?
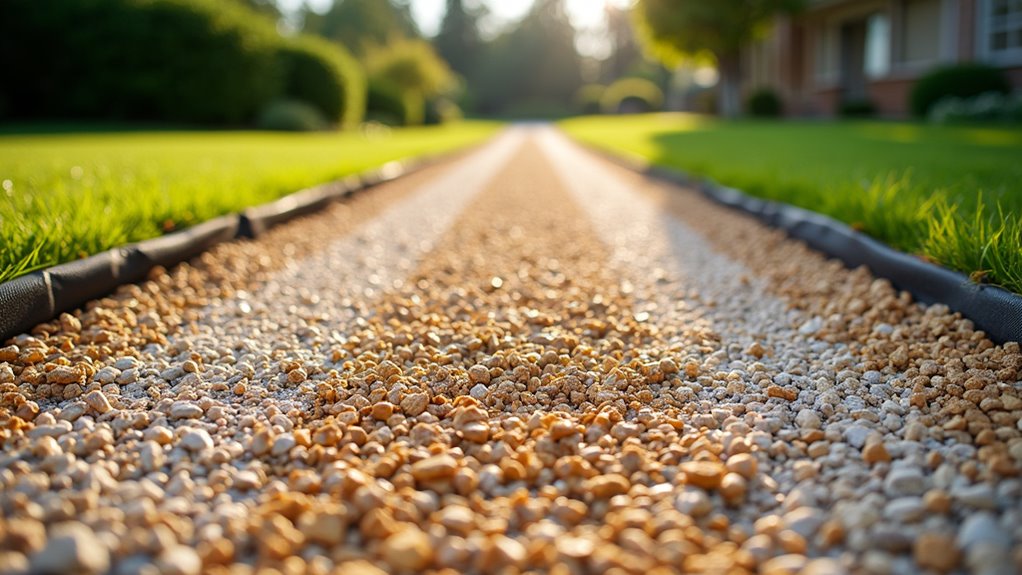
A gravel driveway consists of layered stone aggregates, typically a mixture of crushed rock, sand, and fine particles, that compact together to form a stable, permeable driving surface. Unlike concrete or asphalt, gravel for driveway applications allows water to drain naturally through the spaces between stones, preventing runoff and pooling. This permeability gives gravel eco-friendly credentials compared to solid paving materials that contribute to stormwater management issues.
When you’re selecting types of gravel for driveways, you’ll find options ranging from crusher run to pea gravel, each offering distinct performance characteristics. The irregularly shaped particles interlock under compression, creating a foundation that supports both light and heavy vehicles.
Proper installation requires appropriate driveway base materials like crushed stone or CA6 Road Mix. You’ll need to establish correct grading with a crown and side slopes to guarantee long-term drainage and structural integrity.
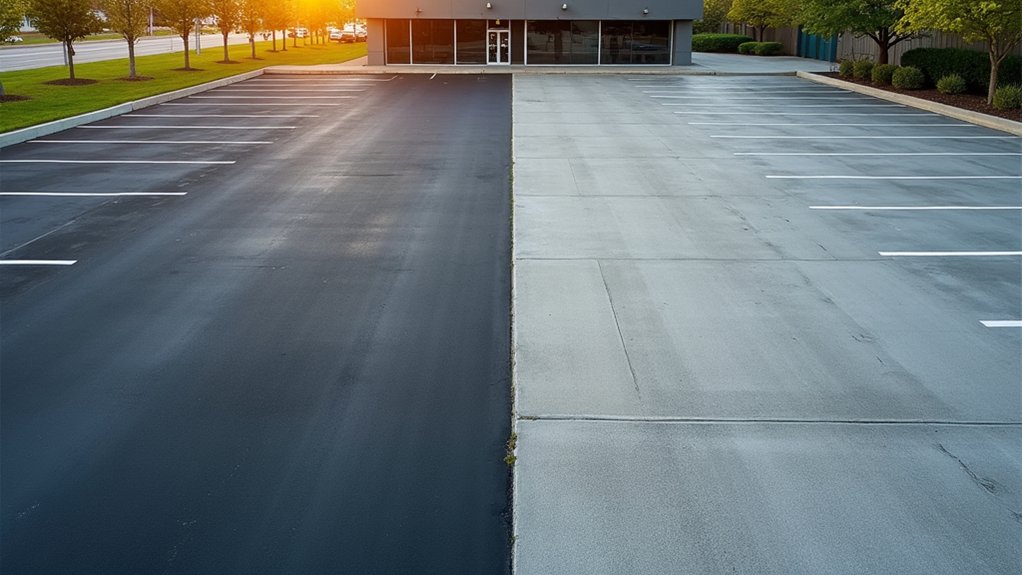
Why Choose Gravel Over Asphalt or Concrete?
When you’re comparing driveway materials, gravel stands out for three key reasons: cost efficiency, drainage capability, and maintenance simplicity. You’ll spend $1-$3 per square foot on gravel versus $7-$18 for asphalt or concrete, while gaining a permeable surface that naturally channels water away from your property. Gravel also lets you handle most upkeep yourself with basic grading and occasional top-offs, avoiding the professional sealing and crack repairs that paved surfaces demand. Plus, gravel driveways can be widened or extended more easily and cost-effectively than rigid surfaces when your property needs change.
Lower Installation Costs
Because gravel driveways skip the labor-intensive processes of pouring and curing, they cost markedly less than asphalt or concrete alternatives. When you understand how gravel driveways work, you’ll see why they’re budget-friendly: simple layering and compaction replace expensive equipment and specialized labor.
Choosing gravel for driveway installation delivers significant savings:
- Gravel costs $1, $10 per square foot versus $6, $12 for concrete
- National average runs $1,500 compared to $3,090, $7,910 for asphalt
- DIY crushed stone driveway projects save 40, 60% on labor costs
- Material costs range $10, $50 per ton for most aggregate types
- Small single-car installations start at $250, $900
You’ll find that gravel driveways offer the lowest entry point for durable, functional surfaces without sacrificing performance or drainage capabilities.
Superior Drainage Performance
Unlike asphalt and concrete that shed water toward storm drains, gravel driveways absorb rainfall directly into the ground beneath them. A properly installed 10 cm gravel layer with 32, 64 mm cobble-shaped stones achieves water permeability exceeding 0.0025 m·s⁻¹, allowing rapid infiltration during heavy storms.
You’ll benefit from volumetric flow rates reaching 140 dm³·min⁻¹ under maximum water damming conditions. This performance eliminates the pooling and runoff issues common with impermeable surfaces.
For ideal results, you need a 2% grade, that’s a 2-inch drop per 100 feet, to direct water flow without causing erosion. Adding geotextile fabric between gravel layers prevents soil migration, maintaining permeability long-term. This combination of natural drainage and strategic grading protects your property while reducing strain on municipal stormwater systems.
Easier Long-Term Maintenance
Beyond drainage advantages, gravel driveways offer maintenance simplicity that asphalt and concrete can’t match. You’ll spend less time and money keeping your surface functional because repairs don’t require specialized equipment or professional services. When ruts or potholes develop, you simply add more gravel and compact it, no waiting for crews or scheduling expensive resurfacing.
Key maintenance benefits include:
- Fill potholes and uneven sections by adding and leveling fresh gravel
- Rake periodically to maintain a smooth, even surface
- Top up every 1, 3 years to preserve proper depth and load-bearing capacity
- Handle all repairs yourself without professional intervention
- Avoid the cracking and deterioration that plague hard surfaces
This straightforward upkeep extends your driveway’s lifespan beyond 10 years while keeping long-term expenses well below asphalt or concrete alternatives.
How Long Does a Gravel Driveway Last?
How long your gravel driveway lasts depends largely on installation quality, maintenance frequency, and environmental conditions. Most gravel driveways require repair and rejuvenation every 4 to 10 years, with properly maintained surfaces exceeding 10 to 15 years.
Several factors directly impact durability: slope amount, sub-grade stability, climate exposure, and surrounding drainage patterns. Proper installation with geotextile fabric, quality base materials, and adequate edging can extend your driveway’s functional life extensively.
You’ll need to budget $100 to $300 annually for gravel refills and erosion control. Regular grading, weed management, and debris removal prevent water pooling that accelerates deterioration. Proper drainage reduces erosion risk by up to 80%.
Unlike asphalt (20-30 years) or concrete (30-40 years), gravel demands more frequent attention but offers indefinite lifespan potential with consistent care.
The Three Layers Every Gravel Driveway Needs
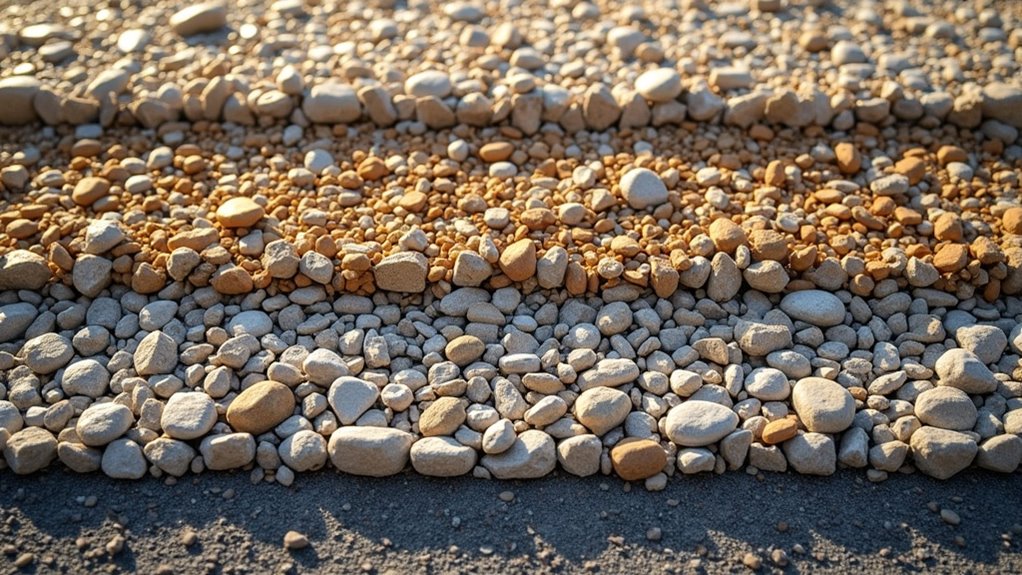
A properly built gravel driveway relies on three distinct layers working together to create a stable, long-lasting surface. You’ll need a base layer of large foundation stone, a middle sub-base aggregate layer, and a decorative top gravel that provides the finished driving surface. Each layer serves a specific structural purpose, and skipping or skimping on any one of them will compromise your driveway’s performance and durability.
Base Layer Foundation Stone
When you’re building a gravel driveway that’ll last, the base layer foundation stone does the heavy lifting. This bottom layer bears the weight load, prevents sinking into soft soil, and creates the structural foundation for everything above it.
You’ll want to use large angular rocks, typically #3 crushed stone measuring 1-2 inches, installed 4-6 inches deep. The angular edges lock together under pressure, forming a solid yet permeable base.
Key base layer specifications:
- Install 200mm (8 inches) total thickness in two compacted layers
- Use 80mm crushed gravel or 1½-inch crusher run material
- Compact each 100mm layer before adding the next
- Lightly scratch the surface between layers for proper bonding
- Spread material slightly higher than final elevation to account for settling
Sub-Base Aggregate Layer
Sitting directly above the undisturbed sub-grade soil, the sub-base aggregate layer forms the lowest level of your three-layer gravel driveway system, and it handles the heaviest loads. This foundation layer reduces stress on the sub-grade while providing essential load-bearing capacity and frost protection.
You’ll build your sub-base from crushed stone, gravel, or quarry rock featuring the largest stones in your driveway, typically 4-6 inches in diameter. The material includes a dense-graded mix with maximum aggregate sizes up to 4 inches, and angular, cubical particles that interlock for superior stability.
Spread the sub-base in 4-6 inch lifts, compacting each layer to 95% relative compaction using a vibratory roller or plate compactor. Keep fines below 12% to maintain drainage and prevent frost damage throughout your driveway’s lifespan.
Decorative Top Gravel
The decorative top layer crowns your gravel driveway with the visible surface you’ll see and drive on daily. This layer balances aesthetics with functionality, requiring materials that provide traction while resisting scattering under tire pressure.
Choose angular crushed stone #8 or washed limestone for ideal performance. These materials lock into the middle layer effectively and withstand daily vehicle traffic for years.
Key considerations for your top layer:
- Select 14mm gravel for smoother surfaces or 20mm for more textured appearance
- Avoid gravels smaller than 14mm, they’ll stick in tire treads and spread across your property
- Install at least 50mm deep with proper compaction to prevent ruts and washouts
- Use angular stones over smooth pea gravel to reduce scattering
- Consider decomposed granite for lighter traffic areas requiring decorative appeal
Which Gravel Type Should You Use?
How you select gravel depends on your driveway’s traffic load, drainage needs, and visual preferences. For heavy vehicle traffic, crushed stone #411 delivers a solid driving surface through its combination of #57 stone and rock dust that promotes tight compaction.
If you’re prioritizing drainage on slopes, limestone #57 locks in place and minimizes dust while allowing water to pass through. Quarry process works well for base and middle layers, compacting into a semisolid surface that handles moderate use.
For aesthetic appeal, pea gravel offers a classic look with various color options, though you’ll need borders or stabilization grids to prevent migration. Crushed concrete provides an eco-friendly, cost-effective option that works on both flat and hilly terrain while delivering dense stability.
How Deep Should a Gravel Driveway Be?
Determining the right gravel depth directly affects how well your driveway handles traffic, drainage, and long-term wear. For light residential use, you’ll need 4-6 inches of total depth, while heavy vehicles require 8-12 inches to prevent rutting and structural failure.
Proper gravel depth prevents costly rutting and ensures your driveway withstands years of daily traffic and weather exposure.
Your soil type profoundly impacts depth requirements. Clay-heavy ground retains water and demands thicker layers, while sandy soils need extra depth to prevent shifting.
Key depth guidelines to follow:
- Install a 2-3 inch base layer of large angular #2 gravel for foundation support
- Add 2-3 inches of #57 stone as your top layer for residential driveways
- Increase total depth to 10-12 inches for commercial or truck traffic
- Use geotextile fabric underneath to prevent soil-gravel mixing
- Compact each layer before adding the next for maximum stability
How Gravel Driveways Are Installed
Getting your depth calculations right matters little if the installation itself falls short. You’ll need to follow a systematic process that builds stability from the ground up.
Start by marking your perimeter with boundary stakes and string. Excavate to 200mm total depth, removing all grass, topsoil, and debris. Then work through these essential layers:
| Layer | Material | Purpose |
|---|---|---|
| Base | MOT Type 1 | Stability |
| Middle | #53 crushed limestone | Drainage |
| Top | #8 limestone or pea gravel | Surface finish |
Compact each layer thoroughly using a roller or heavy equipment. Before adding gravel, roll out weed prevention membrane over your compacted base, overlapping joints and securing with pegs every meter. Optional gravel grids prevent displacement under tire pressure. Spread your final layer evenly, checking depth every 5-10 feet.
How to Maintain a Gravel Driveway Each Year
Five distinct maintenance intervals keep your gravel driveway performing at its best throughout the year. Monthly inspections and raking prevent displaced gravel from forming ruts and potholes. Quarterly drainage assessments help you catch pooling water before erosion worsens.
- Monthly: Walk the surface, rake gravel back into low spots, and clear debris
- Quarterly: Fill potholes, check drainage patterns, and monitor the crown
- Bi-annually: Spray down the surface to control dust and remove organic matter
- Annually: Add fresh gravel to compensate for compression and displacement
- Every 5-10 years: Perform complete resurfacing to restore proper grade
You’ll want to apply weed control 2-3 times yearly and replenish one to two inches of material every two to three years. These intervals prevent costly repairs and extend your driveway’s lifespan.
Frequently Asked Questions
Can You Install a Gravel Driveway Over an Existing Concrete or Asphalt Surface?
Yes, you can install gravel over existing concrete or asphalt surfaces. You’ll want to use gravel grid systems like Gravelrings, which you’ll secure with wedge anchors drilled into the concrete. Add a 2-3 inch gravel base under the grids for proper drainage. If you’ve got existing borders, you can simply pour 3-4 inches of #57 gravel directly without grids. This approach saves excavation time while preventing gravel migration.
How Do You Prevent Gravel From Spreading Onto Your Lawn or Street?
You’ll prevent gravel spread by installing sturdy edging along your driveway’s perimeter. Steel or aluminum edging creates durable, clean lines, while plastic options work well for curved sections. For added stability, you can use permeable plastic grid pavers that lock gravel into place. Creating a 1-2% slope directs water flow without pushing stones outward. Adding boundary areas with paver rows or low plantings also contains loose material effectively.
Is a Gravel Driveway Suitable for Steep Slopes or Hilly Terrain?
You can use a gravel driveway on steep slopes, but you’ll need proper stabilization systems. Standard loose gravel will slump and erode on inclines due to gravity and rainfall. Install geocell grids for slopes exceeding 20 degrees, or use permeable pavers like PebbleLock for grades up to 11 degrees. Choose angular, crushed gravel, it interlocks better than round stone. Add geotextile fabric beneath your base layer to prevent sinking during heavy rain.
How Much Does a Typical Gravel Driveway Installation Cost per Square Meter?
You’ll typically pay $10.75 to $32.30 per square meter for gravel driveway installation, converting from the standard $1 to $3 per square foot rate. Professional installation runs higher at $43 to $86 per square meter. Your final cost depends on gravel type, site preparation requirements, and whether you’re tackling the project yourself. DIY materials alone cost approximately $5.40 to $16.15 per square meter, making self-installation a budget-friendly option.
Do Gravel Driveways Work Well in Areas With Heavy Snow or Ice?
Yes, gravel driveways work well in snowy or icy conditions when you manage them properly. You’ll want to back-drag snow rather than push it forward to avoid displacing gravel. Pack the first 1-2 inches of snow with your tires to create a protective base layer. For traction, apply sand or small angular gravel directly onto icy patches. Mark your driveway edges with reflective stakes to prevent plowing gravel into your lawn.