


Maintain your gravel driveway by inspecting it twice yearly for potholes, ruts, and erosion. You’ll want to address drainage problems first, install French drains or swales to redirect water away from the surface. Create a 3-6 inch crown so water sheds to the edges, then fill potholes using crusher run base topped with 3/4-inch minus gravel. Compact each layer thoroughly with a plate compactor. The seasonal maintenance steps below will keep your driveway solid year-round. Maintain your gravel driveway by inspecting it twice yearly for potholes, ruts, and erosion. If you’re learning how to install gravel driveway systems that last, consistent maintenance is just as important as proper construction. You’ll want to address drainage problems first, install French drains or swales to redirect water away from the surface. Create a 3, 6 inch crown so water sheds to the edges, then fill potholes using crusher run base topped with 3/4-inch minus gravel. Compact each layer thoroughly with a plate compactor. The seasonal maintenance steps below will keep your driveway solid year-round.
Inspect Your Gravel Driveway for Damage Before It Spreads
When you catch gravel driveway problems early, you’ll prevent minor issues from becoming costly repairs. Regular gravel driveway maintenance starts with thorough visual surface checks at least twice yearly, especially after winter and heavy rainstorms.
Walk your entire driveway to identify potholes, ruts, and washouts. Focus on low spots where water collects and tire paths where displacement commonly occurs. Check edges for erosion and gravel migration onto adjacent areas.
Don’t skip the base and foundation assessment. Inspect the subgrade for soft spots, erosion damage, and frost heave signs that compromise stability. Evaluate drainage features like culverts and verify your crowned surface directs water properly. Monthly walks to rake migrated gravel help you spot developing problems before they expand. Remember that potholes form from water infiltration and freeze-thaw cycles, making early detection essential during seasonal transitions.
Fix Drainage Issues Before Any Other Repairs
Before you fill potholes or regrade your surface, you’ll need to solve any drainage problems, standing water undermines every repair you make. Start by identifying your specific driveway drainage issues, then select the appropriate system.
| Drainage Solution | Best Application | Key Specification |
|---|---|---|
| French Drain Systems | Subsurface water interception | 18, 24″ deep trench, 1% minimum slope |
| Channel drains | Confined spaces, garage thresholds | 4″ minimum width, B125 load rating |
| Shallow swales | Rural sites, edge water diversion | Both driveway sides |
For French drains, wrap perforated pipe and ¾″ angular gravel in geotextile fabric to prevent sediment clogging. Position channel drains at the driveway’s low point. Address clay soil conditions with geotextile beneath your base layer to prevent pumping and structural failure. Alternatively, permeable grid systems lock gravel within individual cells, eliminating the need for traditional crowning and under-drains while preventing washouts. For French drains, wrap perforated pipe and ¾″ angular gravel in geotextile fabric to prevent sediment clogging. Position channel drains at the driveway’s low point. When comparing gravel driveway vs asphalt cost, proper drainage design is a major factor that influences long-term value. Address clay soil conditions with geotextile beneath your base layer to prevent pumping and structural failure. Alternatively, permeable grid systems lock gravel within individual cells, eliminating the need for traditional crowning and under-drains while preventing washouts.
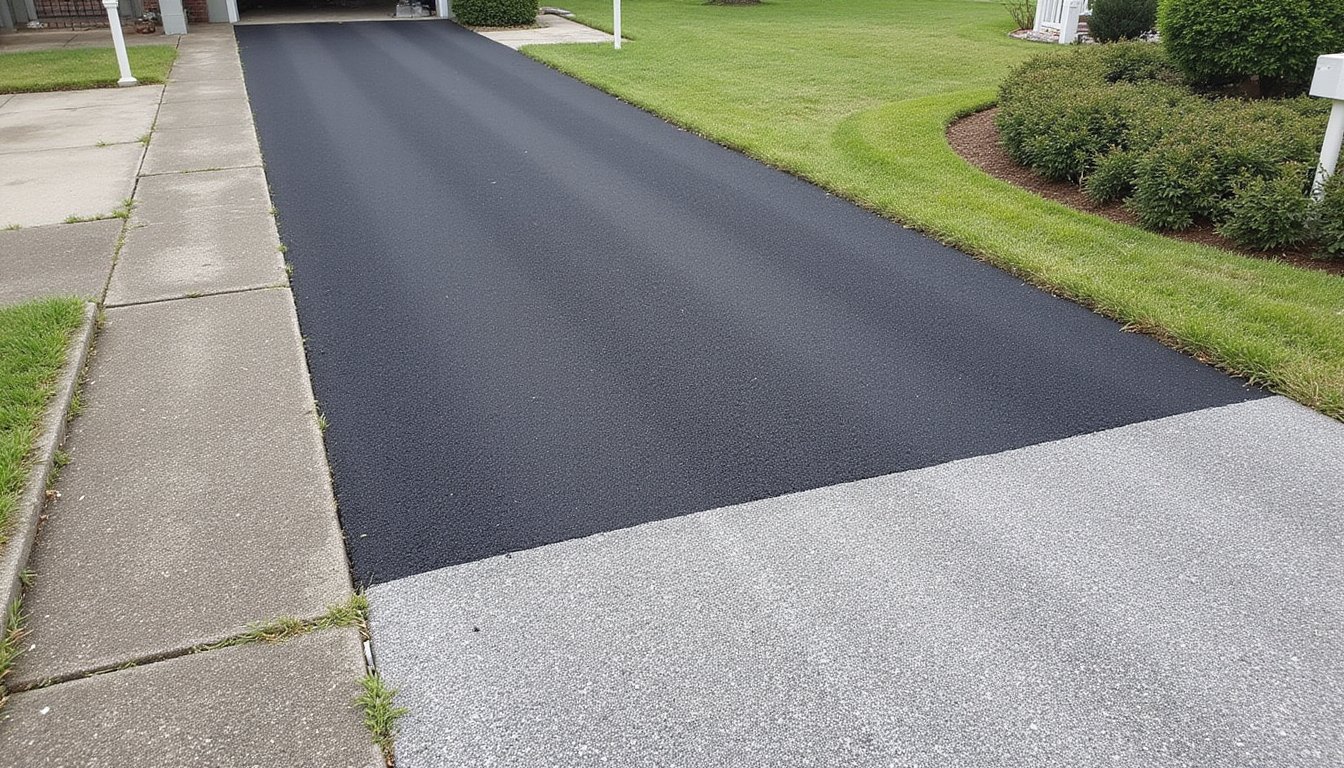
Shape a Crown So Water Runs Off the Edges
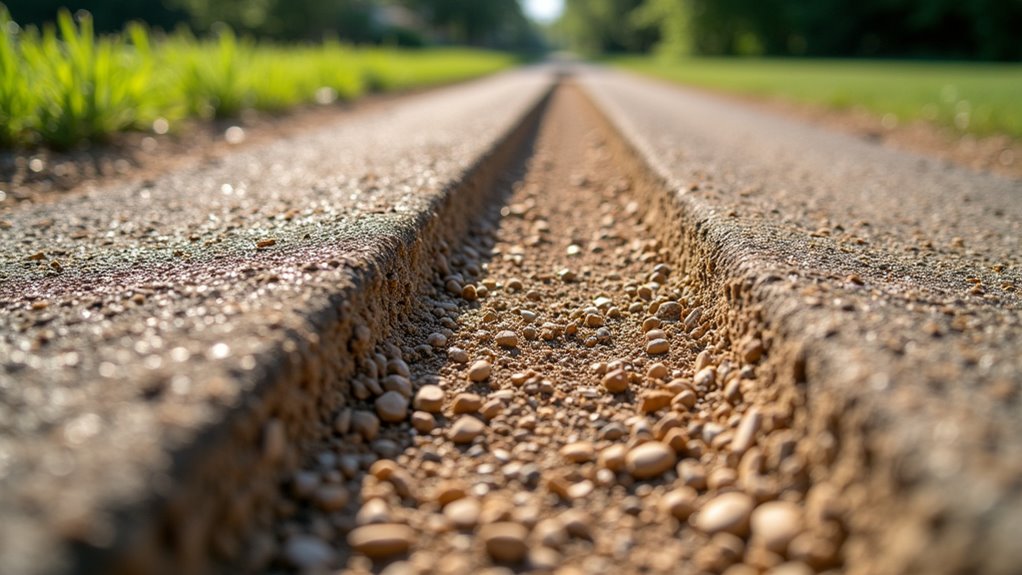
Once your drainage systems are in place, you’ll need to shape the driveway surface itself to move water toward those solutions. A proper road crown creates an “A” shape that pitches material from the center down toward both edges, preventing pooling that leads to potholes.
For effective gravel driveway maintenance, establish a crown height of three to six inches from center to edge, the standard specification is 1/2 inch per foot across the traveled surface. You can verify this using a ten-foot straight edge and carpenter’s level. Keep in mind that maintaining graded surfaces requires regular attention since traffic and weather will gradually flatten your crown over time.
When regrading gravel driveway surfaces, pull material from the shoulders toward the center using a box blade or motor grader. Layer two-to-three-inch rock as your base, then top with finer crush material for a smooth, water-shedding finish.
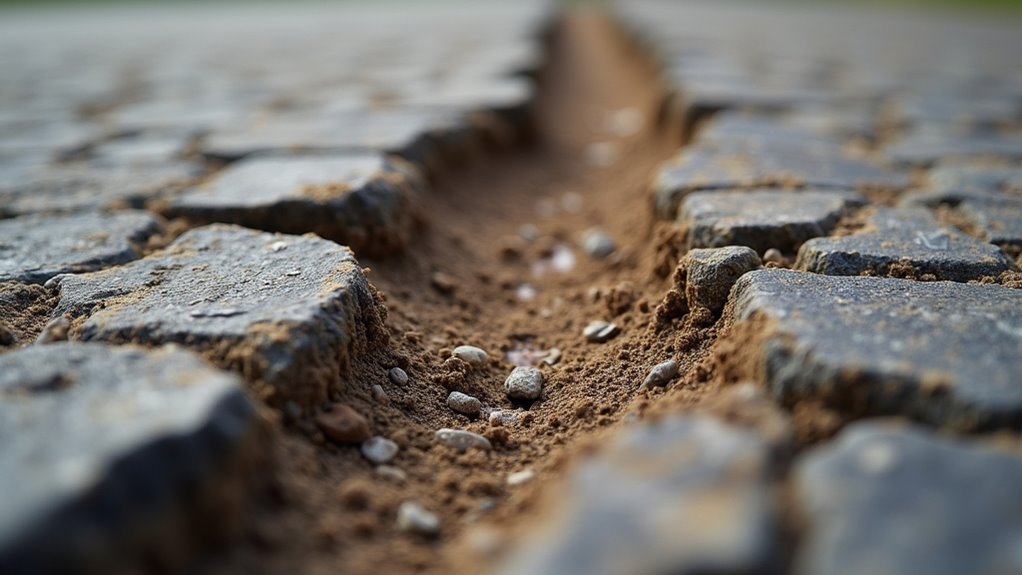
Fill Potholes and Ruts the Right Way
Potholes and ruts inevitably form on gravel driveways, but you can fix them permanently with proper technique. Start by removing debris and squaring off edges vertically. Expand the repair area to double the original size, dig to solid base and break up the hardpan with a pick-axe.
| Layer | Material | Purpose |
|---|---|---|
| Base | 1.5-2.5″ crusher run | Stable foundation |
| Top | 3/4″ minus gravel | Matches existing surface |
For effective gravel driveway repair, add coarse gravel in 3-inch lifts, compacting each layer from edges to center. Fixing potholes in gravel driveway requires overfilling slightly above grade. Spray water during compaction to lock fines together. This gravel driveway maintenance approach prevents recurring damage and supports future gravel driveway resurfacing needs. For effective gravel driveway repair, add coarse gravel in 3-inch lifts, compacting each layer from edges to center. If you’re evaluating what is a good gravel for driveway, choose well-graded aggregate that compacts tightly and resists displacement. Fixing potholes in gravel driveway requires overfilling slightly above grade. Spray water during compaction to lock fines together. This gravel driveway maintenance approach prevents recurring damage and supports future gravel driveway resurfacing needs.
Pack Down New Gravel So It Actually Stays Put
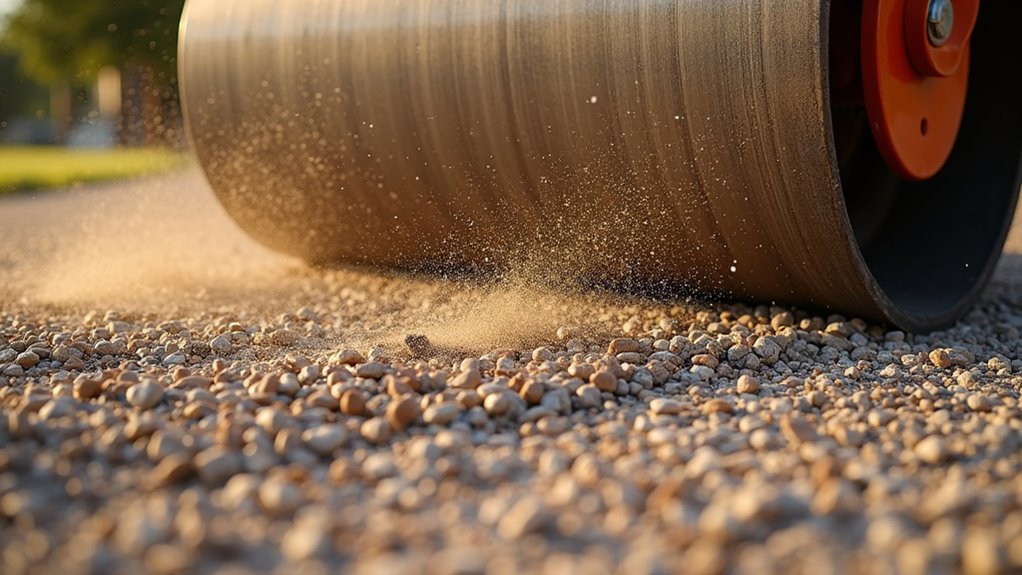
Once you’ve spread fresh gravel, lightly wet the surface to help particles bind together during compaction. Use a heavy roller or plate compactor to press the material firmly into place, making multiple passes until the gravel stops shifting underfoot. This step prevents loose stones from scattering and creates a stable, long-lasting driving surface.
Wet Before Compacting
Before you start compacting new gravel, you’ll want to wet it down, this simple step makes a significant difference in how well the material locks together. Moisture lubricates soil particles, allowing them to slide into voids and achieve maximum density. Clear gravel reaches 95% compaction upon placement but increases to 98% with proper wetting and compacting.
Apply a fine mist to your gravel before running the compactor. You’re looking for the material to darken slightly, that’s your indicator of proper moisture content. For minus gravel containing fines, thorough wetting is essential to lubricate those smaller particles into gaps.
Avoid over-wetting, which makes soil plastic and reduces compaction effectiveness. The ideal condition is roughly 50% dry and 50% wet. Test readiness by squeezing a handful, it should hold together without crumbling.
Use Heavy Rollers
Everything you’ve done so far, grading, adding fresh material, wetting, won’t matter if you skip proper compaction. Heavy rollers pack down new gravel, interlocking particles so they resist shifting under tire pressure.
Use a vibratory plate compactor for most residential driveways. For larger surfaces, a ride-on vibratory roller crushes and settles material more efficiently. Along edges and trenched areas, a jumping jack rammer restores firmness where rollers can’t reach.
| Problem Without Compaction | Result With Proper Rolling |
|---|---|
| Gravel scatters under traffic | Material stays locked in place |
| Ruts form within weeks | Surface remains even for years |
Make multiple passes until the surface feels solid underfoot. You’ll reduce dust, improve traction, and extend your driveway’s lifespan greatly.
Rake and Redistribute Gravel Every Few Weeks
Although gravel driveways appear low-maintenance, regular raking prevents small problems from becoming costly repairs. You’ll want to rake your driveway every few weeks during warmer months to redistribute displaced gravel and maintain a level surface.
Focus on these key raking objectives:
- Even out the surface to prevent rut formation
- Restore the crown for proper water drainage
- Smooth developing potholes before they deepen
- Redistribute gravel that’s migrated toward edges
- Prepare a level base before adding fresh material
After raking, tamp down loose areas to improve stability. This compaction helps gravel lock together, reducing future displacement from traffic. Target high-use zones like turnaround spots and entry points, since these areas degrade fastest. Consistent raking maintains your driveway’s structural integrity and extends the time between major regrading sessions.
Stop Weeds Before They Wreck Your Gravel Base
Weeds don’t just look bad, they break apart your gravel base as roots spread and displace stone, creating soft spots and drainage problems. You’ll want to pull emerging weeds before they establish deep root systems, then consider installing a proper weed barrier during your next gravel refresh. Taking these preventive steps protects your driveway’s structural integrity and reduces the constant battle against regrowth.
Pull Weeds Early
When you spot the first green shoots poking through your gravel, you’ve got a narrow window to act before those weeds establish deep root systems that’ll destabilize your driveway base.
Grab a garden rake or hand tools and extract weeds while they’re young. Focus your efforts on the center line first, this prevents infestations from spreading across the full surface.
Key manual removal strategies:
- Pull weeds before they mature to prevent root establishment
- Target center line growth first for maximum efficiency
- Maintain six-inch gravel depth for easier extraction
- Remove all dead weeds before adding fresh gravel
- Work in thin gravel areas where pulling requires less effort
Clear dead vegetation completely before resurfacing. Leaving pulled weeds in place defeats your prevention efforts and invites reinfestation.
Install Weed Barrier
A terrain fabric barrier stops weeds at their source by blocking seeds from contacting the soil beneath your gravel. It also stabilizes your driveway surface, preventing gravel from sinking into soft ground and reducing washout from water erosion.
Select a heavy-duty geotextile membrane that’s permeable for proper drainage. Avoid thin fabrics, they’ll tear under sharp stone edges.
Before installation, level your ground and remove debris. Compact the soil base thoroughly, then excavate to a minimum 4-inch depth. Measure your area with 10-20% extra material for overlaps and waste. Overlap seams by at least 100mm and create upturns at edges to form a gravel-retaining tray.
After laying, add 1-2 inches of crushed rock base, then spread your gravel. Note that barriers won’t prevent seeds landing on the gravel surface itself.
Prevent Root Damage
Even the best weed barrier won’t stop seeds that land directly on your gravel surface, they’ll germinate in as little as 1/4 inch of accumulated dust and debris. You’ll need a proactive approach to eliminate weeds before their root systems penetrate your base layer.
Apply these preventive measures early:
- Hand-pull weeds along the driveway centerline before roots establish
- Apply pre-emergent herbicides like Surflan or Barricade before weed emergence
- Spread granular rock salt via broadcast spreader to kill emerging vegetation
- Rake and crown surfaces to maintain 1-2 inch gravel depth in thin spots
- Remove all weeds before adding fresh gravel to prevent burial
Don’t wait until weeds take hold. Regular inspection every one to two weeks during growing season catches problems while manual removal remains easy.
Install Edging to Keep Gravel in Place
Without proper edging, gravel migrates off your driveway onto adjacent lawns, flower beds, and walkways, creating extra maintenance and an unkempt appearance. Installing edging confines stones within boundaries, reduces raking frequency, and prevents tripping hazards from scattered material.
Choose your material based on budget and longevity. Metal edging (steel or aluminum) lasts 25, 40 years at $15, $30 per linear foot. Stone options like granite or cobblestone exceed 50 years but cost $20, $40 per linear foot. Concrete provides 30+ years of durability at $10, $20 per linear foot.
For installation, mark your edges with spray paint, dig a 4, 6 inch trench, and place edging level within it. Secure with stakes every 3, 4 feet, then backfill with soil or gravel and compact thoroughly. Wood and plastic work well for DIY projects, while stone and metal benefit from professional installation.
Protect Your Gravel Driveway in Winter
Winter’s freeze-thaw cycles, heavy snowfall, and ice accumulation pose the greatest threats to your gravel driveway’s structural integrity. Before temperatures drop, you’ll want to regrade the surface with a quarter-inch crown per foot of width to guarantee proper drainage and prevent water from pooling.
Proper winter prep starts with regrading, a quarter-inch crown per foot ensures drainage and prevents costly freeze-thaw damage.
Prepare your driveway with these essential winter protection steps:
- Fill low spots with angular ⅜-inch minus or ½-inch crushed stone
- Compact gravel while moist using a roller or plate tamper to resist frost heave
- Clear side ditches, swales, and culverts before snow arrives
- Redirect downspouts away from the driveway using extensions or underground pipes
- Apply sand or pet-safe ice melt for traction without damaging the surface
When plowing, lift your blade slightly above the gravel to protect the top layer.
Follow This Seasonal Gravel Driveway Checklist
Four distinct seasons bring four distinct challenges to your gravel driveway, and staying ahead of each one prevents costly repairs down the road.
Spring: Walk the entire driveway after snowmelt to identify potholes, ruts, and washouts from freeze-thaw cycles. Check for subsoil exposure and note plow damage at the entrance.
Summer: Grade the surface monthly, pulling gravel from edges to center. Maintain proper crown slope for water diversion.
Fall: Clear ditches, culverts, and drainage channels of leaves and debris. Scrape encroaching grass from edges with a flat shovel to preserve full driveway width.
Winter: Address any remaining drainage issues before ground freezes. Fill potholes and compact loose areas to minimize frost heave damage.
This proactive approach extends your driveway’s lifespan considerably.
Frequently Asked Questions
How Often Should I Add New Gravel to My Driveway?
You should add new gravel to your driveway every 1-2 years to maintain a 4-6 inch thickness. If you’ve got high traffic, heavy vehicles, or steep slopes, you’ll need to replenish annually. Watch for warning signs like visible dirt, potholes, ruts, or water pooling, these indicate it’s time for fresh material. Pair gravel addition with your annual regrading, ideally after the rainy season, for best results.
Can I Use a Snowplow on My Gravel Driveway?
Yes, you can use a snowplow on your gravel driveway, but you’ll need protective modifications to prevent damage. Attach a 3/4-inch rubber horse stall mat between the cutting edge and moldboard, or install ABS pipe on the blade. Raise your blade slightly to skim over the surface rather than digging in. Avoid plowing when the ground isn’t frozen, as this tears up the driveway and pushes gravel into ditches.
What Type of Gravel Works Best for Driveway Surfaces?
Angular crushed stone works best for driveway surfaces. You’ll want 20mm angular gravel made from granite, limestone, or trap rock, the angular edges lock together and resist vehicle movement. Crusher run (stone-and-dust mix) compacts tightly for heavy traffic areas. For sloped driveways, 3/4 CA7 limestone provides enhanced traction. If you prefer lower maintenance, self-binding gravel naturally compacts and resists spreading without requiring edging.
How Do I Reduce Dust From My Gravel Driveway?
You can reduce dust by applying suppressants like calcium chloride, magnesium chloride, or eco-friendly lignin sulfonate. Soybean oil soapstock works well too, apply 1/4 gallon per square yard every 3-4 months. You’ll also want to compact your gravel thoroughly after adding fresh material and slow your driving speed. For long-term solutions, install windbreaks like fences or hedges, and consider laying permeable pavers over the gravel surface.
Should I Wet Gravel Before Compacting It?
Yes, you should lightly wet gravel before compacting it. Proper moisture helps particles settle into void spaces more effectively and acts as a lubricant for fines, improving overall compaction results. You’ll achieve better density, potentially increasing compaction from 95% to 98% with clear gravel. However, don’t over-saturate the material. Excessive water makes particles sticky and reduces compaction force effectiveness, requiring more passes to achieve your desired results.