
The most common DIY driveway sealcoating mistakes are sealing a dirty or oily surface, skipping crack repair, sealing in the wrong weather, putting on one thick coat instead of two thin ones, using the wrong tools, choosing the wrong sealer, and driving on the driveway too soon. Each one leads to the same problems: peeling, streaks, tire marks, and sealer that wears off within a year. To seal a driveway the right way, clean and repair the asphalt first, then apply two thin coats of asphalt sealer on a warm, dry day, and keep cars off for 24 to 48 hours.
Key Takeaways
- Most DIY sealcoating failures come from poor prep, not bad sealer, because sealer won’t bond to dirt, oil, or loose debris.
- Cracks need a dedicated crack filler before sealing, since driveway sealer is too thin to fill or bridge them.
- Sealing above 50°F with at least 8 rain-free hours, and 24 to be safe, gives the sealer time to dry and bond.
- Two thin coats last longer and look better than one heavy coat, which stays soft, tracks, and peels.
- Driving on fresh sealer too soon, or resealing too often, undoes good work and shortens the life of the coating.
What Are the Most Common DIY Driveway Sealcoating Mistakes
The most common DIY driveway sealcoating mistakes are the seven below, and most of them happen before the first drop of sealer goes down. This table sums up each one, and the sections that follow explain how to avoid them.
| Mistake | What Happens | How to Avoid It |
|---|---|---|
| Sealing a dirty or oily surface | Sealer peels, flakes, or never dries over stains | Clean thoroughly and prime oil spots |
| Skipping crack repair | Cracks reappear and water keeps getting in | Fill cracks with crack filler first |
| Sealing in the wrong weather | Sealer washes off or stays tacky | Seal above 50°F with a dry forecast |
| One thick coat | Soft surface, tire marks, peeling | Apply two thin coats |
| Wrong tools or technique | Streaks, puddles, uneven coverage | Use the right squeegee or brush and work in sections |
| Wrong sealer | Poor bonding or short life | Use an asphalt sealer made for driveways |
| Driving too soon or sealing too often | Scuffs, flaking, buildup | Wait 24 to 48 hours, then reseal every 2 to 3 years |
Mistake 1: Sealing a Dirty or Oily Surface
Sealing a dirty or oily surface is the most common DIY mistake, because sealer bonds to the asphalt only if nothing is in the way. Dust, sand, grass clippings, and oil all stop the sealer from gripping, so it peels off in sheets within months.
Before sealing, sweep or blow off the entire driveway, pull weeds from cracks and edges, and scrub any oil stains. Our guide on how to get oil off a driveway covers cleaning. For stubborn spots, see the best oil stain remover for asphalt driveways. Then brush an oil spot primer over any remaining stains and let the driveway dry completely.
Mistake 2: Skipping Crack Repair or Filling Cracks With Sealer
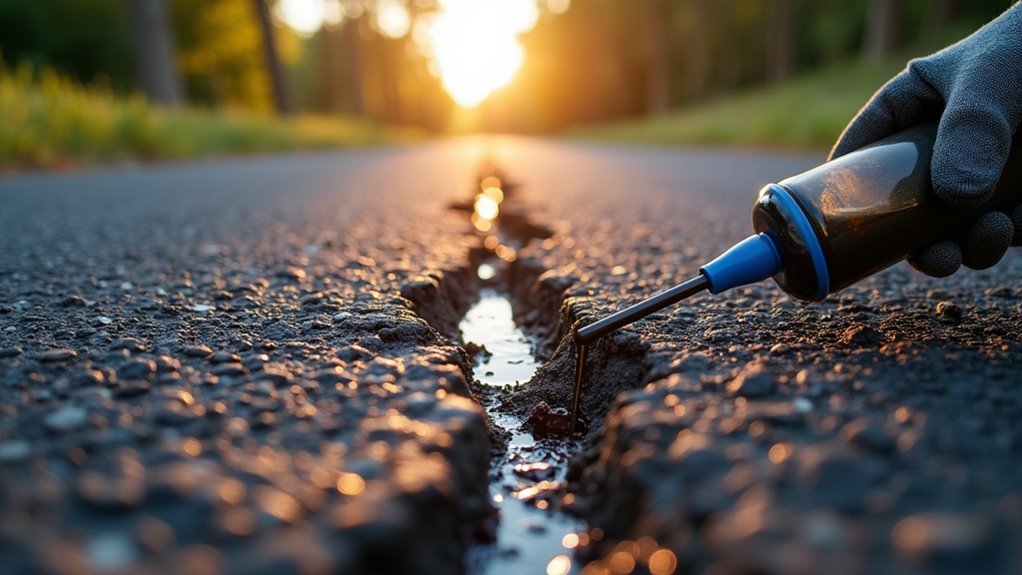
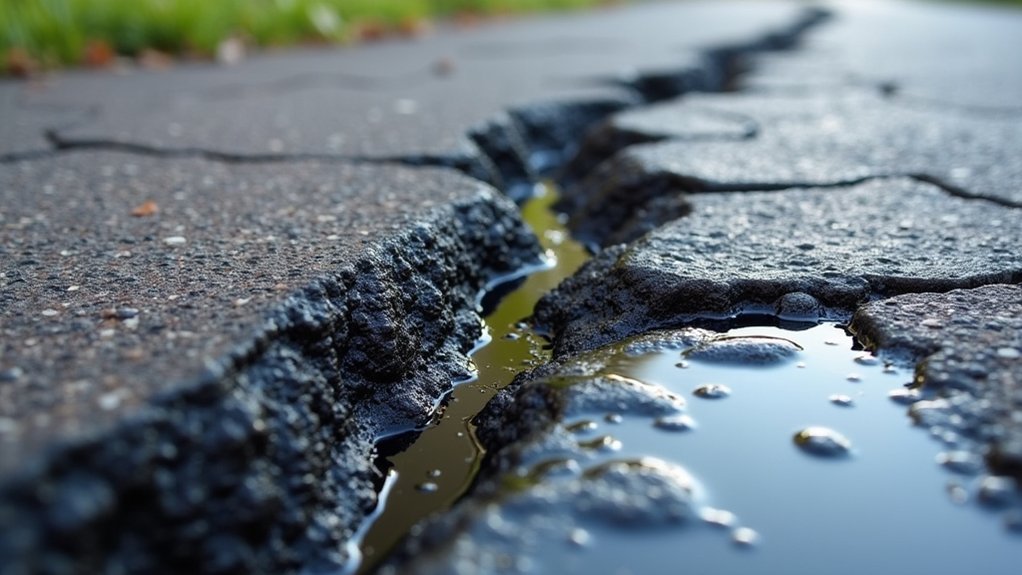
Skipping crack repair, or trying to fill cracks with sealer, leaves the driveway open to water. Driveway sealer is a thin coating, so it can’t fill a crack or stretch across it. Water keeps getting in, freezes in winter, and the crack widens.
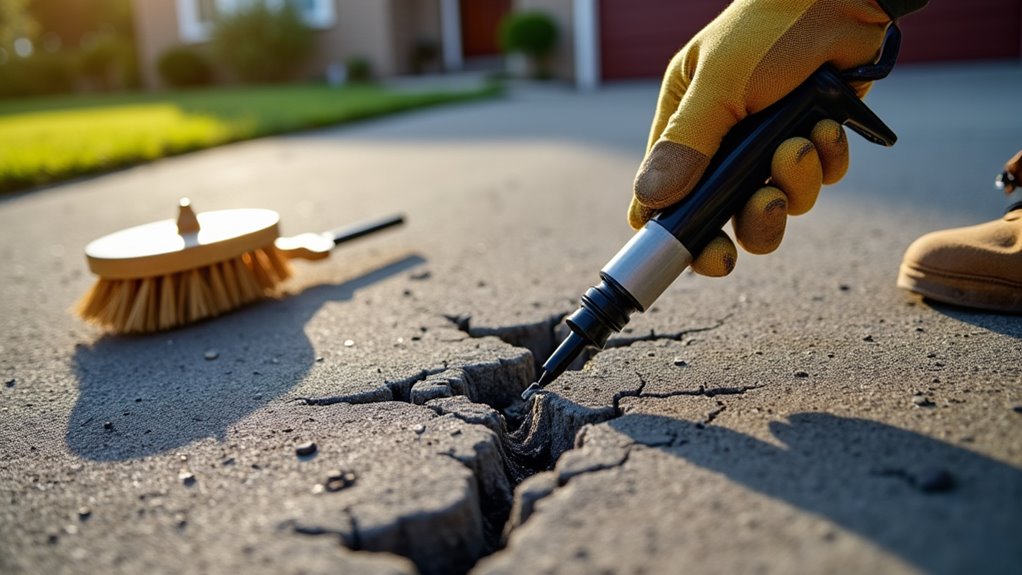
Clean cracks out with a screwdriver and a blower, then fill them with a crack filler made for asphalt. Hairline cracks can be skipped, but fill anything wider than about 1/8 inch. Hot rubberized filler works best on cracks 1/4 inch and wider. Let the filler cure as the label directs before sealing. Holes and broken areas need cold patch asphalt or a proper patch, not crack filler. Our guide on how to repair asphalt yourself covers both.
Mistake 3: Sealing in the Wrong Weather
Sealing in the wrong weather causes sealer to wash away, stay tacky, or fail to bond. Water-based asphalt sealers need warmth and dry air to cure. The pavement and air should be at least 50°F and rising, with no rain for at least 8 hours afterward, and 24 hours is safer. Avoid sealing late in the day if the night will be cold, and skip days with heavy dew or high humidity.
In Connecticut, the best sealing weather runs from late spring through early fall. For how weather affects drying, see how long driveway sealer takes to dry.
Mistake 4: Applying One Thick Coat Instead of Two Thin Coats
Applying one thick coat instead of two thin coats is a mistake because thick sealer dries on top while staying soft underneath. It tracks onto shoes, scuffs under tires, and often cracks or peels as it shrinks. More sealer doesn’t mean more protection.
Spread a thin, even first coat and let it dry for 4 to 8 hours in good weather, until it no longer feels tacky. Then apply a second thin coat. Older, porous driveways absorb more of the first coat and benefit most from the second.
Two thin coats last longer than one heavy coat. Thick sealer looks great for a week and peels by next spring.
Mistake 5: Using the Wrong Tools or Technique
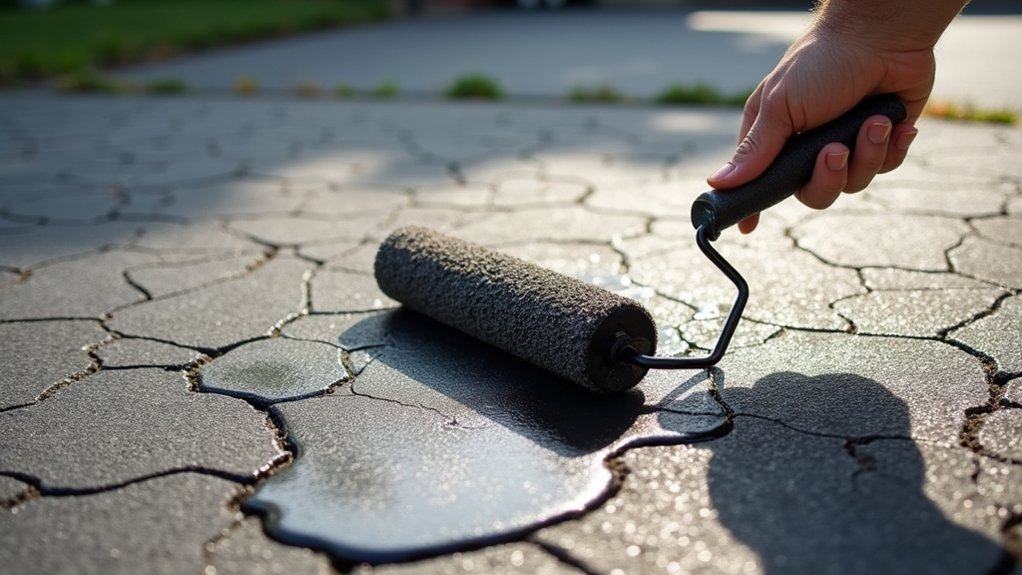
Using the wrong tools or technique leaves streaks, puddles, and missed spots. A cheap foam squeegee leaves lines, a roller can leave a thin, uneven film, and dumping a whole bucket at once floods the low spots.
- Stir the bucket thoroughly, since solids settle at the bottom.
- Cut in the edges first with a brush, along the garage, walkways, and lawn.
- Pour sealer in small amounts and work in sections about 4 to 6 feet wide.
- Spread with a rubber squeegee, then smooth with a sealcoat brush for an even texture.
- Work from the top of the driveway toward the street so you never have to walk back across wet sealer.
Mistake 6: Choosing the Wrong Sealer
Choosing the wrong sealer leads to poor bonding or a coating that wears off quickly. Asphalt driveways need an asphalt sealer, most often an asphalt emulsion, which is water-based, easy to apply, and the standard on residential driveways. Retail sealers range from thin, low-solids products to thicker filler-sealers. Thicker, higher-solids products generally last longer.
Two products to avoid on asphalt:
- Concrete sealers, such as silane or siloxane penetrating sealers, are made for concrete and don’t protect asphalt. If your driveway is concrete, see our guide to the best concrete driveway sealer.
- Coal tar sealers are banned or restricted in several states and many towns, and they give off strong fumes. Check local rules before buying.
Mistake 7: Driving on the Driveway Too Soon or Sealing Too Often
Driving on the driveway too soon leaves tire marks and scuffs, and sealing too often builds up layers that crack and flake. Keep cars off for 24 to 48 hours, and heavy trucks for 72, as covered in our guide on how long driveway sealer takes to dry. Then reseal every 2 to 3 years, not every year.
New asphalt shouldn’t be sealed right away either, because the oils in it need time to settle. Our guide on when to seal a new driveway after paving explains the timing.
How Do You Seal a Driveway the Right Way
You seal a driveway the right way by cleaning, repairing, and priming the surface first, then applying two thin coats in good weather. Here’s the full process, with the supplies you’ll need listed in the table below:
- Check the forecast for a dry stretch above 50°F.
- Clear the driveway, pull weeds, and blow or sweep it clean.
- Scrub oil stains and apply oil spot primer.
- Fill cracks and patch holes, then let them cure.
- Rinse the driveway if it’s dusty, and let it dry completely.
- Tape off or protect garage doors, walkways, and anything you don’t want sealed.
- Cut in the edges with a brush.
- Apply the first thin coat with a squeegee, working in sections from the top down.
- Let it dry 4 to 8 hours, then apply a second thin coat.
- Block the driveway and keep cars off for 24 to 48 hours.
| Supply | What It’s For | Tip |
|---|---|---|
| Asphalt driveway sealer | Protective coating | Buy about 10 percent more than the label coverage suggests |
| Crack filler | Sealing cracks before coating | Use hot rubberized filler for wider cracks |
| Oil spot primer | Helping sealer bond over stains | Let it dry fully before sealing |
| Rubber squeegee and sealcoat brush | Spreading and smoothing sealer | Use the brush along all edges |
| Stiff nylon brush and blower | Cleaning the surface | Never use a wire brush on asphalt |
| Cones, tape, or rope | Keeping traffic off | Leave them up for 48 hours |
When Should You Hire a Professional Instead
You should hire a professional when the driveway has a lot of cracks, long or steep sections, or oil damage, or when you’d rather not spend a weekend on it. Professional crews use commercial-grade sealer mixed with sand for traction, hot rubberized crack filler, and professional sealcoating equipment that lays down an even coat quickly.
The savings from doing it yourself are usually smaller than people expect, once you add up the sealer, crack filler, primer, and tools. Our breakdown of driveway sealcoating cost compares DIY and professional prices side by side.
Get Your Driveway Sealed Right the First Time
A good seal depends on careful prep, the right weather, and an even application, and mistakes show up as peeling and streaks within a season. V&F Paving can clean, repair, and seal your driveway through its driveway sealcoating services. Call (203) 624-2449 or request a free estimate to discuss your driveway’s condition, crack repair, and sealcoating schedule.
Frequently Asked Questions
Should You Use a Squeegee or Brush to Apply Driveway Sealer?
Use both. A rubber squeegee spreads sealer quickly and pushes it into the surface pores, while a sealcoat brush smooths out squeegee lines and reaches edges and corners. Most DIYers squeegee the open areas and brush the edges. Rollers can work on smooth driveways, but they tend to leave a thinner coat that doesn’t last as long.
Can You Seal Over Old Sealer That’s Peeling?
You shouldn’t seal over peeling sealer, because the new coat will peel off with the old layer. Scrape away loose and flaking sealer, clean the surface, and spot-prime any bare or oily patches. If peeling covers large areas, there may be too much sealer built up from past jobs, and it’s worth having a professional look at it before resealing.
How Much Driveway Sealer Do You Need?
Most 4.75-gallon retail buckets cover about 250 to 400 square feet per coat, depending on the product and how porous the asphalt is. A 600-square-foot driveway with two coats typically needs four to five buckets. Measure your driveway, check the coverage rate on the label, and buy a little extra, since rough, older asphalt soaks up more sealer.
Is DIY Driveway Sealing Worth It?
DIY sealing can save money on a small, smooth driveway in good condition, if you have the time and the weather cooperates. On driveways with many cracks, oil stains, or a large area, professional sealing usually lasts longer and the cost difference is smaller than expected. Our guide on whether driveway sealcoating is worth it covers the long-term benefits.
What Happens If You Don’t Clean a Driveway Before Sealing?
If you don’t clean a driveway before sealing, the sealer bonds to the dirt instead of the asphalt. It peels, flakes, or wears through quickly, especially where tires turn. Oil stains are the worst, since sealer often won’t dry over them at all. Cleaning and priming usually take longer than applying the sealer, but they decide how long the job lasts.